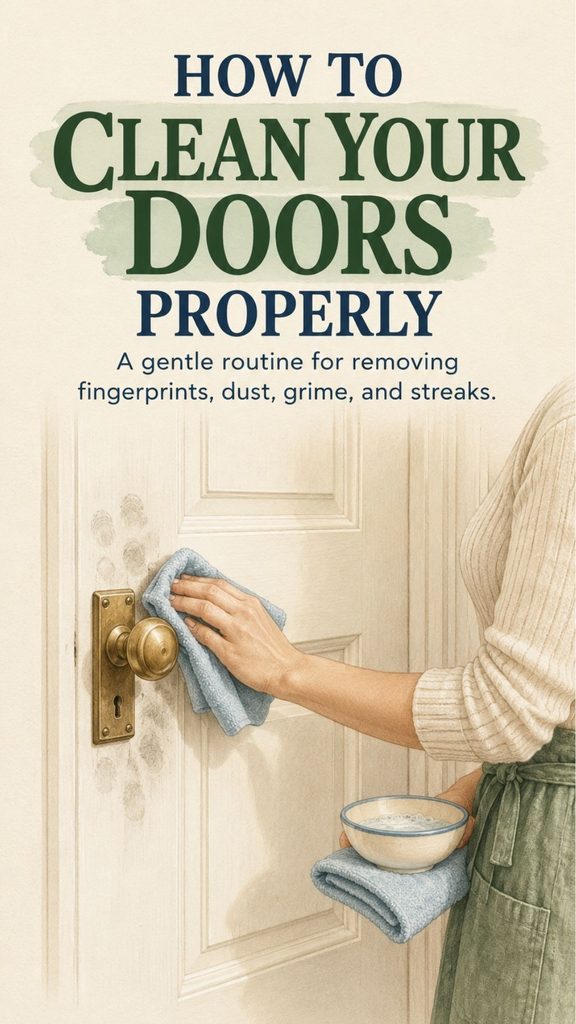
Doors are easy to overlook during routine cleaning. Floors get swept, counters get wiped, and bathrooms get scrubbed, while doors quietly collect fingerprints, dust, cooking residue, pet marks, and grime around the handles. Because we touch them so often, a quick door-cleaning routine can make a surprisingly noticeable difference in how fresh the whole room feels.
The good news is that most doors do not need aggressive scrubbing or a cabinet full of cleaners. For many washable, sealed surfaces, warm water, a small amount of dish soap, a soft cloth, and careful drying are enough. A diluted vinegar mixture can also be useful on some finishes, but the material of the door matters, so it is worth checking the surface before you begin.
Why Doors Need Regular Cleaning
The dirtiest parts of a door are usually not the large flat panels. Grime tends to build up where hands naturally land: around knobs and handles, along the edge of the door, near the frame, and around push plates.
You Might Also Like:
- Loading posts...
Interior doors can also collect:
- Dust along raised panels and trim
- Fingerprints around handles
- Grease on kitchen doors
- Dirt near the bottom from shoes or pets
- Smudges around light switches beside the doorway
- Dust on the top edge that is rarely noticed
Cleaning these areas periodically prevents dirt from becoming harder to remove later.
There is another practical benefit: a clean door can make an otherwise tidy room look noticeably more polished. White and light-colored doors especially tend to reveal gray fingerprints and scuff marks long before people realize the surface needs cleaning.
A Simple Homemade Door-Cleaning Mixture
A basic cleaning mixture can be made with:
- 3 cups warm water
- 1/2 cup white vinegar
- A small squeeze of mild dish soap
- A few drops of lemon oil, optional
Combine the ingredients in a bowl or cleaning bucket and stir gently. There is no need to create a lot of foam.
The dish soap helps loosen ordinary household grime, while diluted vinegar can help cut through some residue on compatible surfaces. Lemon oil is optional and should not be considered necessary for cleaning.
Before using any homemade cleaner over an entire door, test it on a small, inconspicuous area first. Door finishes vary considerably, and a mixture that works well on one surface may dull or damage another.
Check the Door Material Before You Start
This step matters more than the cleaning recipe itself.
A painted, washable door may tolerate mild soap and diluted vinegar perfectly well, while natural wood, waxed finishes, unfinished timber, specialty coatings, or older painted surfaces may require different care.
If you know the door manufacturer’s cleaning recommendations, follow those first.
For sealed painted doors, a lightly dampened microfiber cloth with mild soapy water is generally a sensible starting point. For stained or varnished wood, use as little moisture as possible and avoid soaking the surface.
Unfinished wood deserves particular care because water can penetrate the fibers and leave marks or cause swelling.
If you are uncertain about the finish, start with the gentlest method: warm water and a tiny amount of mild dish soap.
Step 1: Remove Loose Dust
Cleaning a dusty door with a wet cloth can turn loose dust into muddy streaks.
Start by wiping the door from top to bottom with a clean, dry microfiber cloth or soft duster. Pay attention to decorative molding, grooves, recessed panels, and the upper edge of the door.
Do the same around the frame.
This takes only a minute or two but makes the wet-cleaning stage much easier.
Step 2: Prepare the Cleaning Solution
Mix the warm water, white vinegar, and small amount of dish soap in a bowl.
If you choose to add lemon oil, use only a few drops. Adding more does not necessarily make the surface cleaner and may leave an oily residue.
For a door with an unknown or delicate finish, skip the vinegar and start with diluted dish soap instead.
The water should be warm rather than extremely hot.
Step 3: Use a Damp Cloth, Not a Soaking-Wet One
Dip a soft microfiber cloth into the mixture, then wring it thoroughly.
The cloth should feel damp without dripping.
Excess water is one of the most common mistakes when cleaning doors, especially wooden ones. Water can run into joints, collect near hardware, or remain in grooves.
Working from the top downward, gently wipe the surface of the door.
Clean a manageable section at a time rather than soaking the entire door before drying it.
Step 4: Give Extra Attention to High-Touch Areas
The area around the handle usually needs more attention than the rest of the door.
Wipe carefully around:
- Door handles and knobs
- The edge where fingers pull the door closed
- Lock areas
- Raised molding
- The section immediately below the handle
- The bottom portion of the door
For stubborn fingerprints, hold the damp cloth against the mark briefly before wiping rather than immediately scrubbing aggressively.
If more cleaning power is needed, add a tiny amount of dish soap to the cloth and work gently.
Avoid abrasive pads unless you know the finish can tolerate them. They can leave dull patches or fine scratches on painted and glossy surfaces.
Step 5: Clean the Handle Separately
Door hardware deserves its own quick wipe because it receives constant hand contact.
Use a cleaning method suitable for the particular material. Brass, stainless steel, coated metal, painted hardware, and antique finishes can react differently to cleaning products.
Avoid flooding locks, hinges, or mechanical parts with liquid.
A slightly damp cloth is usually easier to control than spraying cleaner directly onto the hardware.
Once the handle is clean, wipe away any remaining moisture.
Step 6: Dry the Door
Do not simply leave the door wet.
Use a second clean, dry microfiber cloth and wipe the surface from top to bottom. Drying reduces streaks and prevents moisture from sitting on wood, paint, trim, and hardware.
Look at the door from an angle afterward. Side lighting often reveals fingerprints or streaks that are difficult to see straight on.
Touch up any remaining spots and dry them again.
Don’t Forget the Door Frame
A spotless door can still look dirty if the frame around it is covered with dust.
Wipe the top of the frame first, then work down both sides. The area near the latch often accumulates fingerprints, while baseboards and lower trim can collect dust and shoe marks.
Again, avoid saturating painted or wooden trim.
If the frame has detailed molding, wrap your cloth around a finger to reach narrow grooves rather than trying to force a large sponge into them.
Common Door-Cleaning Mistakes
One of the easiest mistakes is assuming every door can be cleaned in exactly the same way.
Using too much water is another. A cloth should usually be damp rather than dripping wet, particularly on wood.
Other habits worth avoiding include aggressive scrubbing, spraying cleaner directly into locks or hinges, using abrasive sponges on glossy paint, and repeatedly adding soap when a mark does not immediately disappear. Too much detergent can leave a film that attracts more dust.
Skipping the drying step can also leave streaks or moisture behind.
And although vinegar is a popular household cleaner, it should not automatically be used on every finish. If the surface is delicate, unknown, waxed, or specially coated, a manufacturer’s recommended cleaner or mild soap-and-water method is the safer choice.
How Often Should You Clean Your Doors?
There is no need to deep-clean every door every day.
A practical approach is to wipe high-touch areas whenever fingerprints or grime become visible and give the whole door a more thorough cleaning during regular household cleaning.
Kitchen, bathroom, entryway, and children’s-room doors may need attention more frequently because they tend to receive heavier use.
A quick weekly wipe of handles and obvious smudges can keep dirt from building up and make deeper cleaning much easier.
A Small Cleaning Job That Makes a Big Visual Difference
Door cleaning is one of those household jobs that rarely feels urgent until you wipe one section and notice how much brighter it looks.
Start with dusting, use a gentle cleaning mixture appropriate for the finish, keep the cloth well wrung out, pay special attention to the handle and edges, and finish with a dry cloth.
The process is simple, but the result can make an entire hallway or room feel cleaner. Add doors to your normal cleaning rotation rather than waiting until grime becomes obvious, and they will be much easier to maintain over time.