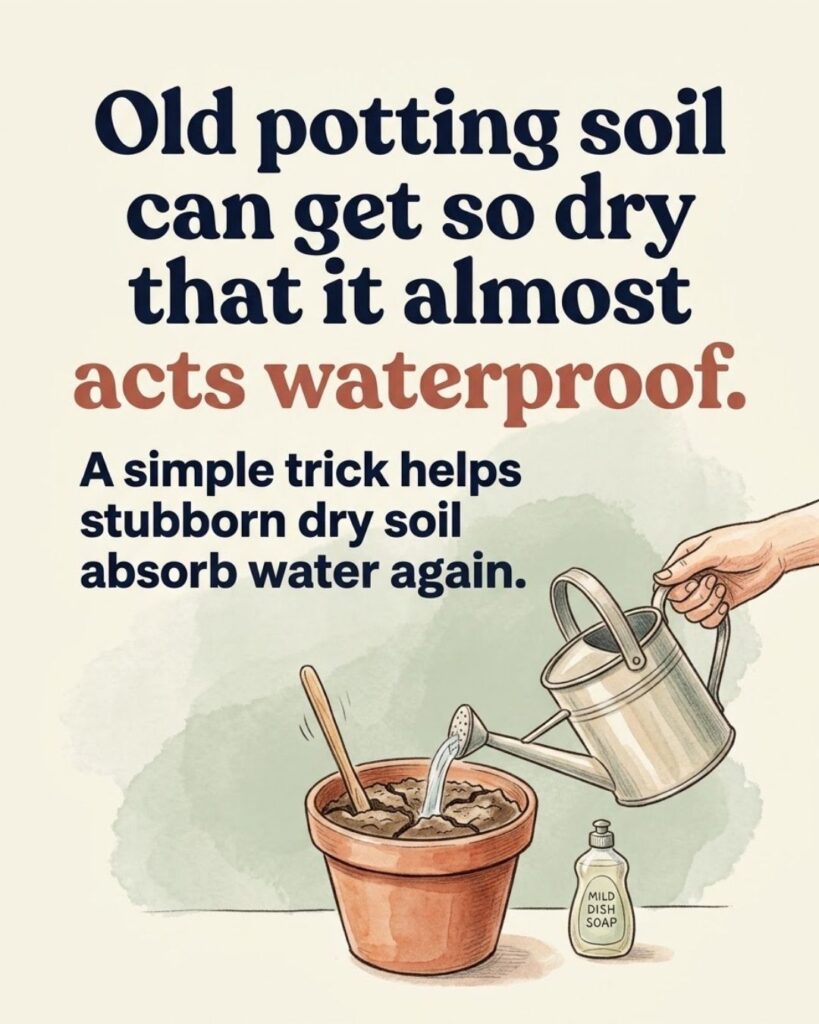
Old potting mix can develop a frustrating problem: you pour water onto the container, but instead of soaking into the soil, it beads on the surface, pools for a moment, or races down the inside of the pot and drains out the bottom.
The container may appear thoroughly watered even though much of the root zone is still dry.
This happens most often when peat-based or other organic potting mixes have been allowed to become extremely dry. Very dry organic material can become hydrophobic, meaning it resists wetting instead of readily absorbing water. Soil and growing media that become excessively dry can repel water and become difficult to rehydrate.
You Might Also Like:
- Loading posts...
Fortunately, dry potting mix usually does not need to be thrown away. Slow, repeated watering—and sometimes soaking the container from below—is often enough to bring it back to a workable moisture level.
There is also an important reason to be cautious with the popular dish-soap trick. Although soaps and other surfactants can reduce water’s surface tension, ordinary household dish detergent is not formulated as a horticultural soil wetting agent. If plants are already growing in the container, repeated soaking with plain water is the safer first choice.
Why Old Potting Soil Starts Repelling Water
Potting mix is different from ordinary garden soil.
Most commercial mixes contain lightweight organic materials such as peat moss, bark, composted materials or coir, combined with ingredients such as perlite or vermiculite to create a balance between drainage, moisture retention and air around plant roots.
These characteristics make potting mix excellent for containers, but some organic components can become difficult to wet again after drying excessively.
The problem can become particularly noticeable in:
- hanging baskets exposed to heat and wind
- containers forgotten during hot weather
- bags of potting mix stored open for long periods
- small pots that dry very quickly
- old container mixes that have repeatedly gone from wet to extremely dry
Once the mix becomes water-repellent, pouring more water on quickly does not necessarily solve the problem.
Water follows the easiest path.
If a gap has formed between the dried potting mix and the side of the container, water may simply travel through that channel and exit through the drainage holes. The gardener sees water pouring from the bottom and assumes the entire pot has been watered, while the center of the root ball remains surprisingly dry.
How to Tell If Your Potting Mix Has Become Hydrophobic
The problem is usually easy to recognize once you know what to look for.
Pour a small amount of water onto the surface.
If the water immediately disappears uniformly into the mix, severe water repellency probably is not the issue.
Hydrophobic potting mix behaves differently. You may notice water:
- forming beads on the surface
- sitting in puddles instead of penetrating
- running toward the edge of the container
- disappearing down one or two channels
- pouring from the drainage holes unusually quickly
Another useful test is to check beneath the surface after watering.
Push a finger, wooden skewer or small hand tool several inches into the mix. If the surface appears wet but the material underneath is dusty and dry, the water has not penetrated evenly.
The Safest First Fix: Water Slowly in Several Rounds
A bone-dry container usually responds better to patience than to one enormous watering.
Instead of filling the pot until water pours out immediately, apply a small amount and give it time to penetrate.
Step 1: Loosen the Surface Gently
If the container is empty, lightly break up the top layer with your fingers or a small hand tool.
For a planted container, be much more careful. Roots can grow close to the surface, so avoid aggressive digging.
You are not trying to churn the entire pot. The goal is simply to break up a hard or crusted surface and give water additional places to enter.
Step 2: Apply a Small Amount of Water
Water slowly across the entire surface rather than dumping everything into one spot.
Then stop.
The first application may appear to accomplish very little. That is normal.
The small amount of moisture begins wetting the driest material, making it easier for the next round to penetrate.
Step 3: Wait Several Minutes
Give the potting mix time to absorb the water.
This waiting period is often more useful than immediately adding another large volume.
Step 4: Water Again
Apply another slow, even watering.
You may notice that the second or third application starts soaking in more readily than the first.
Continue gradually until the mix feels evenly damp several inches below the surface.
The goal is not to turn the container into mud. You are trying to restore moisture throughout the root zone while still allowing excess water to drain.
Bottom-Watering Can Rescue a Severely Dry Pot
When top-watering repeatedly fails, soaking from below can be extremely helpful.
Place the container in a tray, basin or bucket containing a shallow layer of water. Water can then enter through the drainage holes and move upward through the potting mix.
Leave the pot long enough for moisture to begin moving through the root ball, then remove it and allow excess water to drain.
For a moderately sized container, checking it after roughly 15 to 30 minutes is reasonable, although the necessary time varies considerably with pot size, drainage holes and the condition of the mix.
Do not leave ordinary container plants permanently standing in water unless that particular plant requires such conditions.
Roots need oxygen as well as moisture. Healthy growing media are designed to hold water in smaller pores while leaving larger pore spaces available for air.
After soaking, lift the container if practical. A thoroughly moistened pot will often feel noticeably heavier than it did when dry.
What About Adding a Drop of Dish Soap?
The idea behind the dish-soap trick is not completely imaginary.
Soap and detergent contain surfactants, substances that reduce surface tension and help water spread more readily. Agricultural and horticultural wetting agents use the same general physical principle. Surfactants are specifically used in some applications to improve how water spreads or penetrates water-repellent materials.
That does not, however, mean ordinary household dish soap is the best product to pour into plant containers.
Dishwashing liquids are formulated for cleaning dishes, not managing growing media around living roots. Their ingredients and concentrations vary by brand and formulation.
For an empty container of old potting mix that will later be refreshed or replanted, an extremely dilute soap solution is sometimes suggested as a home remedy. But there is rarely a compelling reason to start there when plain water, repeated soaking and physical mixing can usually rehydrate the material.
For a container with a living plant—especially one already suffering from drought stress—skip household detergent as the first solution.
If chronic water repellency continues to be a problem, a horticultural wetting agent specifically labeled for container growing media is a more predictable option. Follow its label carefully because excessive surfactant is not better.
How to Restore Dry Potting Mix Before Planting
Rehydrating an empty container or bag of potting mix is easier because there are no roots to damage.
Place the dry mix in a large tub, bucket, wheelbarrow or container.
Add water gradually while turning the mix by hand or with a small garden tool.
Do not pour an entire bucket over it at once.
Instead:
- Add a modest amount of water.
- Mix thoroughly.
- Wait several minutes.
- Break apart dry clumps.
- Add more water as needed.
- Continue until the material is evenly moist.
Think of the desired consistency as moist rather than saturated.
If you squeeze a handful, it should feel damp throughout rather than dusty inside, but water should not pour freely from it.
Pre-moistening dry potting mix before filling containers can make planting much easier and helps prevent the first watering from simply running through channels.
Old Potting Mix May Need More Than Water
Being dry does not necessarily mean potting mix is unusable.
But age can create other problems that rehydration cannot correct.
Container media gradually changes as organic components break down. The mix may become compacted, lose some of its original pore structure, or contain old roots and accumulated debris.
If the potting mix has collapsed into a dense mass with poor drainage, simply wetting it again will not restore its original structure.
For an empty pot, remove old roots and loosen the material thoroughly. Depending on its condition and what you plan to grow, it may make sense to combine some of the old mix with fresh potting mix rather than relying entirely on material that has been used for several seasons.
Potting media need both water-holding capacity and sufficient air space for healthy roots.
Check Drainage Before Blaming the Soil
Water that disappears quickly does not always mean the potting mix is hydrophobic.
Sometimes the container simply drains very freely.
Other times, soil has shrunk away from the sides of the pot, creating a large channel through which water travels directly downward.
Check the drainage holes and inspect the edges of the root ball.
If you can see a substantial gap between the dry potting mix and the container wall, gently rehydrating the entire root ball is more useful than repeatedly pouring water into that gap.
The opposite problem is possible too.
If water remains on the surface for a very long time and the mix below stays soggy rather than dry, the container may have poor drainage or heavily compacted media. Adding more water would make that problem worse.
Be Extra Gentle With Drought-Stressed Plants
A badly wilted plant can tempt you to flood the container immediately.
A slower approach is usually more useful when the potting mix has become severely dry.
Apply some water, allow it to penetrate, then return for another round.
If needed, use a temporary bottom soak to help rehydrate the center of the root ball.
Once the mix is evenly moist, allow the container to drain normally.
Do not assume that a wilted plant needs continuous watering afterward. Wilting can have several causes, and roots kept constantly saturated can develop problems of their own.
Check the moisture in the mix rather than watering solely according to how the surface looks.
Prevent Potting Soil From Becoming Water-Repellent Again
The easiest hydrophobic potting mix to fix is the one that never becomes bone-dry.
Container plants naturally dry faster than plants growing in the ground, especially during hot, sunny or windy weather. Hanging baskets can dry particularly quickly because much of the container is exposed to moving air.
Check containers regularly by feeling below the surface rather than judging moisture from appearance alone.
A light-colored dry surface does not necessarily mean the entire container needs water, and a dark surface does not guarantee that the center is moist.
For unused potting mix, keep the bag closed or transfer the material to a covered storage container. It does not have to remain wet, but protecting it from extreme drying conditions makes it easier to use later.
Mulching suitable outdoor containers can also help slow evaporation.
When It Is Better to Replace the Potting Mix
Rehydration can fix dryness, but it cannot repair every problem.
Consider replacing all or part of the mix if it:
- has become severely compacted
- drains poorly even after being loosened
- has an unpleasant rotten odor
- contains a serious pest problem
- came from plants affected by significant root disease
- has broken down so far that its structure is no longer suitable for containers
Fresh potting mix is generally a better choice for seedlings and other plants that require particularly consistent growing conditions.
Old material that is merely dry, however, often has plenty of usefulness left.
A Slow Soak Usually Works Better Than a Clever Hack
When potting soil seems almost waterproof, the problem is often not a lack of water but an inability of extremely dry growing media to absorb that water evenly. Very dry soil and organic material can become hydrophobic, making rewetting difficult.
The solution does not need to be complicated.
Loosen the surface gently, apply water in small rounds, allow time between applications, and use bottom-watering when necessary. For empty pots, thoroughly mixing water into the old medium is even easier.
Although a tiny amount of soap may reduce surface tension, household dish detergent is unnecessary for most situations and is not the best first choice around living roots. If a genuine wetting agent is needed, use a horticultural product designed for that purpose.
Most bone-dry potting mix is not ruined. Give it enough time to absorb moisture evenly, and what first looked like dusty, unusable soil can often become workable growing medium again.