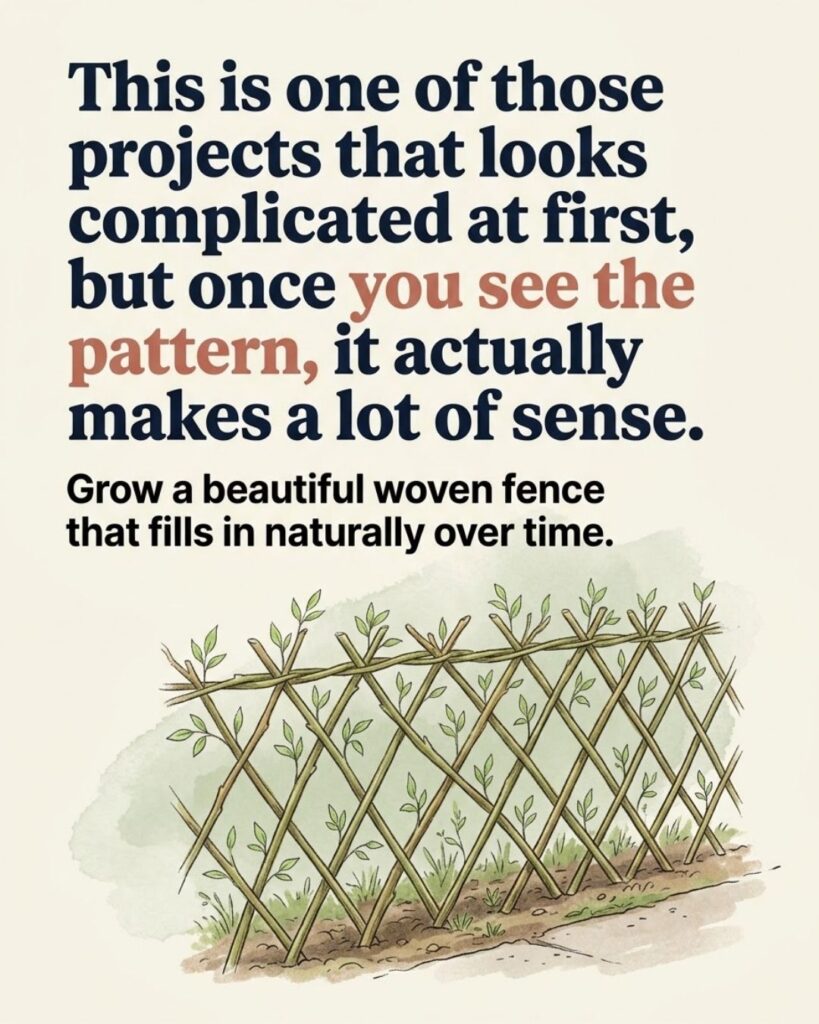
What you’re looking at is a living woven fence made from flexible branches, usually willow or another type that roots easily from cuttings.
I’ve seen this done as a garden divider, wind filter, soft privacy screen, or just a beautiful border along a path.
The nice part is that it does not stay stiff and dead like a regular fence.
You Might Also Like:
- Loading posts...
It fills in over time.
It leafs out.
And after a season or two, it starts looking like it belongs there.
If I were setting one up, I’d do it like this:
1. Mark out your line first.
A string line helps a lot here, especially if you want that clean diamond pattern all the way down.
2. Dig a narrow trench or loosen the soil deeply.
That gives the rods a better start and makes planting easier.
3. Push in long fresh rods at matching angles.
One leaning left, one leaning right, so they cross evenly.
4. Keep the spacing as even as you can.
That’s what makes the woven look work once it grows in.
5. Tie the crossing points loosely at first.
You only need enough support to hold the pattern while everything settles.
6. Weave in thinner rods across the top or through the sides if needed.
That helps lock the structure together and makes it look fuller sooner.
7. Water well the first season.
This part matters more than people think. Fresh cut rods need steady moisture while they root.
8. Trim and guide new growth as it fills in.
That’s how you keep the fence shape instead of letting it turn into a wild thicket.
A few things I’d keep in mind:
Use fresh, flexible cuttings, not dry old branches.
Pick a plant type that roots well in your area.
And do not expect the finished look overnight.
The first version always looks a little bare.
The second season is where it starts getting really nice.
By then, the structure softens, the leaves fill out, and the woven pattern starts standing out in the best way.
It’s a slower project, but it has a look you just can’t get from store-bought panels.
Would you try a living fence like this in your yard?
See less