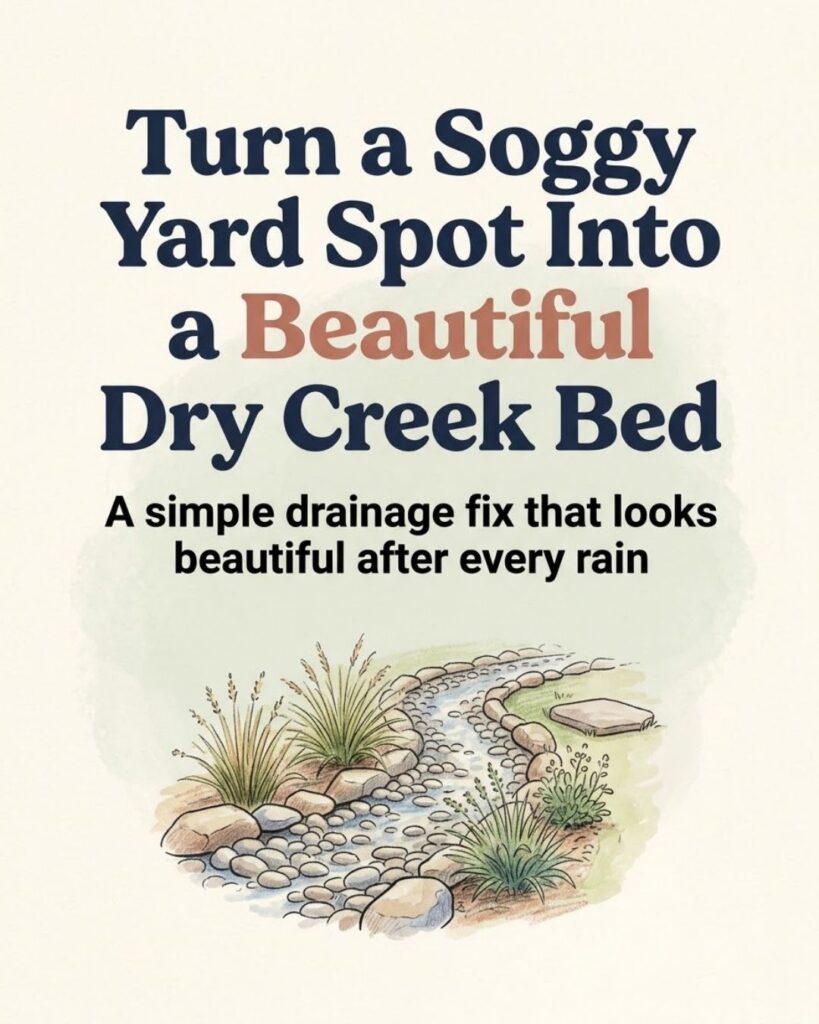
A low spot in the yard that turns muddy after every heavy rain can become frustrating fast. Grass thins out, soil washes away, and water often keeps following the same path no matter how many times the area is reseeded or patched.
In many cases, the better approach is not to keep fighting the water. It is to pay attention to where the runoff naturally wants to travel and design the landscape around that movement.
A dry creek bed can do exactly that. Built with stone and carefully shaped to follow an existing drainage path, it can guide runoff through part of the yard while turning an unattractive muddy strip into a deliberate landscape feature. Similar landscape practices such as swales are used to convey and slow stormwater runoff, although the exact design needed depends heavily on the property, soil, slope, and amount of water involved.
You Might Also Like:
- Loading posts...
The project can be fairly simple when you are dealing with ordinary residential runoff, but there are a few things worth understanding before you start digging.
Why the Same Part of the Yard Keeps Getting Soggy
Water follows gravity and the shape of the land.
During a hard rain, runoff from roofs, patios, driveways, slopes, and compacted lawn can collect in low areas. Once flowing water establishes a route across exposed soil, later storms may continue using the same path.
That can lead to:
- muddy patches
- thinning or dead grass
- exposed soil
- small erosion channels
- standing water
- washed-out mulch
- sediment collecting farther downhill
Simply adding new grass seed often fails because it does not address why the area keeps receiving so much water.
A dry creek bed works from the opposite direction: instead of pretending the water should not be there, you create a defined route for it.
What a Dry Creek Bed Actually Does
Despite its name, a dry creek bed is usually dry most of the time. It becomes active during rainfall, when runoff moves through or around the stone-lined channel.
Its purpose can be both practical and decorative.
A well-designed channel can help organize runoff and protect vulnerable bare soil from direct erosion. Related stormwater features such as swales are specifically designed to move, slow, and sometimes encourage infiltration of runoff.
But a dry creek bed is not automatically a complete drainage system.
If your property collects large amounts of water, stays saturated for long periods, receives runoff from neighboring land, or sends water toward a foundation, the problem may require grading, drainage pipe, a French drain, a rain garden, or professional drainage planning instead.
Think of a dry creek bed as one possible tool rather than a universal cure.
Materials You May Need
The exact quantities depend on the length and width of the area, but a basic project can use:
- River rock or rounded drainage stone
- Larger rocks or boulders for the edges
- A suitable underlayment if needed
- Shovel and rake
- Wheelbarrow
- Plants or ornamental grasses
- Stepping stones
- Optional drainage gravel
- Garden gloves
Using multiple stone sizes usually looks more natural than filling the entire channel with identical small rocks.
Larger stones can define bends and edges, while medium and smaller rock can fill the main channel.
Step 1: Watch What the Water Is Already Doing
Before digging anything, observe the area during or immediately after a substantial rain.
This may tell you more than studying the yard while it is dry.
Look for:
- where the runoff starts
- where it concentrates
- where soil is being washed away
- where puddles form
- where the water eventually exits
- whether it approaches buildings or neighboring property
Try to preserve the natural downhill direction instead of forcing water to travel somewhere it does not naturally want to go.
This is especially important because redirecting runoff carelessly can simply move the problem elsewhere.
Do not intentionally send concentrated runoff toward a neighbor’s property, foundation, septic area, retaining wall, or other vulnerable location.
Step 2: Mark a Natural-Looking Channel
Once you know the water’s route, mark the future creek bed.
A gently curving shape usually looks more natural in a residential landscape than a perfectly straight trench.
Use a garden hose, rope, or landscape marking paint to experiment with the shape before digging.
Avoid making every curve identical. Natural streams tend to vary in width and direction.
The channel does not need to be extremely deep to look convincing. Its dimensions should instead reflect how much runoff actually passes through the area.
A shallow decorative creek handling occasional surface runoff is very different from a channel expected to carry a large volume of stormwater.
Step 3: Excavate the Channel
Remove the grass and soil within your marked area.
Shape the center slightly lower than the edges so water has a defined route.
You can also vary the width slightly, making some portions broader and others narrower. This tends to produce a more organic appearance than creating what looks like a stone-lined trench.
As you dig, keep checking the slope.
The water needs somewhere appropriate to go. A beautiful channel that ends in another low spot may simply create a new puddle.
If you cannot determine a safe outlet, it may be worth reconsidering the drainage design before adding stone.
Step 4: Decide Whether You Actually Need Landscape Fabric
Landscape fabric is commonly placed beneath decorative stone because it can initially separate rock from soil and suppress some weed growth.
However, it should not automatically be treated as essential.
Penn State Extension cautions against routine use of plastic or synthetic landscape cloth in some landscape applications because these materials can contribute to runoff and erosion rather than improving soil conditions.
There is also a practical maintenance issue: sediment and organic matter eventually collect between rocks, allowing weeds to germinate above the fabric anyway.
For some decorative stone installations, a suitable geotextile may still be useful for keeping rock from sinking into soft soil. The appropriate material depends on whether your channel is primarily decorative, intended for drainage, or expected to experience erosion.
If significant water will move through it, choosing the right base and drainage design matters more than simply adding generic weed fabric.
Step 5: Place the Largest Stones First
Once the channel is shaped, begin with the largest rocks.
Place them along curves, at transitions, and irregularly along the sides.
Avoid creating two perfectly even rows of stones. That tends to make the finished project look manufactured rather than stream-like.
Instead, partly bury some stones so they appear naturally embedded in the ground.
A few substantial rocks can also help visually anchor the design.
You do not need dozens of large boulders. Strategic placement is more effective than lining every inch of the creek with oversized stone.
Step 6: Fill the Channel With Smaller Rock
After the large stones are positioned, add medium and smaller rock through the center.
River rock is popular because its rounded shapes resemble material found in natural waterways, but stone availability varies by region.
Spread the material unevenly rather than making the entire creek perfectly flat.
You might use smaller stones through broad sections and slightly larger material where the channel narrows or curves.
Just remember that appearance is secondary to function. Water should still be able to travel through the area without immediately washing loose material away.
Fast-moving runoff may require heavier stone or more substantial erosion control than a decorative creek bed carrying only gentle sheet flow.
Step 7: Soften the Edges With Plants
Stone alone can sometimes make a dry creek bed look harsh.
Plants help connect it to the rest of the landscape.
Grasses, groundcovers, shrubs, and perennials can soften the outer edges and make the feature look as though it belongs in the yard.
Choose plants for the actual moisture conditions rather than choosing everything based on the phrase “dry creek.”
The rocks may be dry for most of the week while the soil immediately beside them periodically receives substantial runoff.
If an area regularly becomes wet during storms, plants that tolerate temporary moisture may perform better there than species requiring consistently dry soil.
Rain gardens use this same general principle: plants are selected for places that temporarily collect runoff and can help slow water, encourage infiltration, and hold soil with their roots.
Farther away from the wettest part of the channel, drought-tolerant ornamental plants may make more sense.
Step 8: Add Stepping Stones Where They Are Useful
If the creek crosses a place where you regularly walk, incorporate stepping stones rather than repeatedly stepping through loose river rock.
Use stones large enough to provide stable footing.
Set them firmly so they do not wobble, especially after rainfall washes soil from around their edges.
They can also become an attractive transition between lawn, flowerbeds, and the creek.
A few carefully positioned stones usually look better than creating an unnecessary full pathway.
Where Should the Water End Up?
This is one of the most important questions in the entire project.
A drainage channel should not simply move water faster from one problem area to another.
Depending on the property, runoff may eventually discharge toward an appropriate lower landscape area, connect to another approved drainage feature, or be directed toward a location where it can safely spread and infiltrate.
Another option in some landscapes is a rain garden.
Rain gardens temporarily collect stormwater and allow more of it to soak into the ground. They can also help reduce erosion and filter runoff.
The right solution depends on soil drainage, slope, available space, rainfall, local regulations, and where the runoff originates.
Common Dry Creek Bed Mistakes
A few mistakes can make an otherwise attractive installation less useful.
Making It Completely Flat
A decorative trench without adequate slope may simply become a rock-filled puddle.
Follow the site’s natural grade whenever possible.
Using Only One Rock Size
Identical gravel from beginning to end often looks artificial and may not stay in place where flow is strongest.
A range of stone sizes creates a more convincing and often more stable result.
Making the Channel Too Narrow
Concentrating a lot of runoff into a tiny channel can increase the speed of the water.
The amount of runoff should influence the width and depth of the feature.
Ignoring the Outlet
Every drainage project needs an answer to the question: where does the water go next?
Do not begin by digging the attractive portion and leave that question until the end.
Planting the Wrong Plants
A plant labeled drought tolerant may not appreciate sitting beside a regularly saturated drainage channel.
Match plants to the specific moisture conditions in each part of the feature.
Expecting Fabric to Eliminate Weeds Forever
Even with an underlayment, dust, leaves, mulch, and soil eventually collect among stones.
Some occasional weeding is still normal.
Know When a Dry Creek Bed Is Not Enough
Small landscape drainage problems can sometimes be handled with relatively simple changes, but persistent water near a house deserves more caution.
Consider professional drainage advice if:
- water regularly reaches the foundation
- the yard remains saturated long after rainfall
- runoff is causing serious erosion
- a steep slope is failing
- large volumes of water arrive from uphill properties
- the proposed drainage route affects neighboring land
- buried utilities may cross the excavation area
- you are unsure where the runoff can legally or safely discharge
Local drainage and stormwater rules can also apply, particularly if work affects public drainage systems, streams, wetlands, easements, or adjoining properties.
A Better Use for a Difficult Corner of the Yard
A muddy drainage path does not always need to be hidden.
Sometimes the most practical landscape design comes from accepting what the site is already telling you.
If rain repeatedly follows the same route, shaping that route into a carefully built dry creek bed can turn an awkward strip of failing grass into an attractive feature. Large stones define the channel, smaller rock gives runoff a durable surface, and plants soften the edges so the finished area feels like part of the landscape rather than an exposed ditch.
The important part is to solve the drainage problem first and decorate it second. Follow the natural grade, think carefully about where the water will end up, choose materials that can tolerate the actual flow, and use plants suited to the moisture conditions around the channel.
Done well, the result can be one of those rare yard improvements that looks better precisely because it works better.