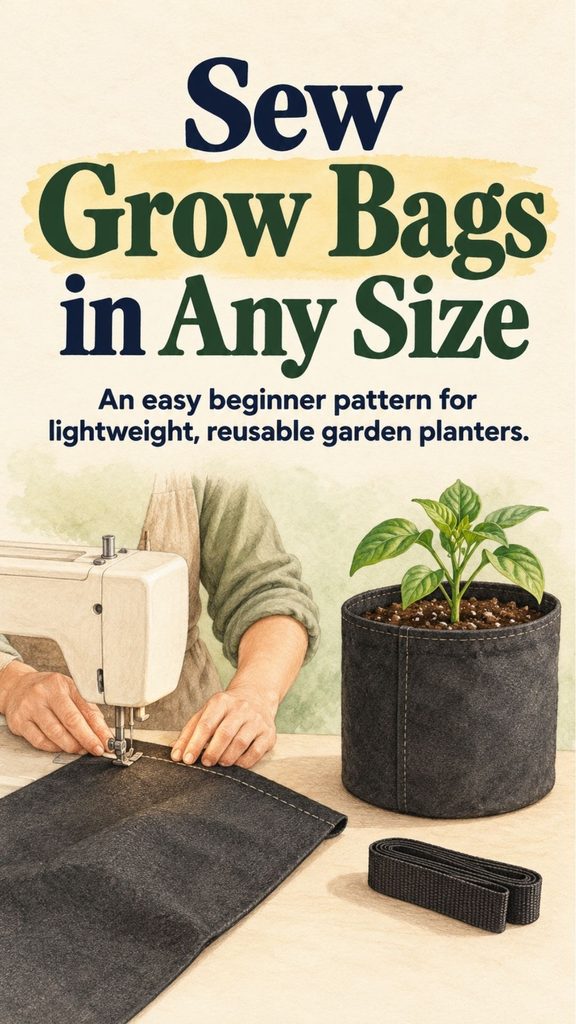
Fabric grow bags are one of the easiest garden containers to make at home. They are lightweight, inexpensive, easy to store at the end of the season, and can be sewn in almost any size—from a small herb planter to a large container for tomatoes or flowers.
Unlike rigid plastic pots, fabric bags collapse flat when empty, which makes them especially useful for patios, balconies, small gardens, and anyone short on winter storage space. The original project uses layers of landscape fabric sewn into a round container, with optional webbing handles, and the same basic sewing method can be adapted to several sizes.
This is also a very beginner-friendly sewing project. You do not need complicated patterns, zippers, curves, or decorative stitching. Most of the work is simply cutting matching pieces of fabric and sewing straight seams.
You Might Also Like:
- Loading posts...
Once you understand how the bottom corners are formed, you can make several bags surprisingly quickly.
Why Grow Bags Work So Well
Grow bags solve several problems that ordinary pots can create.
They are much lighter than ceramic or heavy plastic containers, especially before they are filled. They can be folded and stored when the season ends, and their soft sides allow you to adjust the height by rolling the top down.
Fabric containers are also porous.
Water can move through the material instead of collecting at the bottom of a solid pot, so separate drainage holes are generally unnecessary when the fabric itself drains freely.
That porosity also allows more air to reach the root zone.
One reason gardeners like fabric containers is that roots reaching the drier outer edge tend to stop elongating and branch rather than continuing to circle repeatedly around the inside of a hard-sided pot.
The tradeoff is that grow bags usually dry faster than plastic containers.
During hot weather, they may need more frequent watering.
That is worth considering before deciding where to place them.
Choose the Fabric Carefully
The original method uses nonwoven polypropylene landscape fabric, sometimes sold as weed-barrier fabric.
It is inexpensive, easy to cut, and generally strong enough to hold potting mix when doubled.
However, landscape fabrics vary considerably by manufacturer.
If you plan to grow vegetables or herbs, choose a product whose manufacturer indicates it is appropriate for the intended garden use rather than assuming every weed-barrier fabric has identical composition or additives.
Commercial grow-bag fabric is another option and may be preferable if you expect the containers to remain in service for several seasons.
For this sewing method, avoid extremely thick material that your sewing machine cannot comfortably penetrate.
A medium-weight fabric that can be doubled usually gives a good balance of strength and flexibility.
Double the Fabric for Better Strength
A single layer can work for very small containers, but two layers make a much more useful bag.
Double fabric helps support wet potting mix and reduces the likelihood of seams pulling apart.
It may also slow moisture loss somewhat compared with a very thin single layer.
For particularly hot, exposed locations, additional layers may help reduce evaporation, although extra thickness also makes sewing more difficult.
For most home projects, starting with two layers is sensible.
What You Need
You only need a few basic sewing supplies for this project: suitable fabric, heavy-duty outdoor polyester thread, scissors, a ruler, sewing clips or pins, a marking pencil, and a sewing machine with a strong needle suitable for heavier fabric.
Denim needles are often useful.
Optional webbing can be added for handles.
Use durable outdoor or polyester thread rather than lightweight decorative thread because the seams will eventually support damp soil.
One important difference from ordinary fabric sewing: do not iron polypropylene landscape fabric.
It is a plastic-based material and can melt or deform under heat.
Instead, flatten seams with your fingers as you work.
Start With a Small Bag First
If you have never made a grow bag, make a small one before tackling a huge container.
A mini or small version uses less fabric, is easier to maneuver under the sewing machine, and lets you understand how the bottom is formed.
Once you have finished one successfully, scaling the pattern up is straightforward.
The same construction method works for several different dimensions.
The source project suggests starting with four matching pieces of fabric and provides examples ranging from 9-inch squares for a mini bag to 36-inch squares for an extra-large version.
Why Square Pieces Work Better
Square starting pieces tend to create a more rounded container once the bottom corners are sewn.
Rectangular pieces can also be used, but the finished bag may be more elongated or floppy.
For a simple planter that stands reasonably well after filling, start with equal-sized square pieces whenever possible.
Remember that the finished dimensions will be smaller than the original cut pieces because seams, bottom shaping, and the folded top all consume fabric.
Step 1: Cut Four Matching Pieces
Cut four identical pieces of fabric.
These four pieces will ultimately become two layers on each side of the grow bag.
For a medium-size container, four 18-by-18-inch pieces are a useful starting point.
Stack the four pieces neatly so the edges line up.
Landscape fabric often has very little difference between the two surfaces, so a traditional “right side” and “wrong side” may not matter.
If your particular material clearly has different surfaces, decide which one you want facing outward and arrange the layers consistently.
Step 2: Sew the First Side
Pin or clip all four layers together along one edge.
Sew a straight seam from top to bottom.
A seam allowance somewhere around ¼ to ½ inch can work.
The exact width matters less than consistency.
If you use a ½-inch seam on one side, use the same allowance elsewhere.
Backstitch briefly at the beginning and end to help secure the seam.
Because nonwoven landscape fabric can shed fibers while sewing, periodically check the bobbin area of your machine and remove accumulated fluff.
Step 3: Sew the Opposite Side
Flatten the fabric with your hands.
Then line up and sew the opposite side using the same seam allowance.
You should now have four layers joined along two opposite edges.
At this point the project still looks more like a flat sleeve than a planter.
The shape appears during the next few steps.
Step 4: Rotate the Fabric and Sew the Bottom
Rotate the project so the two side seams line up with one another—one directly over the other.
Smooth everything as evenly as possible.
Pin or clip across what will become the bottom edge.
Sew straight across all four layers.
You now have a basic bag, but the bottom will still be flat and narrow.
The next step creates the wider base.
Step 5: Reposition the Side Seams
Move the original side seams back toward opposite sides of the bag.
As you do this, the bottom will begin forming two triangular points.
Flatten the bag carefully so both sides are symmetrical.
The goal is to create a base that opens into a rounder shape once filled.
Take your time here.
If the fabric is badly twisted before you sew the next seams, the finished bag may lean or sit unevenly.
Step 6: Mark the Bottom Corner Seams
Look at each triangular bottom corner and identify a line across it where you want the bag’s base to form.
Mark corresponding lines on both corners.
The two lines should be positioned equally so the bag remains balanced.
Sew across each marked line.
These new seams flatten the pointed corners and create a broader bottom.
The farther the seam sits from the corner point, the wider the base generally becomes.
This step is what turns a simple flat bag into a container that can stand once filled.
Don’t Cut Off the Bottom Triangles
After sewing those bottom seams, you will notice triangular flaps remaining inside the bag.
It may be tempting to trim them away.
Leave them.
They add another layer of fabric across the base, which provides reinforcement where the weight of damp potting mix is greatest.
They may also slightly reduce water loss through the bottom.
Since they remain hidden inside the planter, there is little reason to remove them.
Step 7: Turn the Bag Right Side Out
Turn the entire grow bag right side out so the main seams are inside.
Push out the base and set the empty bag upright.
Do not worry if it still looks somewhat floppy.
Fabric grow bags get much of their final shape from the potting mix placed inside them.
Once filled, the walls should become considerably more stable.
Step 8: Finish the Top Edge
To finish the opening, stitch the two layers together around the top.
Then fold the upper edge outward like the cuff of a sock.
You can make this fold narrow or several inches deep depending on the appearance and final height you want.
Stitch the cuff if you want it permanently secured.
Another advantage of leaving some extra height is that you can roll the top farther down when growing plants that do not need a deep container.
That makes one basic bag more versatile.
Step 9: Add Handles if You Want Them
Handles are optional.
Small and medium bags are often easy enough to lift by supporting the container itself, while a large grow bag filled with wet potting mix can become extremely heavy.
If you add handles, use sturdy webbing rather than decorative ribbon.
Sew a generous portion of each end directly to the outside wall of the bag.
A rectangle of stitching, reinforced through the center, distributes force better than attaching the webbing with only a short straight line.
For medium bags, two handles are usually enough.
Large containers may benefit from four.
Do not assume handles make a very large, fully saturated grow bag safe to carry.
Soil and water are heavy, and excessive weight can tear fabric or pull handles free.
When possible, place large containers where they will remain before filling them.
Choosing the Right Grow Bag Size
Match the container to the plant rather than making every bag the same size.
Small bags are useful for herbs, compact flowers, young plants, and shallow-rooted crops.
Medium containers can suit salad greens, carrots, herbs, and many ornamental plants.
Larger bags provide more root room for tomatoes and other substantial container crops.
Always consider both depth and total soil volume.
A plant that becomes large above ground generally needs enough potting mix below ground to support its roots, moisture needs, and nutrient requirements.
When uncertain, giving a vigorous crop a little more soil volume is usually easier than trying to keep a tiny container constantly watered.
Use Potting Mix, Not Heavy Garden Soil
Once your bag is finished, fill it with a quality container-growing mix.
Ordinary garden soil can become dense and poorly aerated inside containers.
A potting mix is designed to hold moisture while still allowing air into the root zone.
Leave some space below the rim so watering does not immediately wash soil over the edge.
Gently firm the mix rather than compacting it tightly.
Then water thoroughly before or immediately after planting.
The soil will usually settle slightly after its first deep watering,