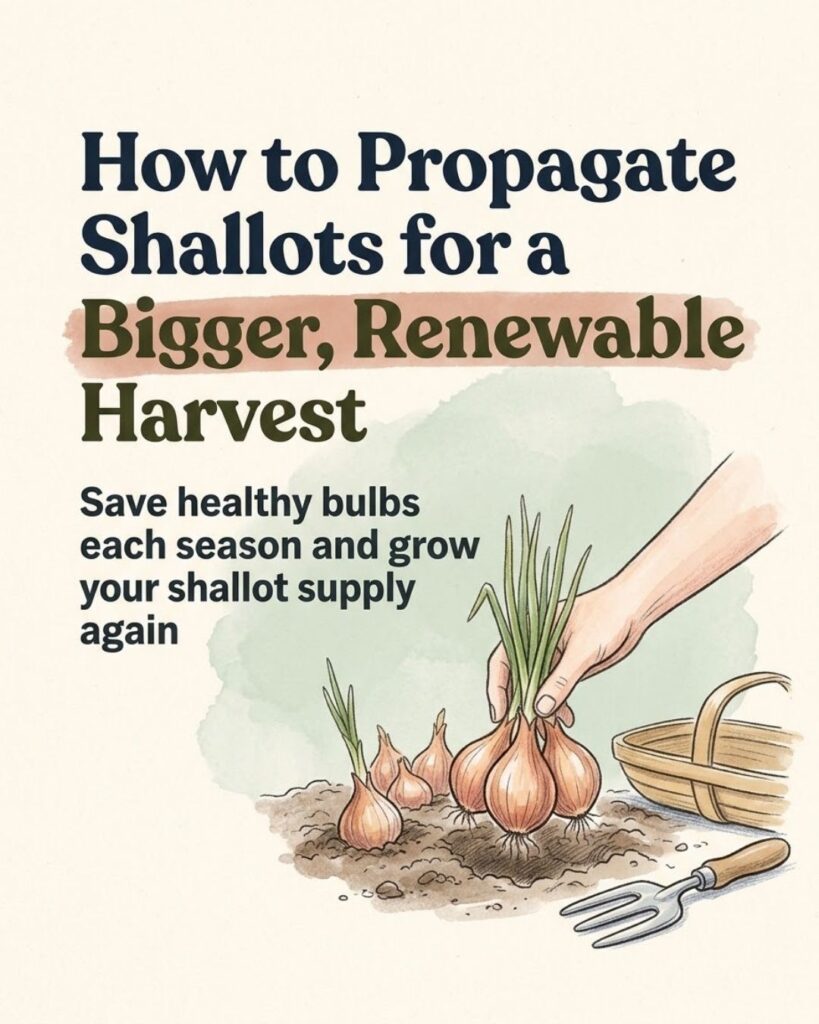
Shallots are one of the easiest vegetables to turn into a repeat crop. Plant a single shallot set and, instead of harvesting one replacement bulb, you can often lift a cluster of several new bulbs at the end of the growing season. Save some of the healthiest bulbs for planting again, and the process can be repeated year after year.
That does not make shallots literally “unlimited.” Weather, disease, poor storage, unsuitable varieties and growing conditions can interrupt the cycle. But for a home gardener who learns how to plant, harvest, cure and select healthy bulbs, shallots can become a remarkably self-renewing crop.
Shallots belong to the Allium cepa Aggregatum Group and are closely related to onions. Unlike a typical bulbing onion, many shallots naturally form clusters. They are commonly grown from small immature bulbs known as sets, although seed-grown varieties are also available. The Royal Horticultural Society notes that each planted set produces a cluster of new bulbs, making sets particularly useful for gardeners interested in saving and replanting their own stock.
You Might Also Like:
- Loading posts...
Why Shallots Are So Easy to Propagate
Propagation sounds technical, but with shallots it can be as simple as saving part of your harvest.
A shallot set planted in suitable soil begins producing roots and green leaves. As the plant develops, the original bulb gives rise to a group of new bulbs clustered around its base.
At harvest time, that cluster can be separated into individual shallots. Some can go into the kitchen while healthy specimens are held back for the following planting season.
This creates a straightforward cycle:
- Plant one healthy shallot set.
- Allow it to develop into a cluster.
- Harvest and cure the bulbs.
- Select healthy bulbs for storage.
- Replant part of the harvest.
- Eat or store the remainder.
The number of bulbs in each cluster depends on the cultivar and growing conditions, so there is no reliable universal multiplication rate. Some cultivars are specifically described as producing clusters of several bulbs; for example, RHS information for the cultivar ‘Longor’ indicates that one set can produce up to eight shallots.
The sensible goal is therefore not to expect every planted bulb to multiply by a fixed number, but to produce enough healthy bulbs that you can reserve some for another crop.
Start With Healthy Planting Stock
Good propagation begins before anything goes into the soil.
Garden-center shallot sets are generally a better starting point than random grocery-store shallots because they are sold specifically for planting. Grocery bulbs may grow, but their cultivar, growing history and suitability for your climate may be unknown.
Choose firm bulbs without:
- soft or sunken areas
- visible mold
- serious cuts or bruising
- signs of rot
- badly damaged basal plates
There are many types of shallots, ranging from round bulbs to elongated, torpedo-shaped forms. Storage ability, flavor, resistance to bolting and cluster size can vary by cultivar.
If your main objective is long-term propagation, prioritize a cultivar suited to your local growing conditions rather than selecting solely by appearance.
Sets or Seeds: Which Method Is Better?
Shallots can be propagated both from sets and from true seed, but these methods behave differently.
Growing From Sets
Sets are the simplest choice for creating a repeating supply.
Each individual set can produce a cluster of bulbs. They establish quickly and are generally easier to manage than young seedlings. The RHS also notes that sets tend to perform better in colder regions, although they cost more initially and should be planted relatively soon after purchase.
Once you have produced and saved your own healthy bulbs, that initial purchasing cost may be reduced in later seasons.
Growing From Seed
Seed can be cheaper and gives gardeners access to cultivars that might not be readily available as sets. Seed-raised shallots also tend to be less vulnerable to premature flowering, according to RHS guidance. However, they grow more slowly and require greater attention during the early stages.
Seed-grown shallots do not necessarily behave exactly like multiplier sets. Each seed initially produces a bulb, although several seedlings can be grown together to create a clump.
For the gardener primarily interested in simple vegetative propagation, sets are usually the more convenient option.
Choose the Right Growing Site
Shallots are relatively uncomplicated plants, but poor soil conditions can undermine the entire propagation cycle.
A successful site should provide two things above all: sun and drainage.
Shallots perform best in a sunny position with fertile, well-drained soil. They have a fairly limited root system, so incorporating well-rotted compost or other mature organic matter before planting can improve soil structure, fertility and moisture retention.
Avoid low areas that stay soggy after rain.
Constantly wet soil increases the risk of bulb rot and fungal problems. If your garden has heavy soil that regularly becomes waterlogged, a raised bed or large container can provide a more suitable environment.
Do not confuse good drainage with dry soil. Young plants still need sufficient moisture to establish. The goal is soil that holds useful moisture without remaining saturated.
When to Plant Shallot Sets
There is no single planting date that works everywhere.
Many shallot varieties are planted in early to mid-spring. Certain cold-tolerant cultivars can also be planted in autumn or winter, depending on the local climate and soil conditions.
Autumn planting can provide a head start in appropriate climates, but it is not automatically better. In heavy, wet soil, bulbs planted before winter are more vulnerable to rotting.
That means local conditions matter more than a rigid calendar.
For spring planting, wait until the soil is workable rather than forcing sets into waterlogged ground. For autumn planting, choose a cultivar sold for that purpose and avoid sites that remain wet through winter.
How to Plant Shallots Correctly
One of the easiest mistakes is burying shallot sets too deeply.
Prepare the bed first, removing persistent weeds and breaking up large compacted clods.
Then:
- Position each bulb with the pointed end facing upward.
- Press it into the soil so the tip remains just visible at the surface.
- Firm the soil gently around the bulb.
- Space the sets roughly 6–8 inches (15–20 cm) apart.
- Leave approximately 10–12 inches (25–30 cm) between rows.
- Water after planting to settle the soil.
These measurements follow current RHS guidance for planting shallot sets.
The spacing may look generous when the bulb first goes into the ground, but remember that the plant needs room to form an entire cluster.
Newly planted sets can occasionally be pulled from the soil by birds. Check the bed periodically and push displaced bulbs back into position. Temporary netting or horticultural fleece may help until they root securely.
Keep Weeds From Taking Over
Shallots do not form a dense leafy canopy, so plenty of sunlight continues reaching the soil around them. Unfortunately, weeds appreciate that light too.
Allowing weeds to grow around shallots creates competition for water, nutrients and light and can reduce the crop.
Weed little and often.
If you use a hoe, work carefully because the developing bulbs sit close to the surface. Hand-pulling weeds immediately around the plants is often safer than aggressive cultivation.
A light mulch can help suppress weeds, although it should not create a permanently wet environment around the bulbs.
Water Without Keeping the Bulbs Wet
Watering shallots is less about following a fixed weekly quantity and more about responding to the soil and weather.
Once established, shallots growing in the ground may need additional irrigation mainly during prolonged dry periods. Container-grown shallots dry more quickly and generally require more frequent watering.
As the bulbs swell and approach maturity, reduce unnecessary irrigation. Excess moisture late in the growing cycle can interfere with storage quality and contribute to disease problems.
If possible, direct water toward the soil rather than repeatedly soaking the foliage.
The basic rule is simple: prevent severe drought while the crop is actively growing, but do not keep the bed permanently wet.
Avoid Overfeeding
A rich garden bed does not necessarily need constant fertilizer.
Adding mature compost or other suitable organic matter before planting may provide enough nutrients for a good shallot crop in many garden soils.
More fertilizer is not automatically better.
Excessive nitrogen can encourage lush leafy growth when the gardener’s real objective is good bulb development. If your soil is poor, base additional fertilizer on soil conditions and product directions rather than feeding simply because the plants are green.
Container-grown plants may require occasional feeding because nutrients are gradually depleted or washed from the potting mix.
What to Do if Shallots Flower
Sometimes a shallot sends up a flower stalk before harvest, a process generally called bolting.
Cold spells and other environmental factors can contribute to premature flowering. Once a flower stem begins developing, remove it promptly so the plant does not continue directing resources toward flowering and seed production.
Bolted bulbs are not automatically useless. They can still be eaten.
However, their storage performance is poorer, so mark those plants and use their bulbs before your best storage shallots. Do not choose them as your first candidates for next season’s planting stock.
How to Know When Shallots Are Ready to Harvest
Do not harvest simply because the bulbs look large enough.
The foliage gives a better indication of maturity.
Shallots generally reach harvest stage when the leaves yellow, weaken and begin flopping over. Depending on the variety, planting date and weather, this commonly occurs in mid- to late summer in temperate climates.
Loosen the soil beneath the cluster with a hand fork and carefully lift it.
Avoid yanking the plant out by its leaves. Bruised, cut or damaged bulbs are more likely to deteriorate during storage.
After lifting, gently separate the cluster into individual shallots.
At this point you have three choices: use some fresh, cure some for storage and set aside suitable bulbs for future planting.
Curing Is Essential for Long-Term Storage
The propagation cycle does not end at harvest. If your saved shallots rot before planting time, you have lost the next generation.
Curing allows the outer skins and foliage to dry thoroughly before storage.
Spread harvested shallots in a single layer where air can circulate freely. In dry weather they can be dried outdoors; in damp conditions, a greenhouse, shed or similarly well-ventilated sheltered space is more reliable.
RHS guidance recommends drying them for about two weeks, until the foliage and outer skins are thoroughly dry and papery.
Only sound bulbs should go into long-term storage.
Discard or use promptly any bulbs that are:
- bruised
- soft
- damaged
- moldy
- visibly diseased
Store cured shallots somewhere cool, dry and well ventilated. Mesh bags or shallow trays that permit airflow are preferable to sealed plastic containers.
Properly dried shallots can store for months, although exact storage life varies according to cultivar and conditions.
How to Save Shallots for Replanting
This is the step that turns an ordinary crop into a repeating one.
Before sending the entire harvest to the kitchen, choose enough bulbs to plant your desired area next season.
Select specimens that are:
- firm
- fully mature
- free from wounds
- free from visible disease
- typical of the cultivar
- well cured
You do not necessarily need to sacrifice every largest shallot. More important than sheer size is health and soundness.
Keep your planting stock separate from bulbs intended for cooking so you do not accidentally use it during winter.
During storage, inspect the bulbs occasionally. Remove anything that becomes soft or begins rotting before the problem spreads to neighboring bulbs.
Do Not Ignore Crop Rotation and Disease
Saving your own planting material has advantages, but it also creates one potential problem: infected bulbs can carry trouble into another season.
Alliums, including shallots, can suffer from problems such as downy mildew, neck rot, onion fly and white rot. The risk differs by region.
Never save obviously diseased bulbs for planting.
Crop rotation is also useful. Avoid repeatedly growing shallots, onions, garlic and closely related alliums in exactly the same patch if disease has been a problem. General disease-management guidance from the University of Minnesota Extension recommends rotating plant families and avoiding the same family in a location for two to four years as part of a broader disease-prevention strategy.
White rot deserves particular caution because it is a serious soil-borne disease affecting onions, garlic, leeks and shallots and can persist in contaminated ground.
Propagation should never mean repeatedly multiplying unhealthy planting stock.
Can You Grow Shallots in Containers?
Yes. Lack of a traditional vegetable garden does not prevent you from propagating shallots.
A container should provide enough depth and width for roots and expanding bulb clusters. RHS guidance recommends a container at least about 12 inches (30 cm) wide and deep.
Use a well-drained potting mix and make certain the container has unobstructed drainage holes.
Plant at the same general depth used in the garden, with the tip of each set close to the surface.
Containers require closer attention to watering because they dry faster than garden soil. At the same time, leaving a pot standing in water can create exactly the wet conditions shallots dislike.
For a gardener with a patio, balcony or small courtyard, even a few containers can produce enough bulbs to save planting stock and gradually expand the crop.
A Simple Long-Term Shallot Propagation Strategy
There is no need to turn shallot growing into complicated mathematics.
Suppose you plant 20 bulbs. At harvest, each plant may produce a cluster of varying size. Instead of assuming a certain multiplication rate, simply evaluate what you actually harvest.
Choose 20 of the healthiest suitable bulbs and reserve them for the next planting.
Everything beyond those 20 becomes your usable crop.
If you want to expand the patch, save 30 or 40 rather than 20.
If disease, weather or poor growth reduces the harvest one year, reduce the size of the next planting or purchase clean replacement sets rather than replanting questionable bulbs.
That flexibility is what makes the system practical.
The Real Secret to a Renewable Shallot Harvest
The impressive part of shallot propagation is not that one bulb magically guarantees an endless food supply. It is that the plant’s natural cluster-forming habit gives gardeners an opportunity to save their own planting material with very little additional work.
Start with healthy sets. Give them sunlight, fertile well-drained soil and enough room to multiply. Control weeds, avoid waterlogging, harvest after the foliage naturally declines and cure the bulbs thoroughly before storage.
Most importantly, treat the best healthy bulbs as next season’s planting stock rather than automatically sending every shallot to the kitchen.
Once that habit becomes part of the harvest routine, growing shallots changes from a one-season crop into a repeating garden cycle—plant, multiply, harvest, save and plant again.