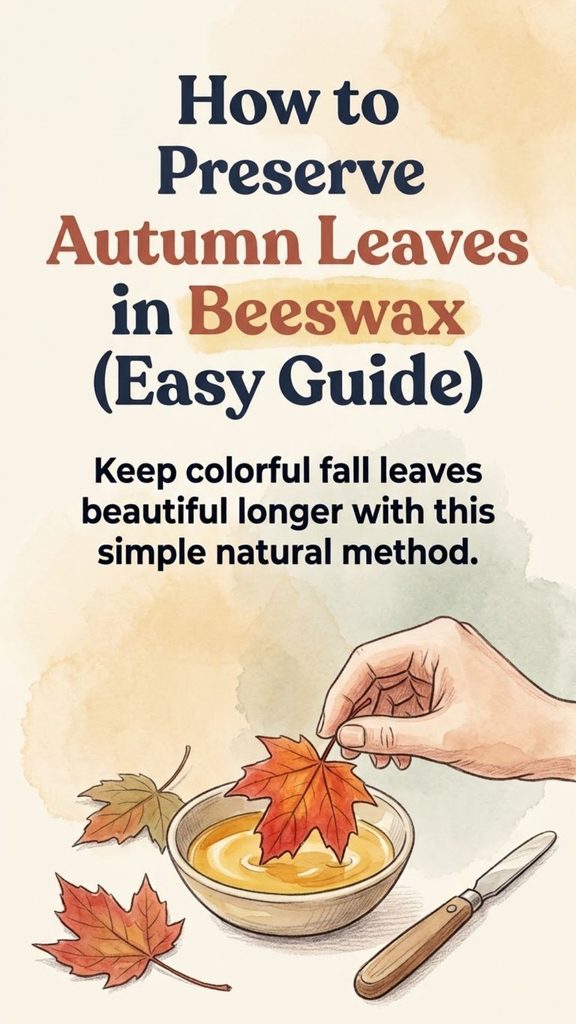
Autumn leaves rarely keep their beauty for long. A bright red maple leaf can look perfect when you bring it indoors, only to curl, dry out, and turn brittle a few days later. Preserving leaves in beeswax is a simple way to slow that process while keeping much of their natural color, shape, and texture.
The method is wonderfully uncomplicated. You collect fresh autumn leaves, make sure they are dry, gently melt beeswax, dip each leaf in a thin coating, and let it cool. The finished leaves can be used for garlands, table decorations, wreaths, nature displays, and other seasonal crafts.
Beeswax does not make a leaf permanent. The natural pigments will still change gradually with time. What the wax does is form a protective coating around the leaf, helping it stay attractive and flexible much longer than an untreated leaf.
You Might Also Like:
- Loading posts...
Here is how to do it properly without making the leaves thick, cloudy, or overly waxy.
Why Use Beeswax to Preserve Autumn Leaves?
There are several ways to preserve fall leaves, including pressing, glycerin treatments, and coating them with craft products. Beeswax is appealing because the process is quick and the finished leaf still looks natural.
A thin coating of beeswax gives the leaf a soft sheen without completely hiding its veins and texture. It also adds a little flexibility, which makes the leaves easier to use in decorations than completely dried, brittle leaves.
Another benefit is simplicity. You do not need many supplies or complicated equipment. Once the wax is melted, each leaf takes only a few seconds to dip.
The most important part is keeping the wax layer thin. More wax does not mean better preservation. A heavy coating can make beautiful leaves look dull and artificial.
What You Will Need
Gather everything before you begin heating the wax.
You will need:
- Fresh, colorful autumn leaves
- Pure beeswax pellets or a beeswax block
- A double boiler or heat-safe container placed over a water bath
- Parchment paper or another protected work surface
- A spoon or heat-safe utensil for the wax
- Tongs, if desired
- Paper towels or an old cloth for cleanup
Beeswax can be difficult to remove completely from cookware. If you plan to make wax crafts regularly, it is useful to keep one inexpensive pot, bowl, or pouring container specifically for beeswax.
Beeswax pellets are convenient because they melt quickly, but a block works perfectly well. If you use a block, chopping it into smaller pieces can help it melt more evenly.
Choose the Right Autumn Leaves
Good results begin before the wax is ever melted.
Look for leaves that have recently fallen and still feel flexible. They should have strong autumn color but should not yet be crispy or crumbly.
Leaves that are red, orange, burgundy, rust, and gold can all work beautifully. Different tree species also give you interesting shapes for decorating.
Avoid leaves that are:
- Wet from rain or morning dew
- Moldy or beginning to decay
- Heavily torn
- Covered in mud
- Already dry and brittle
- Badly spotted or damaged
A brittle leaf will not become fresh again simply because it is dipped in wax. The wax preserves the condition of the leaf you start with, so choose your best specimens.
Collect a few more leaves than you think you will need. Some may tear, curl, or simply not look as attractive once coated.
Make Sure the Leaves Are Completely Dry
This step is easy to overlook.
If you collect leaves from damp grass or after rain, spread them in a single layer indoors and allow the surface moisture to disappear before waxing them.
You do not necessarily need to dry the leaves until they are crisp. In fact, fresh and flexible leaves generally work better. You simply do not want visible water trapped against the leaf when it goes into the wax.
Gently wipe away dirt if necessary and allow the leaf to dry naturally.
Should You Press the Leaves First?
Pressing is optional.
If your leaves are naturally flat, you can usually dip them exactly as they are. Slight curves and waves can actually make finished decorations look more natural.
Leaves that have curled tightly can be flattened first. Place them between clean sheets of paper and put a heavy book on top until they relax enough to work with.
You do not need to press them for days unless you specifically want the completely flat appearance of traditional pressed leaves.
The goal is simply to make dipping easier.
Prepare the Work Area Before Melting the Wax
Wax drips are much easier to prevent than remove.
Cover your table with parchment paper, kraft paper, recycled paper, or an old cloth that you do not mind getting wax on.
Leave enough open space for all of the finished leaves to lie flat without touching one another.
Keep children and pets away from the heating area. The craft itself may look simple, but melted beeswax is hot enough to cause burns.
How to Melt Beeswax Safely
Beeswax generally melts at about 62–65°C, or roughly 144–149°F. There is no reason to heat it far beyond the point at which it becomes liquid.
A double boiler or water bath is a good choice because it provides gentler heat. Food and Agriculture Organization guidance on working with beeswax specifically recommends avoiding direct flame and heating the wax only enough to melt it.
Put the beeswax in the upper container and heat it slowly.
You are looking for clear, fully melted wax—not smoking, bubbling, or aggressively hot wax.
Never leave melting wax unattended.
Once it is completely liquid, reduce the heat or remove it from the heat source while you work, depending on how quickly it begins to cool.
How to Preserve Autumn Leaves in Beeswax Step by Step
Once your leaves are clean and dry and your wax has melted, the actual dipping process moves quickly.
1. Pick Up One Leaf by the Stem
Hold the leaf securely by its stem.
A longer stem is helpful because it keeps your fingers farther from the hot wax.
If a leaf has almost no stem, use tongs and handle it carefully.
2. Dip the Leaf Into the Melted Beeswax
Lower the leaf gently into the wax until the entire surface is covered.
Both sides should receive a thin coating.
There is no need to soak the leaf. A quick, smooth dip is enough.
Leaving it submerged for too long does not improve preservation and can produce an unnecessarily thick coating.
3. Lift the Leaf Slowly
Raise the leaf out of the wax and hold it over the container for several seconds.
Allow excess beeswax to drip back into the pot.
This is one of the secrets to attractive beeswax leaves. A good finished leaf should still look like a leaf rather than something encased in candle wax.
4. Lay It Flat to Cool
Place the dipped leaf on parchment paper.
The coating will begin hardening quickly as it cools.
Avoid moving the leaf repeatedly while the wax is still soft because fingerprints, folds, and uneven patches can become visible in the surface.
5. Repeat With the Remaining Leaves
Continue dipping one leaf at a time.
If the wax starts becoming thick or cloudy in the pot, gently warm it again until it is fully liquid.
Try to maintain approximately the same wax consistency throughout the project so your leaves receive similar coatings.
How to Avoid a Thick, Waxy Finish
One of the most common problems is using too much wax.
If your finished leaves look pale, heavily coated, or covered with obvious ridges, the wax may have been too cool or the leaf may have stayed submerged too long.
For a thinner finish:
- Keep the beeswax fully melted.
- Dip each leaf only once initially.
- Lift it smoothly rather than slowly dragging it through cooling wax.
- Let excess wax drip back into the container.
- Avoid repeatedly dipping a leaf unless an area was clearly missed.
Natural imperfections are perfectly fine. Small drips or uneven edges are hardly noticeable once the leaves are arranged into decorations.
What to Do If Your Leaves Curl
Some leaves will curl slightly as they cool.
If the curling is minor, leave it alone. Natural bends often look beautiful in garlands and table arrangements.
If you want flatter leaves, start with relatively flat specimens or lightly press them before waxing.
Do not place a very hot wax-coated leaf directly beneath a valuable book or other object. Let the wax cool first.
How Long Do Beeswax-Preserved Leaves Last?
Beeswax preserves autumn leaves temporarily rather than permanently.
The exact display life varies because leaves naturally continue aging. Color retention also depends on the tree species, the condition of the leaf when collected, how much sunlight it receives, and where it is stored.
Expect the colors to gradually become more muted over time.
Keep finished leaves away from strong sunlight and excessive heat if you want them to remain attractive longer. Beeswax becomes softer as temperature rises, so a hot windowsill, radiator, fireplace mantel directly above a fire, or very warm attic is not an ideal location. FAO references describe beeswax as becoming pliable at relatively low temperatures and melting in the low-to-mid 60s Celsius.
For many people, making a new batch each autumn is part of the charm.
Beautiful Ways to Use Beeswax-Preserved Leaves
Once your leaves have cooled completely, there are plenty of ways to use them around the home.
Make an Autumn Garland
Tie or carefully attach the stems to twine and arrange the leaves by size or color.
Hang the garland across a shelf, doorway, window, or mantel that stays safely away from heat and open flames.
Create a Simple Fall Table Display
Scatter a few preserved leaves around pumpkins, pinecones, acorns, branches, or other natural autumn decorations.
You do not need dozens of leaves. Even five or six especially beautiful specimens can make a lovely centerpiece.
Make a Nature Mobile
Hang individual leaves from thread at different lengths from a small branch.
Because the leaves are lightweight, even a modest branch can create an attractive seasonal wall hanging.
Decorate a Wreath
Waxed leaves can add natural color to a simple twig or grapevine wreath.
Handle the stems carefully when attaching them because the wax-coated leaf may remain flexible while the stem itself can still break.
Create an Autumn Nature Table
Combine preserved leaves with seedpods, pinecones, nuts, bark, small branches, and other seasonal finds.
It is an easy way to bring the colors and textures of autumn indoors without buying additional decorations.
How to Store Preserved Leaves
If you are not using your leaves immediately, let them cool completely before storing them.
Lay them flat between sheets of clean paper or parchment and keep them somewhere cool and dry.
Avoid tightly packing them into a box. Even though the leaf surface is coated, stems and edges can still be damaged.
Do not store them somewhere that becomes very hot.
Common Mistakes to Avoid
The project is simple, but a few small mistakes can make a noticeable difference.
Using brittle leaves: Choose fresh, flexible autumn leaves rather than leaves that are already crumbling.
Dipping wet leaves: Let rain and dew dry before waxing.
Overheating the beeswax: Gentle heat is all that is necessary.
Using an open flame: Melt beeswax with indirect heat instead.
Applying too much wax: A thin coating preserves the natural appearance better than several heavy layers.
Expecting permanent color: Beeswax slows changes but cannot permanently stop the natural pigments in a leaf from fading.
Putting finished leaves near heat: Beeswax can soften in warm conditions.
A Simple Way to Hold Onto Autumn a Little Longer
Part of the beauty of autumn leaves is that they are temporary. The trees change almost overnight, brilliant color appears for a short season, and then those leaves begin returning to the ground.
Preserving a handful in beeswax lets you enjoy that moment a little longer.
Choose fresh and colorful leaves, make sure they are dry, melt your beeswax gently, and give each leaf one thin, even coating. Within minutes, ordinary leaves gathered from a walk can become beautiful natural decorations for your home.
They will not remain unchanged forever, and they do not need to. When their colors eventually fade, the next autumn brings another opportunity to gather a fresh collection and repeat the tradition.