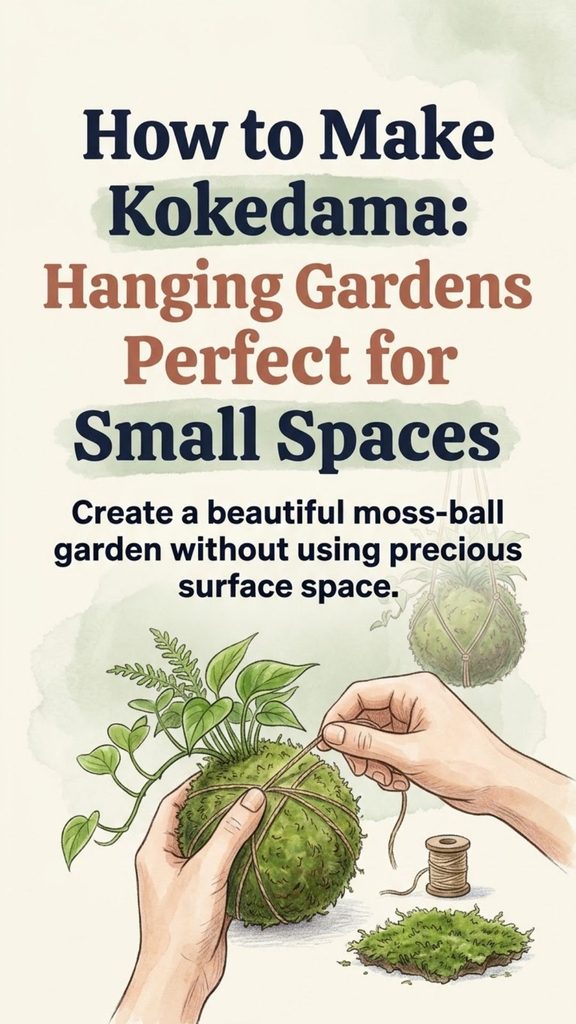
Kokedama is one of those plant projects that looks far more complicated than it really is. Instead of growing a houseplant in an ordinary pot, its roots are enclosed inside a compact ball of growing medium, covered with moss, secured with string, and either displayed on a dish or suspended in the air.
The result is part houseplant, part living decoration. A few hanging kokedama can add greenery to a small apartment, kitchen, bathroom, or sunny corner without taking up valuable shelf or floor space.
Kokedama is a Japanese plant-display technique closely associated with bonsai traditions. The word itself is commonly translated as “moss ball,” which describes its appearance perfectly. Modern versions can be made with many familiar houseplants, and you do not need to be an experienced bonsai grower to make one successfully.
You Might Also Like:
- Loading posts...
The important part is not achieving a perfectly round ball. It is creating a root environment that holds together while still giving the plant enough moisture and air to remain healthy.
What You Need to Make a Kokedama
You do not need a long list of special equipment. Gather your materials before you begin because your hands will quickly become muddy.
You will need:
- One small, healthy houseplant
- Quality indoor potting mix
- Bonsai soil such as akadama, if available
- Sheet moss or another suitable moss for wrapping
- Strong cotton twine, jute, waxed string, or similar cord
- A bowl or bucket
- Water
- Scissors
- Gardening gloves, if desired
Traditional and modern kokedama recipes vary considerably. Some use akadama and other clay-based materials to help the ball hold together, while simpler versions use ordinary potting mix with enough moisture to form a firm ball.
University of Illinois Extension suggests a mixture of roughly 70 percent potting mix or peat-based material and 30 percent bonsai soil, while Missouri Botanical Garden notes that ordinary potting soil can also be formed into a workable ball when moistened correctly.
You therefore do not need to become obsessed with one exact soil recipe. The growing medium should suit the plant while remaining cohesive enough to wrap.
Step 1: Choose the Right Plant
Plant selection makes a big difference to how easy your kokedama will be to maintain.
Start with a relatively small plant. A compact root system is easier to surround with soil and moss, and a smaller plant creates less weight when suspended.
Good beginner choices can include:
- Pothos
- Heartleaf philodendron
- Peperomia
- Spider plant
- Small dracaena
- Prayer plant
- Some compact ferns
- Creeping fig
A slow-growing or moderately sized plant generally requires less frequent rebuilding than a vigorous plant that quickly outgrows its moss ball. Missouri Botanical Garden specifically recommends considering both root size and the location where the kokedama will eventually be displayed.
Succulents can also be grown this way, but they require more careful watering. The moss-covered ball can stay moist longer than the gritty soil many succulents prefer, so they are not necessarily the easiest choice for a first attempt.
Step 2: Prepare the Moss
If your sheet moss is dry, soak or thoroughly moisten it first so that it becomes flexible.
Once hydrated, gently squeeze out the excess water. You want the moss soft enough to wrap around the soil ball without cracking apart, but not dripping wet.
Lay the prepared moss aside while you work on the soil.
If possible, use moss that has been cultivated or legally and responsibly sourced rather than collecting it indiscriminately from wild areas.
Step 3: Mix the Growing Medium
Place your potting mixture into a bowl or bucket.
If you have bonsai soil or akadama, mix some into the potting medium. Add water gradually while working the mixture with your hands.
The goal is a consistency that can be squeezed into a ball and remain intact.
Add water slowly. It is much easier to add another splash than to rescue a bowl of mud.
Test the mixture by squeezing a handful firmly. It should hold its shape when you open your hand without releasing lots of water.
A common mistake is assuming that the ball must be extremely dense to stay together. Packing the growing medium excessively can reduce the air spaces around the roots. It needs enough structure to hold its shape, but it is still a growing medium rather than modeling clay.
Step 4: Prepare the Plant
Carefully remove your plant from its nursery pot.
Gently loosen the root ball with your fingers and remove some of the loose potting mix around the roots. There is no reason to aggressively strip or wash every particle of soil away.
Handle fine roots carefully.
This is especially important with young plants. Damaging too many roots simply creates unnecessary stress at the same time the plant is being moved into an unfamiliar growing system.
If the plant has an unusually large root mass compared with the size of the kokedama you planned to make, increase the size of the moss ball rather than forcing the roots into an undersized space.
Step 5: Form the Soil Ball Around the Roots
Shape the moist growing medium into a firm ball.
Make an opening through the center large enough to accommodate the plant’s roots.
Another simple method is to split the ball into two halves, arrange the roots between them, and press the soil back together. Both approaches can work.
Position the plant so that its crown or the base of its stems remains above the ball rather than being buried deeply inside it.
Gently press the soil around the roots until everything feels secure.
Turn the ball in your hands and reshape any loose sections. If pieces repeatedly fall away, add a small amount of water or growing medium and press again.
Do not worry about achieving a flawless sphere. Once the moss and string are added, small imperfections disappear.
Step 6: Wrap the Ball in Moss
Spread the damp sheet moss on your work surface with enough material to cover the soil completely.
Place the ball in the center.
Bring the moss upward and around it, pressing gently so that the entire surface is covered. Add smaller pieces wherever bare soil remains visible.
At this point, the moss may feel loose. That is normal. The string provides the structure that holds everything together.
Step 7: Secure Everything With String
Take a long piece of twine and begin wrapping it around the ball.
Turn the kokedama as you work so the string crosses it in multiple directions. Continue until the moss is held firmly against the soil.
You do not need perfectly spaced lines. Irregular wrapping often creates the handmade appearance associated with kokedama.
Keep the tension firm but reasonable. Pulling excessively hard can compress the growing medium or damage roots close to the surface.
Once the moss feels secure, tie the string firmly.
Trim the loose end unless you intend to incorporate it into the hanging system.
Step 8: Add the Hanging Cord
Kokedama does not have to hang. It can look equally attractive resting in a shallow dish, bowl, saucer, or decorative tray.
If you want the classic floating-garden effect, attach a separate length of strong cord securely around the ball.
Balance matters.
Before hanging the plant permanently, lift it only a few inches above a table and see whether it tilts. Adjust the cord until the plant remains in the position you want.
Remember that a freshly watered kokedama is considerably heavier than a dry one. Use hanging hardware appropriate for the combined weight of the wet soil, plant, moss, and cord rather than relying on a weak adhesive hook.
Where Should You Hang a Kokedama?
The correct location depends primarily on the plant you selected.
Many common houseplants used for kokedama prefer bright, indirect light rather than harsh direct sun. Strong sunlight can also cause a small moss ball to dry rapidly.
Place the kokedama where the plant receives suitable light without sitting beside a heating vent, radiator, or strong draft.
A bathroom can work well for appropriate plants because of the higher humidity, provided that the room also receives enough light.
Avoid choosing a dark corner simply because the kokedama looks attractive there. Plants still require adequate light even when they are being used decoratively.
How to Water Kokedama Correctly
Watering is the part of kokedama care that requires the most attention.
Because there is no conventional pot, you cannot judge moisture exactly as you would with a normal houseplant.
One of the simplest methods is to learn the weight of the ball. A freshly watered kokedama feels noticeably heavier. As the soil dries, the ball becomes lighter.
You can also gently feel the growing medium near the plant’s base.
When watering is needed, fill a bowl, bucket, or sink with lukewarm water and immerse the moss ball. Allow it to absorb water thoroughly, then remove it and let the excess drain before hanging it again.
Recommendations vary somewhat according to ball size and growing medium. University of Illinois Extension suggests approximately 15 to 20 minutes of soaking, while Missouri Botanical Garden describes a shorter soak of around 5 to 10 minutes. The more useful lesson is to watch the individual kokedama rather than relying on an inflexible timer.
Never hang a dripping ball directly over wood furniture, electronics, flooring that can be damaged by water, or another moisture-sensitive surface.
Allow it to finish dripping over a sink, bowl, or tray first.
Don’t Water on a Fixed Calendar
One of the easiest mistakes with kokedama is deciding that it must be watered every three days, every Saturday, or according to another fixed schedule.
Water use changes with:
- Plant species
- Ball size
- Indoor temperature
- Humidity
- Season
- Light levels
- Air movement
- Type of growing medium
Checking the ball is more reliable than blindly following a calendar.
If the soil remains wet for a long period, soaking it again simply because watering day has arrived can leave roots excessively wet.
If it becomes very light and dry much sooner than expected, it may need water earlier.
Learning that rhythm is one of the secrets to keeping kokedama healthy.
Does the Moss Need Misting?
Occasional misting can help keep decorative moss from becoming extremely dry, particularly in dry indoor air. Illinois Extension includes misting between waterings as part of its kokedama care advice.
However, misting the outside should not be confused with thoroughly watering the plant.
A few sprays may dampen the moss without delivering enough water to the roots deep inside the ball. Use the moisture level and weight of the root ball to determine when proper watering is required.
Feeding and Long-Term Care
Because the root system is confined to a relatively small amount of growing medium, nutrients will eventually need to be replenished.
A diluted houseplant fertilizer can be added during occasional watering, following the fertilizer instructions and the needs of the specific plant. Illinois Extension recommends reduced-strength feeding for kokedama rather than heavy fertilization.
Watch the plant itself for signs that its living space is becoming too small.
Roots beginning to emerge noticeably through the moss, unusually rapid drying, or a plant that has simply become too large for its ball can signal that it is time to rebuild the kokedama at a larger size or return the plant to a conventional container.
The exterior string may also deteriorate over time and need replacing.
Create a Small Hanging Garden
One kokedama is beautiful on its own, but several hung at different heights can create a miniature indoor string garden.
For a balanced display, vary the foliage rather than using plants that all look identical. A trailing pothos can hang beside a compact peperomia or fern, for example.
Leave enough distance between plants for air circulation and normal growth, and make sure every plant can still be removed easily for watering.
In a small home, this is where kokedama becomes especially useful. Instead of filling the windowsill with pots or finding room for another plant stand, you can take advantage of vertical space.
The plants still need proper care, of course, and hanging them does not eliminate watering or maintenance. What kokedama does offer is a beautiful alternative to conventional containers.
A Simple Project With a Striking Result
Making kokedama is less about mastering an exact formula and more about balancing three things: a healthy plant, a growing medium that stays together, and enough moisture without keeping the roots constantly saturated.
Start with one forgiving houseplant and a modest-sized ball. Learn how heavy it feels immediately after watering and how quickly it dries in your home. Once you understand that first plant, creating and caring for several becomes much easier.
The finished result has an unusual simplicity: soil, roots, moss, string, and a living plant suspended together without a traditional pot.
For anyone short on shelf space—or simply looking for a more natural way to display houseplants—a handmade kokedama can turn an ordinary plant into a small hanging garden.