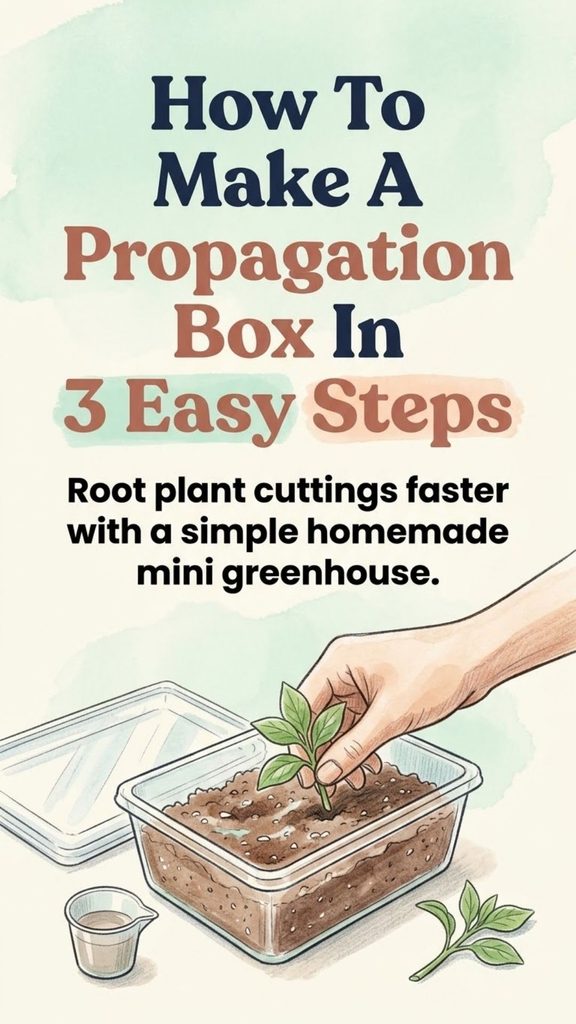
Rooting plant cuttings can be surprisingly simple once you control the three things that cause most problems: moisture, humidity, and light. A DIY propagation box handles all three by creating a small, humid environment around cuttings while they develop roots.
You do not need an expensive propagator or greenhouse. A clear plastic storage container, a suitable rooting medium, and water are enough to build a basic propagation chamber in a few minutes.
The setup works particularly well for many tropical houseplants and other leafy stem cuttings that lose moisture quickly before they have roots. It is not ideal for every plant, however. Cacti, many succulents, and other plants adapted to dry conditions generally prefer much more airflow and less humidity.
You Might Also Like:
- Loading posts...
The key is understanding what the box actually does and learning how to adjust it rather than simply keeping everything sealed and wet.
What Is a Propagation Box?
A propagation box is a clear enclosed or partially enclosed container used to create a humid environment for plant cuttings.
Before a cutting develops roots, it cannot replace water as efficiently as an established plant. High humidity slows moisture loss from the leaves while the cutting works on producing new roots.
A propagation box therefore functions much like a miniature greenhouse.
The box does not cause roots to form by itself. Successful propagation still depends on:
- Starting with healthy plant material
- Using the correct type of cutting
- Choosing a well-aerated rooting medium
- Maintaining moisture without waterlogging
- Providing appropriate warmth
- Giving the cutting bright but indirect light
- Keeping equipment reasonably clean
Penn State Extension recommends bright indirect light, moist rather than saturated rooting media, high humidity without creating conditions that encourage disease, and warm rooting conditions for many houseplant cuttings.
What You Need
A basic propagation box requires very little equipment.
Gather:
- A clear plastic storage container with a lid
- A clean rooting medium
- Water
- Healthy plant cuttings
- A clean knife, scissors, or pruning shears
Optional supplies include:
- Rooting hormone
- Perlite
- Vermiculite
- Seed-starting mix
- A spray bottle
- Plant labels
- A small heat mat
- Grow light
- Drill or other tool for making ventilation holes
Choose a container tall enough that the leaves of your cuttings will not be pressed tightly against the lid.
A clear lid is especially useful if your light source will be positioned above the box.
Choose the Right Rooting Medium
Ordinary garden soil is usually a poor choice for propagation boxes.
Cuttings need both moisture and oxygen around the developing roots. Dense or constantly saturated material increases the likelihood of decay.
Penn State Extension lists materials such as perlite, vermiculite, sand, and bark among useful propagation media and notes that garden soil and compost can be too heavy and may contain pathogens.
Practical choices include:
- Perlite
- Vermiculite
- A perlite-and-vermiculite blend
- A light commercial propagation mix
- A suitable seed-starting mix
- Other clean, well-draining soilless media
There is no single perfect mixture for every plant.
Perlite provides excellent air space and drainage but does not hold as much water as vermiculite. Vermiculite retains more moisture. Combining materials can provide a useful balance.
The goal is a medium that stays slightly moist without becoming dense and muddy.
Step 1: Prepare the Container
Wash the storage container and lid before using them.
You do not need laboratory sterility, but beginning with a clean container reduces the amount of old plant material, algae, fungal spores, and debris entering a warm, humid environment.
Rinse the box thoroughly and allow it to drain.
Should You Drill Ventilation Holes?
Not necessarily.
A nearly closed container is useful because it retains humidity, but completely stagnant, constantly saturated conditions can encourage fungal problems.
Instead of automatically drilling numerous holes into a new container, you can start with an intact lid and observe the conditions inside.
If heavy condensation constantly covers the entire container, the medium stays wet for long periods, or mildew begins appearing, increase ventilation.
You can:
- Crack the lid slightly
- Open the box periodically
- Make a few small ventilation holes
Do not create so much airflow that the rooting medium dries rapidly.
Think of ventilation as something you adjust rather than a fixed requirement.
Step 2: Add and Moisten the Rooting Medium
Spread a layer of rooting medium across the bottom of the box.
You do not need to fill half the container. A few inches is usually enough to anchor small cuttings and give developing roots room to grow.
Add water gradually and mix it through the medium.
The finished texture should be evenly moist but not dripping wet.
If you squeeze a handful and water pours from it, the mixture is probably too wet.
Waterlogging is one of the easiest ways to lose cuttings. Roots require oxygen, and excessively wet media can create conditions favorable to decay.
If you accidentally add too much water, leave the lid open until some moisture evaporates or remove the excess before inserting your cuttings.
Step 3: Add the Cuttings
Take cuttings from healthy plants that are not severely stressed, diseased, or infested with pests.
Different species root from different plant parts, so check the propagation method for the particular plant you are using.
Many common houseplants root from stem cuttings containing at least one node. A node is the point where leaves or buds attach to the stem, and for many plants it is also where new roots can form.
Remove leaves that would otherwise be buried in the rooting medium.
Use a pencil, chopstick, finger, or plant label to make a small planting hole. Insert the cutting and gently firm the medium around it.
This prevents unnecessary damage to the cut end.
Do You Need Rooting Hormone?
Rooting hormone can help certain plants root more readily, but it is not necessary for every cutting.
Many easy-to-propagate houseplants form roots without it.
If you use powdered or gel rooting hormone, follow the product instructions. Avoid dipping a wet plant cutting directly into the main hormone container, because doing so can contaminate the remaining product.
Pour a small amount into a separate container instead and discard what remains afterward.
Penn State notes that rooting hormone can encourage root development but that excessive amounts can actually slow rooting, so more is not necessarily better.
Give the Propagation Box Bright, Indirect Light
Light is essential, but direct sunlight can turn a clear plastic container into an overheated miniature greenhouse surprisingly quickly.
Place the propagation box somewhere that receives bright indirect light.
Avoid intense midday sun shining directly through the plastic.
A bright room can work well. A grow light is another practical option, particularly during darker parts of the year.
If using artificial light, position it according to the manufacturer’s recommendations and monitor the temperature inside the container.
The cuttings need enough light for healthy growth without excessive heat or rapid water loss.
Bright, indirect light is also recommended by university extension guidance for many cuttings maintained under humid conditions.
Keep the Medium Moist, Not Soggy
One advantage of a propagation box is that it generally needs much less frequent watering than an uncovered pot.
Do not water according to a fixed schedule.
Check the medium instead.
If it is still evenly moist, leave it alone.
If it is beginning to dry, add a small amount of water.
Constant misting is not necessarily useful. A surface can appear freshly misted while the medium underneath is too dry—or you can repeatedly mist an already wet box and eventually create waterlogged conditions.
The rooting medium itself is what matters.
University of Minnesota guidance for cuttings similarly emphasizes keeping rooting material moist while maintaining sufficient drainage to reduce problems with rot.
Is Bottom Heat Necessary?
Bottom heat can improve rooting conditions for many warm-growing plants, but it is an optional tool rather than a requirement for every propagation box.
Many common houseplant cuttings root successfully at normal warm indoor temperatures.
If your propagation area is cold, a thermostatically controlled propagation heat mat can help keep the rooting medium warmer than the surrounding room.
Penn State lists a rooting-media temperature around 75°F to 80°F as favorable for many houseplants, though the ideal temperature varies by species.
Do not place the container directly against an uncontrolled heater or another surface that could overheat the roots.
Excessive heat can be just as troublesome as cold.
Oregon State Extension also notes that gardeners can successfully root many cuttings without either a greenhouse or bottom heat, so there is no reason to purchase a heat mat automatically.
Watch for Condensation
A little condensation inside the box is normal.
Water evaporates from the rooting medium and leaves, then condenses on the cooler plastic walls and lid.
Heavy condensation all day, dripping leaves, mold, and perpetually saturated media suggest that the environment may be too wet or insufficiently ventilated.
If that happens, open the lid for a short period or increase ventilation slightly.
On the other hand, a box that is always completely dry may be losing moisture too quickly.
The goal is stable humidity, not a miniature swamp.
Check Cuttings Without Disturbing Them Constantly
It is tempting to pull a cutting out every few days to look for roots.
Resist that temptation.
New roots can be tiny and fragile, and repeated handling can damage them.
Instead, look for signs such as:
- New leaf growth
- A firm, healthy stem
- Roots visible through the container or near the surface
- Resistance when a cutting is very gently tested
Do not assume new top growth always proves that a large root system has formed, however. Some cuttings can produce growth using stored energy before they are well rooted.
If necessary, carefully lift one cutting with a small tool rather than pulling repeatedly on every plant.
Rooting time varies greatly. Some plants root in a couple of weeks, while others take much longer.
When to Remove Cuttings From the Propagation Box
Once a cutting has developed a healthy root system, it should eventually move into its own pot.
Do not immediately move a plant from extremely high humidity to dry household air if it has spent weeks inside a closed box.
Acclimate it gradually.
You might:
- Open the lid slightly for a day or two.
- Increase the opening over several days.
- Leave the lid off for progressively longer periods.
- Transplant the cutting after it adjusts.
University of Minnesota uses a similar gradual approach when moving rooted cuttings out of humid plastic coverings, allowing plants to adjust to normal humidity before transplanting.
Once acclimated, pot the rooted cutting in an appropriate growing mix and care for it according to the needs of that species.
Which Plants Work Well in a Propagation Box?
Propagation boxes are particularly useful for plants whose leafy cuttings benefit from high humidity.
Depending on the exact propagation method, they can work well for many:
- Tropical houseplants
- Begonias
- Coleus
- Pothos
- Philodendrons
- Some peperomias
- Tradescantias
- Some herbs
- Tender annuals
- Certain perennial cuttings
But always check the needs of the particular species.
A single propagation technique should never be assumed to work for every plant.
Some species root easily in water. Others prefer perlite or another solid medium. Woody plants may need different cutting material, temperatures, or timing.
Plants That Usually Need a Different Approach
A sealed, highly humid propagation box is generally not the first choice for most cacti and many succulent cuttings.
These plants store significant amounts of water in their tissues and are often more vulnerable to rot when wounded cuttings remain constantly wet.
Many succulent cuttings are instead allowed to dry or callus before being placed in a comparatively well-draining medium, depending on the species.
Avoid putting every cutting you take into the same humid chamber simply because the box works beautifully for your tropical plants.
Propagation works best when the environment matches the biology of the plant.
Common Propagation Box Mistakes
A DIY propagator is simple, but a few mistakes account for many failures.
Adding Too Much Water
Humidity does not require saturated soil.
Keep the rooting material damp enough to prevent the cutting from drying out while still allowing air around developing roots.
Putting the Box in Direct Sun
The temperature inside a clear container can rise quickly.
Bright indirect light is safer.
Using Dense Garden Soil
Heavy soil can compact around the stem and hold excessive moisture.
Choose a clean, airy propagation medium instead.
Taking Weak or Diseased Cuttings
Propagation does not usually rescue severely unhealthy plant material.
Whenever possible, take cuttings from vigorous, pest-free parent plants.
Crowding the Box
Packing leaves tightly together reduces airflow and makes it easier for moisture to remain trapped between them.
Leave enough space for cuttings to stand comfortably.
Using Too Much Rooting Hormone
More hormone does not mean faster roots.
Use only the amount recommended.
Never Ventilating an Overly Wet Box
A propagation box should hold humidity, but persistent mold or dripping-wet conditions signal that something needs adjusting.
Transplanting Too Early
A tiny new root is not always enough to support a cutting after it leaves the humid chamber.
Give the plant time to develop a useful root system.
Forgetting to Acclimate Rooted Plants
A cutting that has lived at very high humidity may wilt when suddenly moved into much drier household air.
Reduce humidity gradually.
A Simple Propagation Box Is Often All You Need
Plant propagation can quickly become an equipment-heavy hobby, but it does not have to be.
For many common plants, a transparent storage box, an airy rooting medium, moisture, warmth, and bright indirect light provide nearly everything a cutting needs while it develops roots.
Start simply.
Keep the medium moist rather than soaked. Watch the leaves and stems. Adjust ventilation when necessary. Avoid direct sun. Give slow-rooting plants enough time.
Most importantly, learn the propagation needs of the plant rather than treating the box as a universal formula.
Once you understand how humidity, moisture, airflow, light, and temperature work together, the same inexpensive propagation box can help turn a handful of healthy cuttings into an entire collection of new plants.