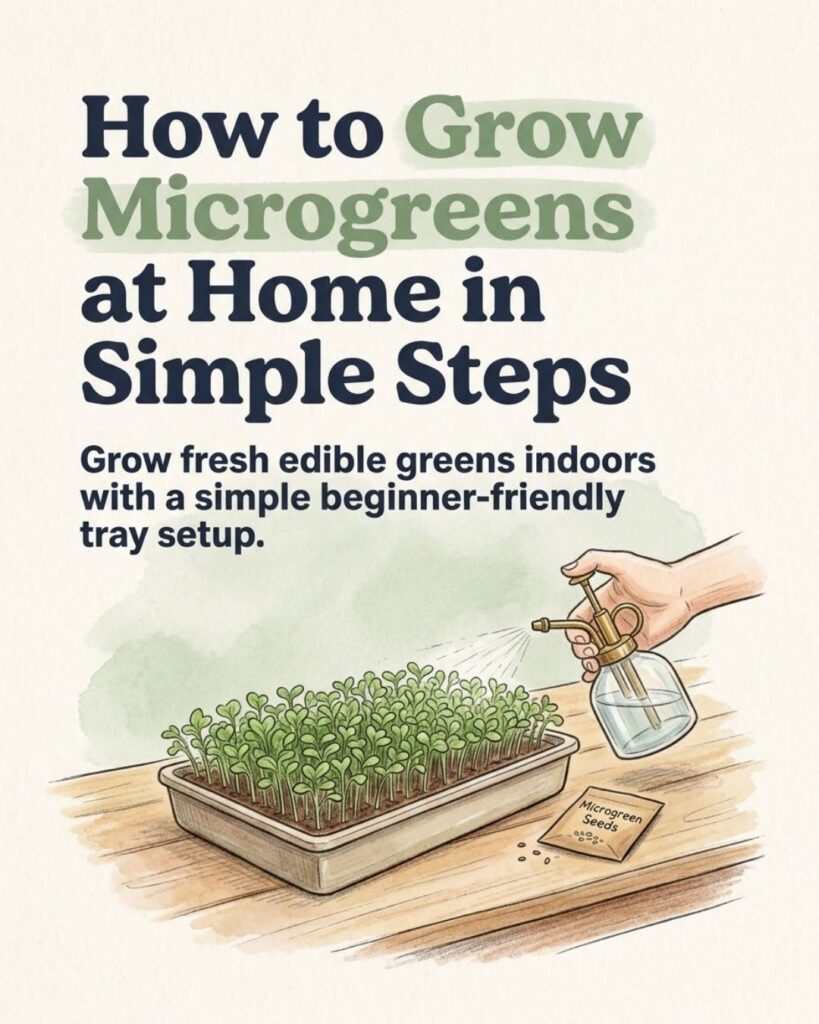
Microgreens are one of the easiest edible crops to grow when you have limited space. A shallow tray, suitable seeds, a little growing medium, water, and adequate light are enough to produce a small crop on a windowsill, shelf, or countertop.
They are harvested while the plants are still very young, usually after the seed leaves have opened and, depending on the crop, around the time the first true leaves begin to appear. Many varieties can be ready within roughly one to three weeks, although growth speed varies with the plant species, temperature, light, and other growing conditions.
Microgreens are also different from sprouts. Sprouts are generally grown without soil and are eaten with the seed and root, while microgreens are grown in a medium or hydroponically and are cut above the growing surface before eating.
You Might Also Like:
- Loading posts...
If you want to try growing a small amount of fresh food indoors, here is a practical way to get started.
What Are Microgreens?
Microgreens are young edible seedlings produced from vegetables, herbs, and other suitable plants. They are allowed to grow beyond the initial germination stage but are harvested well before they become mature plants.
Their appeal is partly practical. They do not need a traditional garden bed, they grow quickly, and you can produce a useful crop in a relatively small container.
Different varieties also bring different flavors. Radish microgreens tend to have a noticeable peppery bite, while varieties such as broccoli and kale are generally milder. Sunflower microgreens are larger and have a substantial texture compared with many brassica microgreens.
You can use harvested greens in salads, sandwiches, wraps, grain bowls, soups, eggs, and other dishes where you want fresh flavor and texture.
What You Need to Grow Microgreens
A basic setup does not need to be complicated.
You will need:
- Seeds suitable for growing as microgreens
- A shallow growing tray with drainage holes
- A second solid tray or waterproof surface to catch drainage
- Clean seed-starting or potting mix
- A spray bottle or gentle watering method
- A bright window or grow light
- Clean scissors or a sharp knife for harvesting
Colorado State University Extension recommends a tray with drainage holes placed inside another tray without drainage holes, which makes it easier to manage water without soaking the surface underneath.
You do not need a large commercial tray for your first attempt. A smaller food-safe growing container can work as long as it is clean, shallow, and has adequate drainage.
1. Choose Suitable Seeds
Start with species commonly grown as microgreens.
Good beginner choices include:
- Broccoli
- Radish
- Kale
- Mustard
- Peas
- Sunflower
Microgreens can be grown from many vegetables and herbs, but not every seed is equally convenient for beginners. Some germinate more slowly, need soaking, or require more precise conditions.
Choose seeds intended for edible growing whenever possible. Avoid using seeds that have been treated with pesticides, fungicides, or other coatings that are not intended for producing edible seedlings.
Seed quality matters because microgreens are planted densely and harvested quickly. Poor germination can leave bare spots and make watering more difficult.
2. Prepare a Clean Growing Tray
Cleanliness deserves more attention than it sometimes gets in microgreen tutorials.
Because the crop is eaten young and generally consumed fresh, begin with a clean tray, clean tools, clean hands, and clean water.
Choose a tray that is only a few inches deep. Microgreens do not need the same soil depth that mature vegetables require because they are harvested early.
Make sure the tray has drainage holes. Excess water needs somewhere to escape; constantly saturated growing media can encourage poor root health and other problems.
Place the growing tray inside a second tray without holes if you want to catch drainage neatly.
3. Add the Growing Medium
Fill the tray with a shallow, even layer of clean potting or seed-starting mix.
You do not need to fill a deep container completely. A modest layer is usually enough to support the short growing period.
Level the surface gently without packing it into a hard layer. Seeds need good contact with the medium, but compacted soil can interfere with drainage.
Moisten the mix before or immediately after sowing so it is evenly damp rather than muddy.
Although microgreens can also be grown hydroponically, soil or a soilless growing medium is often the simplest approach for a first crop. Colorado State University’s home-growing guidance describes a straightforward soil-based tray system for beginners.
4. Sow the Seeds Evenly
Microgreens are usually planted much more densely than vegetables that will be allowed to reach maturity.
Scatter the seeds evenly across the surface rather than placing them in widely separated rows.
Dense planting is useful, but there is still such a thing as too much seed. A thick pile of overlapping seeds can reduce airflow and create uneven germination.
The ideal amount varies considerably by species because sunflower seeds are much larger than broccoli or kale seeds.
Follow seed-specific directions if they are available rather than applying one universal sowing rate to every crop.
After sowing, gently press the seeds into contact with the moist growing medium.
Some species can be covered with a very thin layer of mix, while others are commonly grown directly on the surface. Again, species-specific instructions are useful.
5. Moisten the Seeds Gently
Water carefully so you do not wash all the seeds into one corner of the tray.
A fine mist works well immediately after sowing. You can also use a watering method that produces a very gentle flow.
The goal is consistent moisture, not saturation.
One common beginner mistake is assuming that frequent watering means the tray should stay waterlogged. Seeds need moisture to germinate, but overly wet conditions can create problems.
Check the growing medium rather than automatically adding large amounts of water every day.
6. Give Seeds the Right Germination Conditions
Many microgreen growers initially cover their trays during germination. A cover helps maintain moisture and creates the dark conditions preferred during the early germination stage for many commonly grown varieties.
A second tray placed upside down can work better than tightly sealing the crop with plastic because it is easy to remove and reuse.
How long the tray should remain covered depends on the species. Once seedlings have germinated and are beginning to push upward, they will soon need adequate light.
Do not leave newly emerged seedlings in darkness indefinitely. Without sufficient light they become pale, elongated, and weak.
7. Move the Tray Into Good Light
Once the seeds have germinated, give the seedlings plenty of light.
A very bright window may work for a small home crop, but window light can be uneven, particularly during winter or in rooms without strong exposure.
Grow lights offer more control because you can position the light directly over the tray.
University extension guidance recognizes both natural and supplemental lighting as practical ways to grow microgreens indoors.
If seedlings become unusually tall, pale, and weak, inadequate light is one possible cause.
Rotate windowsill trays if the plants are leaning strongly toward one side.
8. Keep the Growing Medium Moist Without Soaking It
Young seedlings have limited root systems, so completely drying out the growing medium can quickly stress them.
At the same time, continually soaking the tray is not the answer.
Once roots are established, bottom watering can be useful. Instead of repeatedly wetting the leaves, add a modest amount of water to the solid tray underneath and allow moisture to move upward through the drainage holes.
This can help keep the foliage drier.
Check the tray regularly. Warm rooms, strong lights, low humidity, and small containers can cause the growing medium to dry more rapidly.
There is no useful rule that says every tray always needs exactly one watering per day. Water according to the actual moisture level.
9. Provide Some Air Movement
A crowded tray naturally holds more humidity between the seedlings than a pot containing one mature plant.
Reasonable air circulation helps foliage dry and can discourage excessively damp growing conditions.
You do not need to blast seedlings with a powerful fan. Ordinary room circulation or gentle air movement is generally sufficient for a small home setup.
If your microgreens repeatedly stay wet for long periods, look at both your watering habits and airflow.
10. Know When Your Microgreens Are Ready
Harvest time depends on the variety.
Penn State Extension notes that production can range from about 7 to 21 days from seeding to harvest, depending on the species and growing environment.
That makes a blanket claim such as “all microgreens are ready in 7 to 14 days” too restrictive. Some fast-growing radishes may be ready quite quickly, while other crops take longer.
Rather than harvesting by calendar alone, look at the plants.
Microgreens are generally harvested after the cotyledons—the first seed leaves—have opened, often as the first true leaves begin developing.
Height also varies. Some crops may be a couple of inches tall, while others naturally grow differently.
11. Harvest Above the Growing Medium
Use clean scissors or a clean sharp knife to cut the stems just above the surface of the soil or growing medium.
Try not to pull roots and soil into the harvested greens.
Harvesting when the foliage is dry can make the crop easier to handle and store than cutting immediately after heavily watering the leaves.
Only cut what you plan to use if you prefer keeping the remaining crop alive for another short period.
Most common microgreen crops are treated as a single-cut crop rather than repeatedly harvested like mature herbs.
Food Safety Matters
Microgreens are easy to grow, but they are still fresh produce.
Start with clean equipment and potable water. Wash your hands before handling seeds or harvested greens, and prevent pets, dirty tools, soil from outdoors, and other possible contaminants from contacting the trays.
This is also why microgreens should not be treated exactly like sprouts. Although the two are related, their growing and harvesting methods differ, and food-safety considerations should be taken seriously for both.
After harvesting, handle the greens as you would other fresh produce and refrigerate them promptly if you are not eating them immediately.
Common Microgreen-Growing Mistakes
Several problems appear repeatedly in home setups.
Using too much water is one of the most common. The growing medium should stay moist, not permanently saturated.
Planting seeds in thick piles can also cause trouble. Dense sowing is normal, but evenly distributed seeds perform better than clumps.
Providing too little light can leave seedlings pale and stretched.
Using a tray without drainage makes moisture much harder to control.
Ignoring seed type can lead to disappointment because species differ in germination time, seed size, soaking requirements, and harvest timing.
Finally, avoid assuming that every edible garden plant is automatically suitable as a microgreen. Use varieties commonly grown for this purpose and obtain seed from a trustworthy source.
Start With One Small Tray
You do not need shelving units, expensive lights, or a complicated indoor garden to find out whether growing microgreens suits you.
Start with one small tray and a forgiving crop such as radish or broccoli. Keep the growing medium evenly moist, provide good light after germination, maintain reasonable airflow, and watch the plants rather than relying entirely on a fixed number of days.
Within a relatively short growing cycle, you can go from dry seed to a fresh edible crop without a backyard or traditional vegetable bed.
Once you understand how quickly your first tray uses water and how much light it needs in your particular home, adding other varieties becomes much easier.