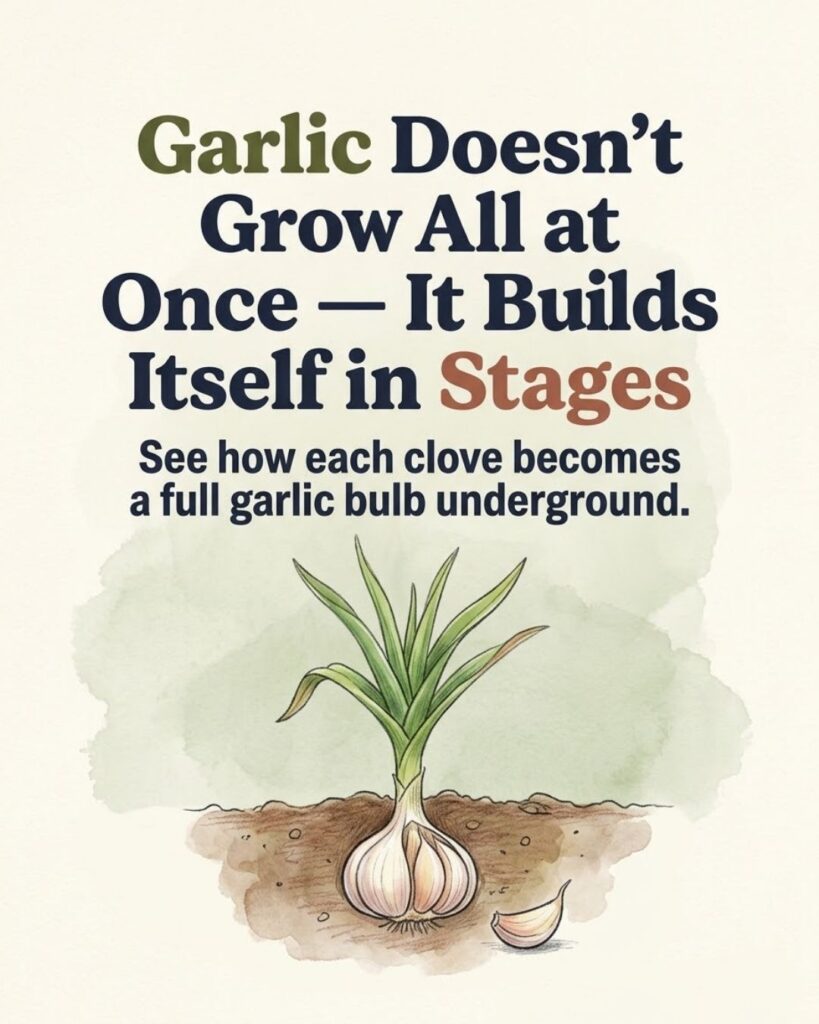
Garlic can seem almost motionless for long stretches of the growing season. You plant one clove, wait through cold weather, watch a handful of green leaves appear, and then eventually pull an entire bulb from the soil.
But underground, garlic is moving through a series of distinct growth stages. Roots establish first, leaves build the plant’s energy-producing system, environmental cues trigger bulb development, and the original clove eventually gives rise to a mature head divided into new cloves.
Understanding that process makes garlic much easier to grow. It also explains why fall planting is so common in colder regions, why healthy leaves matter so much, and why harvesting a little too early or too late can affect the final bulb.
You Might Also Like:
- Loading posts...
Stage 1: The Planted Clove Begins Growing Roots
Garlic is normally grown from individual cloves separated from a mature bulb. Each clove contains stored energy that supports the young plant while it becomes established.
After planting, one of the first important developments happens below the soil: roots begin growing from the basal plate at the bottom of the clove.
Depending on planting time, soil temperature, climate, and garlic type, some top growth may also appear before winter. In colder areas, however, much of garlic’s early development happens out of sight.
Garlic commonly goes through a period of root and vegetative growth before later environmental conditions stimulate bulb formation. Cold exposure plays an important role in this development for many garlic types.
This is one reason garlic should not be judged by how impressive it looks immediately after planting. A clove can be establishing an important root system even when very little is happening above the ground.
Stage 2: Green Leaves Become the Plant’s Working System
Once active growth gets underway, garlic sends up long, narrow green leaves.
Those leaves are not just decoration. They capture sunlight and produce carbohydrates through photosynthesis. That energy supports both the growing plant above ground and the developing bulb below it.
For gardeners, this means healthy foliage deserves protection.
Garlic generally performs best when it is not forced to compete heavily with weeds, especially while it is establishing itself. It also benefits from well-drained soil; persistently waterlogged conditions can create problems for underground bulbs and roots.
The foliage can tell you quite a lot about how the plant is progressing. Strong green growth during the main vegetative period is usually what you want to see.
Later in the season, however, yellowing and browning leaves become part of the plant’s normal maturation process. Timing is important: browning leaves near harvest are expected, while premature yellowing much earlier in the season can also be associated with disease, stress, or other problems.
In other words, do not use leaf color alone without considering when the change occurs.
Stage 3: Cold Exposure Helps Prepare Garlic for Bulbing
One of the most useful things to understand about garlic is that making leaves and making a well-formed bulb are not exactly the same process.
Garlic development responds to environmental signals, particularly temperature and day length.
Cold temperatures during the growing cycle help induce the physiological changes needed for normal bulb development in many garlic varieties. Oregon State University Extension explains that garlic is influenced by both temperature and photoperiod, with winter chilling helping initiate later bulbing.
This helps explain the traditional fall-planting schedule used across much of the northern United States and Canada.
A fall-planted clove has time to establish roots before or during the colder part of the year. It then receives winter chilling and resumes vigorous growth as temperatures rise.
The exact planting date should still be adjusted to local climate. Gardeners in northern Minnesota do not follow precisely the same calendar as gardeners in Oregon, the southern United States, or coastal Canada.
Stage 4: The Bulb Begins to Swell as the Season Advances
A garlic plant can grow a substantial amount of foliage before the bulb underneath looks anything like the familiar garlic head in the kitchen.
As the plant matures and environmental conditions become favorable, it begins shifting more strongly toward bulb development.
Day length is one of the signals involved in this transition. As days lengthen in spring and early summer, bulb development progresses in established garlic plants that have received appropriate temperature exposure.
This is why garlic is not simply a matter of planting a clove and waiting a fixed number of days.
Temperature history, variety, latitude, planting date, and growing conditions all influence the timing.
At this stage, gardeners may be tempted to dig around the plant to see what is happening. It is generally better to leave the developing bulb undisturbed unless you are checking a test plant near harvest.
The most important work is happening underground.
Stage 5: Individual Cloves Develop Inside the Bulb
The transformation from one planted clove into a multi-cloved bulb is one of the most interesting parts of the garlic life cycle.
The mature garlic bulb is made up of a number of individual cloves enclosed within protective wrappers.
While the foliage may still look like a relatively simple cluster of long green leaves, underground the developing bulb is becoming segmented.
That is why pulling garlic too early can be disappointing.
An immature plant may have produced a bulb, but the cloves may not yet have filled out properly. University of Minnesota Extension notes that harvesting too early results in smaller bulbs, while waiting too long can cause cloves to begin separating from the bulb.
The final weeks of development therefore matter.
What About Garlic Scapes?
Gardeners growing hardneck garlic may notice a curled flowering stalk emerging from the center of the plant in late spring or early summer. This stalk is called a scape.
Scapes are edible, and they are often harvested while still young and tender.
Penn State Extension recommends removing hardneck garlic scapes while they are young, which can help direct more of the plant’s resources toward bulb development.
Softneck garlic generally does not produce the same prominent scape.
This difference is useful because it helps explain why two garlic patches may look slightly different even when both are healthy.
Why Fall Planting Is So Common
For many gardeners in the United States and Canada, garlic planting happens in fall and harvesting happens the following summer.
This schedule works well because it fits garlic’s natural developmental requirements.
Fall planting allows cloves to begin establishing roots before winter and exposes them to the cold conditions that encourage proper bulb development. Oregon State University Extension specifically recommends fall planting for garlic in Oregon, although exact timing varies substantially by region.
A common mistake is assuming there is one perfect planting date for all of North America.
There is not.
Local frost patterns, winter severity, soil conditions, and garlic type all matter. Regional extension recommendations are far more useful than following a planting date from someone gardening hundreds of miles away.
Can You Plant Garlic in Spring?
Yes, garlic can be planted in spring.
The complication is that spring-planted garlic has a shorter growing period and may receive less natural cold exposure before long days trigger bulb formation.
As a result, spring planting may produce smaller bulbs or less-developed clove division, depending on the garlic variety, climate, and how early it is planted.
That does not mean spring planting is pointless. If you missed fall planting, getting suitable garlic into the ground early can still be worthwhile.
It simply should not be assumed that spring and fall planting always produce identical results.
In regions where winters are severe, gardeners usually choose garlic varieties adapted to their local climate and follow regional recommendations for fall planting and winter protection.
How to Know When Garlic Is Ready to Harvest
Do not wait until every leaf has turned completely brown.
A useful harvest signal is when the lower leaves have begun dying back while several upper leaves remain green.
University of Minnesota Extension recommends beginning harvest when the lower leaves have browned and roughly half or slightly more than half of the upper foliage is still green. Penn State provides similar guidance, recommending harvest as leaves begin browning while several leaves remain at least partly green.
The reason for this timing becomes clearer when you look underground.
Harvest too soon, and the bulb may not have reached its potential size.
Leave mature garlic in the soil too long, and the wrappers can deteriorate while the individual cloves begin separating. That can reduce the bulb’s suitability for long-term storage.
If you are uncertain, dig one test bulb rather than harvesting the entire patch.
A mature bulb should have distinct, well-filled cloves enclosed by intact wrappers. University of Minnesota Extension specifically suggests checking a sample bulb when maturity is difficult to judge from foliage alone.
Dig Garlic Instead of Pulling It
Mature garlic bulbs are easier to damage than they appear.
Rather than grabbing the leaves and pulling upward, loosen the soil beside the plant with a garden fork or digging tool and carefully lift the bulb.
Avoid stabbing the bulb with the tool.
Freshly harvested garlic can bruise, and damaged bulbs generally do not keep as well as sound ones. Oregon State University Extension recommends handling harvested bulbs carefully for this reason.
Gently remove loose soil, but there is no need to strip off the protective outer wrappers.
Those layers are useful during curing and storage.
Garlic Is Not Finished at Harvest
If you plan to store garlic, harvesting is followed by curing.
Curing allows the outer skins and neck to dry before the bulbs go into storage. Oregon State University recommends drying harvested garlic in a warm, shady, well-ventilated place and protecting it from direct sun and rough handling.
Do not confuse curing with baking garlic in intense sunlight. Good airflow and protection from rain are more useful than excessive heat.
Once cured, loose soil can be brushed away and the roots and stems can be trimmed if desired.
Healthy, properly cured bulbs can then be stored under suitable dry, well-ventilated conditions.
The Garlic Growing Cycle Is Easier to Understand in Stages
Garlic does not produce a complete bulb immediately after the first green shoot appears.
It builds itself gradually.
First, the planted clove establishes roots. Then the plant produces foliage and builds energy. Cold exposure and changing day length help regulate later development. The bulb begins swelling, individual cloves develop inside it, and the foliage eventually starts dying back as the crop approaches maturity.
For many northern gardeners, that process begins with planting in fall and ends with harvest the following summer. Exact timing varies by location and variety, so the plant itself is often a better guide than a date on the calendar.
Watch the leaves, protect the growing foliage, avoid harvesting too early, and check a test bulb when the lower leaves begin to brown.
Once you understand what garlic is doing underground, those months of seemingly slow growth make much more sense—and knowing when to plant, care for, and harvest the crop becomes considerably easier.