
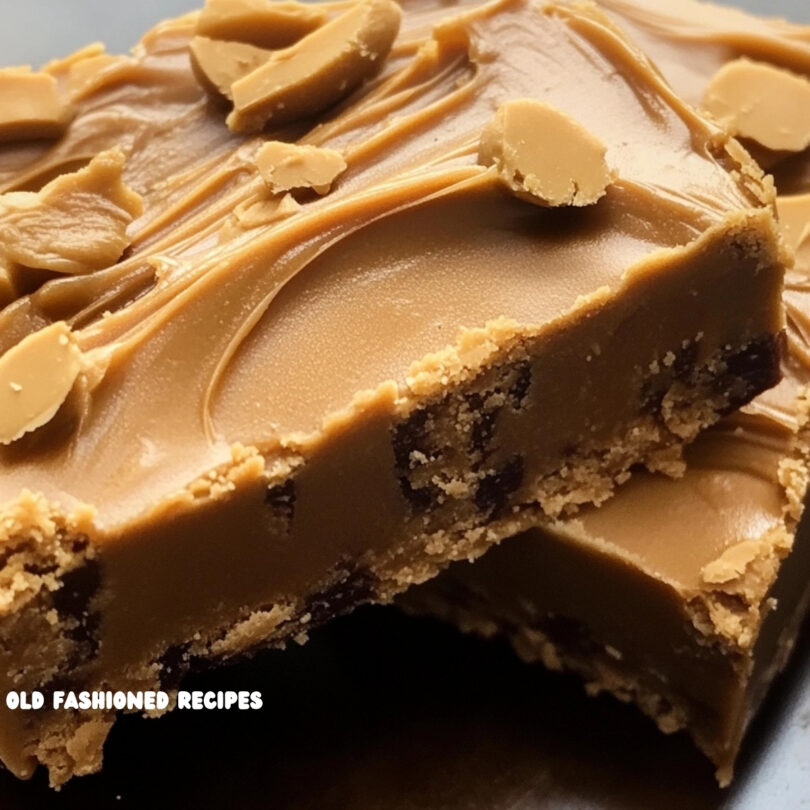
There are days when you want to impress with a double-decker layer cake or tackle a complex pastry. And then there are the days when you just want something quick, sweet, and utterly satisfying—without dirtying half the kitchen or buying specialty ingredients. That’s where this Easiest Peanut Butter Fudge comes in. It’s the kind of recipe that delivers maximum reward with minimal effort, and chances are you already have everything you need in your pantry.
Whether you’re craving a late-night snack, whipping up something for a bake sale, or just need a nostalgic sweet fix, this no-fuss peanut butter fudge will hit the spot. It’s creamy, rich, sweet, nutty, and incredibly simple. No candy thermometer, no heavy cream, no complicated steps—just a pot, a spoon, and an 8×8 dish.
Let’s dive into this humble yet heavenly dessert!
You Might Also Like:
- Loading posts...
🤎 Why You’ll Fall in Love With This Fudge
This recipe has all the hallmarks of a comfort food classic:
- No fancy equipment required—just a pot and a baking dish
- No special ingredients—sugar, milk, peanut butter, and vanilla
- Takes just 10 minutes from stovetop to dish
- Naturally gluten-free and adaptable for various diets
- Perfectly giftable and freezer-friendly
And best of all, it’s forgiving. Even if your cuts aren’t neat (as you humbly mentioned!), the flavor more than makes up for it. Sometimes the best treats are the ones that don’t look perfect but taste amazing—and this is one of them.
📋 Original Recipe: Easiest Peanut Butter Fudge
Here’s the recipe exactly as shared, preserving its simplicity and charm:
Ingredients:
- 2 cups of sugar
- 1/2 cup of milk
- 1 cup of peanut butter (I used extra crunchy)
- 1 teaspoon of vanilla extract
Directions:
- Boil sugar and milk together for about 3 minutes. The sugar must be completely dissolved to prevent a gritty texture.
- Add peanut butter and vanilla extract, stirring until smooth and creamy.
- Pour into an 8×8 pan and let cool completely.
- Enjoy! ❤
⏱️ Time Breakdown:
- Prep Time: 5 minutes
- Cook Time: 5 minutes
- Cooling Time: About 1 hour (if you’re patient!)
- Total Time: 10 minutes active, 60 minutes passive
🥜 Ingredient Breakdown & Substitutions
- Sugar: Regular granulated sugar is key for that classic old-fashioned fudge texture. If you’re looking to reduce the sugar slightly, you can experiment with 1¾ cups, but note that it may alter the firmness.
- Milk: Whole milk yields the creamiest results, but you can use 2%, evaporated milk, or even plant-based milk like oat or almond for a dairy-free variation.
- Peanut Butter: Crunchy peanut butter gives this fudge delightful texture, but creamy works perfectly too. Natural peanut butter is not recommended unless you’re comfortable with a softer, oilier consistency.
- Vanilla Extract: Don’t skip this—it enhances the flavor and brings warmth to the fudge. A tiny bit goes a long way.
🔥 Tips for Perfect Fudge Every Time
- Stir frequently while boiling to prevent scorching the sugar and milk.
- Wait until sugar is fully dissolved before adding the peanut butter. If it’s gritty while boiling, it’ll be gritty when cooled.
- Work quickly after adding peanut butter and vanilla, as the mixture starts to set as it cools.
- Line your 8×8 dish with parchment paper or foil for easy removal and clean cuts.
- Let it cool fully at room temperature or chill it in the fridge if you’re in a hurry. Once set, use a hot knife for cleaner slices.
❄️ Storing & Freezing
- Room Temperature: Store in an airtight container for up to 1 week.
- Refrigerator: Keeps for up to 2 weeks—just allow it to sit at room temp before serving for best texture.
- Freezer: Freeze cut squares in an airtight container or wrapped in parchment paper for up to 3 months. Perfect for portion-controlled treats or holiday gift boxes.
🍫 Optional Add-Ins for a Fun Twist
While this fudge is fantastic on its own, here are some fun mix-in ideas if you want to elevate it:
- Chocolate chips (mix in while still warm for a swirl effect)
- Mini marshmallows
- Chopped pretzels for a salty crunch
- Toffee bits or crushed peanut brittle
- Sea salt flakes sprinkled on top for a gourmet finish
Or get festive with sprinkles, crushed candy canes, or a swirl of Nutella for a holiday treat.
🧁 A Nostalgic Dessert for All Occasions
This fudge evokes the spirit of handwritten recipe cards, holiday tins, and grandma’s kitchen. It’s the kind of treat that disappears faster than you expect, and one batch never seems to be enough. Great for:
- Last-minute party trays
- After-school snacks
- Holiday gift boxes
- Potluck desserts
- Midnight cravings
It’s also an ideal starter recipe for kids or beginner bakers, teaching them the magic of stovetop confections in under 10 minutes.
📝 Final Thoughts
This Easiest Peanut Butter Fudge recipe reminds us that you don’t need to overcomplicate dessert to make it memorable. With a handful of pantry staples and a little stovetop magic, you can create something that tastes like a warm hug and satisfies even the strongest sweet tooth.
So next time you’re staring into your pantry wondering what to whip up, remember: sugar, milk, peanut butter, and vanilla are all you need for a nostalgic, melt-in-your-mouth treat that’ll bring smiles to everyone who tries it.
Cut it a little crooked. Lick the spoon. Enjoy every bite. ❤️
Print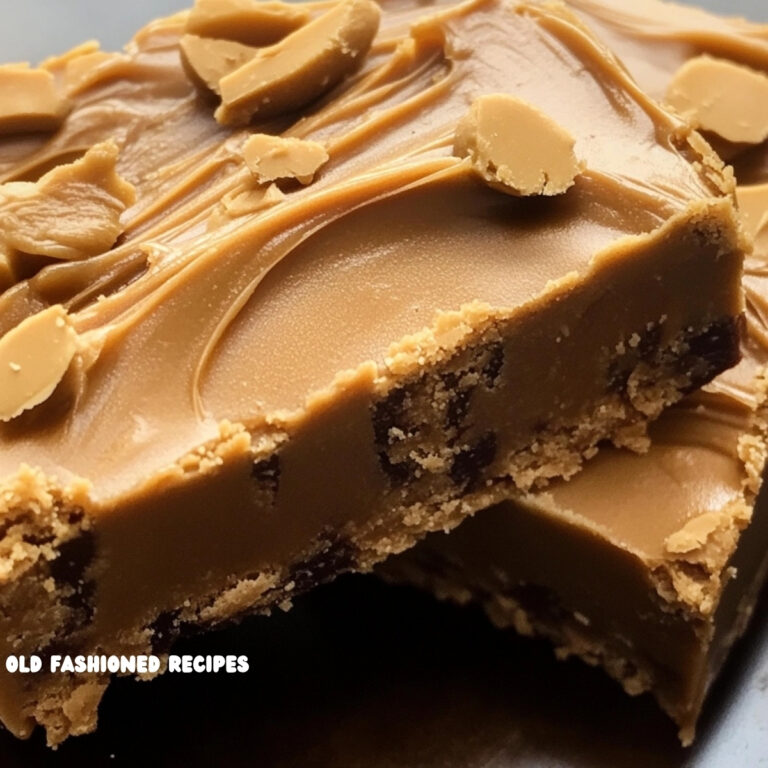
Easiest Peanut Butter Fudge Recipe: Quick, Creamy & Crave-Worthy
Here’s the recipe exactly as shared, preserving its simplicity and charm:
Ingredients
-
2 cups of sugar
-
1/2 cup of milk
-
1 cup of peanut butter (I used extra crunchy)
-
1 teaspoon of vanilla extract
Instructions
-
Boil sugar and milk together for about 3 minutes. The sugar must be completely dissolved to prevent a gritty texture.
-
Add peanut butter and vanilla extract, stirring until smooth and creamy.
-
Pour into an 8×8 pan and let cool completely.
-
Enjoy! ❤
Notes
⏱️ Time Breakdown:
-
Prep Time: 5 minutes
-
Cook Time: 5 minutes
-
Cooling Time: About 1 hour (if you’re patient!)
-
Total Time: 10 minutes active, 60 minutes passive


Leave a Comment