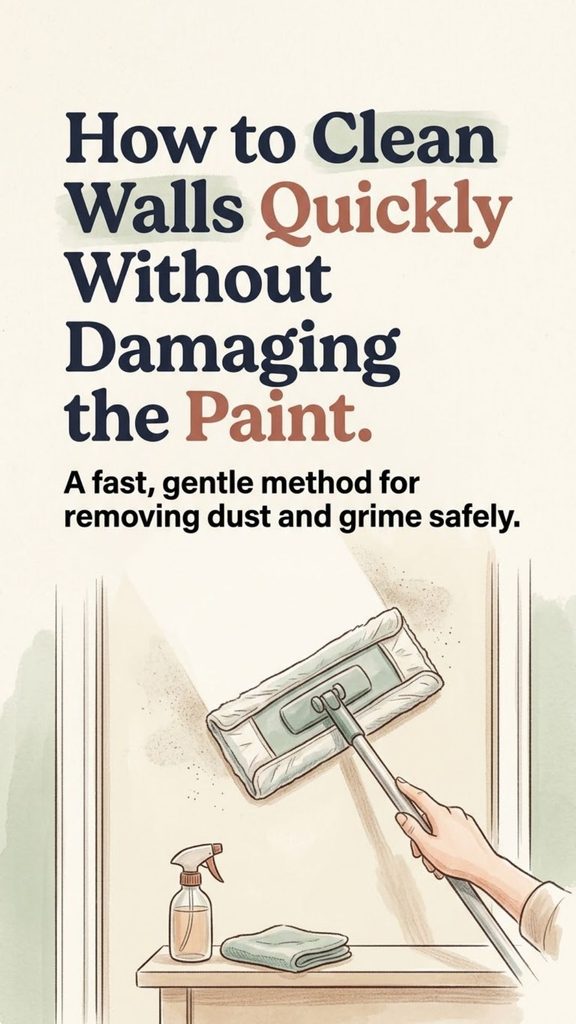
Walls collect far more dirt than we usually notice. Dust settles on them, fingerprints gather around switches and doorways, cooking residue can cling to kitchen walls, and pets or children may leave marks at lower levels.
Because walls are such a large surface, washing an entire room can sound like an all-day chore. The good news is that most walls do not need aggressive scrubbing. With the right tools, a lightly damp flat mop can make routine wall cleaning much faster than working entirely by hand.
There is one important rule, though: do not spray a homemade cleaner over every wall without first considering the type of paint and finish. Vinegar and dish soap are often recommended online, but vinegar is acidic and is not the best choice for every painted surface. A gentle dish-soap solution is usually a safer starting point for routine cleaning.
You Might Also Like:
- Loading posts...
Here is a practical way to clean walls quickly while reducing the chance of streaks, water damage, or dulled paint.
Why Walls Get Dirtier Than They Look
Walls do not usually become dirty all at once. The buildup happens gradually, which makes it easy to overlook.
Common wall grime includes:
- Household dust
- Fingerprints
- Pet hair and dander
- Cooking grease
- Smoke residue
- Cobwebs
- Scuff marks
- Dirt around light switches
- Marks around door frames
- Splashes near sinks and counters
Rooms with good natural light often reveal the buildup first because sunlight makes dust and streaks easier to see.
You may also notice that the wall behind furniture looks cleaner than exposed areas. That difference is a good sign that it is time for a general cleaning.
The Fast Flat-Mop Method
One of the easiest ways to clean a large wall is to use a flat microfiber mop.
A mop gives you much more reach than a handheld cloth and allows you to cover broad sections with long, even strokes. It is especially useful for high walls because you can often clean them without repeatedly climbing a step stool.
You will need:
- A flat mop with a clean microfiber pad
- A bucket
- Warm water
- A small amount of mild dish soap
- Two or three clean microfiber cloths
- An old towel for protecting the floor
If your mop does not have a removable microfiber pad, a clean microfiber cloth or soft dish towel can sometimes be secured around a flat mop head. Make sure it is firmly attached before starting.
Step 1: Find Out What Kind of Paint You Have
Before wetting an entire wall, determine how washable the finish is.
Glossy and semi-gloss paint generally tolerate cleaning better than very flat finishes. Flat or matte paint can sometimes develop shiny patches, discoloration, or visible rub marks if it is scrubbed too aggressively.
Older paint may also be more delicate.
If you are unsure, test your cleaning solution in a hidden area, such as behind furniture.
Apply a little with a soft cloth, wait for the wall to dry, and look for:
- Color transfer onto the cloth
- Fading
- Shiny patches
- Softened paint
- Streaking
If the surface changes noticeably, stop and use a gentler approach.
Step 2: Remove Dry Dust First
Do not immediately start spraying a dusty wall with cleaner.
When loose dust mixes with moisture, it can turn into gray streaks that are harder to remove.
Instead, use a dry microfiber mop to move gently over the wall from top to bottom.
Pay special attention to corners, the ceiling line, baseboards, and areas behind furniture.
You may be surprised by how much cleaner the room looks after this step alone.
For walls that are only lightly dusty, dry microfiber cleaning may be all they need.
Step 3: Make a Mild Cleaning Solution
For general painted-wall cleaning, keep the mixture simple.
Fill a bucket with warm water and add only a small squirt of mild dish soap. You want lightly soapy water, not a bucket full of bubbles.
Too much detergent can leave a sticky film behind, which may attract even more dust.
Although vinegar is commonly included in homemade wall-cleaning recipes, it is not necessary for ordinary dust and fingerprints. Because vinegar is acidic, repeated or concentrated use may not suit every paint or surface.
Starting with diluted dish soap gives you a gentler option.
If the wall has a specialty coating, wallpaper, natural stone, unfinished wood, or another unusual material, follow the manufacturer’s recommended cleaning method instead.
Step 4: Dampen the Mop Instead of Soaking the Wall
A common cleaning mistake is spraying large amounts of liquid directly onto painted walls.
The solution may run downward, create streaks, collect along trim, or enter gaps around electrical fittings.
Instead, dip the microfiber mop pad into your cleaning water and wring it out thoroughly.
The pad should feel damp, not wet enough to drip.
Then begin at the top of the wall and work downward using gentle overlapping strokes.
This technique gives you much more control over the amount of moisture touching the paint.
Step 5: Work in Small Sections
Trying to wash an entire room without stopping can leave sections drying unevenly.
Instead, divide each wall mentally into manageable areas.
Clean from the top downward so dirty water never runs over a section you already finished.
Move the flat mop vertically or in gentle overlapping passes. There is rarely any need to press hard.
If you encounter a stubborn mark, stop and clean that small spot by hand rather than scrubbing the entire wall harder.
Step 6: Hand-Clean High-Touch Areas
Some areas usually need more attention than the rest of the wall.
These include:
- Around light switches
- Near door handles
- Beside stair rails
- Behind dining chairs
- Around kitchen counters
- Children’s hand height
- Areas where pets rub against walls
Use a barely damp microfiber cloth with the same diluted soap solution.
Rub gently.
Repeated light passes are safer than aggressive scrubbing, particularly on matte paint.
For stubborn scuffs, check the paint manufacturer’s recommendations before reaching for abrasive sponges or strong cleaners. Products marketed as “magic” cleaning erasers are mildly abrasive and can dull or remove some painted finishes.
Step 7: Remove Soap Residue
If you used very little soap, heavy rinsing may not be necessary.
However, if the wall feels slippery or you notice streaks, go over it again with a second mop pad or cloth dampened with clean water.
Wring it thoroughly first.
This removes leftover detergent that could otherwise leave the wall looking dull or attract dust later.
Step 8: Let the Walls Dry Properly
Allow walls to air-dry naturally.
Good ventilation helps, so open windows when weather permits or run a fan in the room.
Avoid putting furniture tightly against damp walls.
Check the wall after it has completely dried rather than judging the result while it is still wet. Damp paint can look temporarily darker and may reveal streaks that disappear as it dries.
Should You Spray Cleaner Directly Onto the Wall?
Usually, it is better not to.
Spraying the cleaning cloth or mop gives you greater control.
Direct spraying may create:
- Drips
- Uneven wet patches
- Streaking
- Moisture around switches
- Excess liquid along baseboards
If you do use a spray bottle for small marks, spray the cloth first rather than saturating the wall.
Never spray cleaner directly into electrical outlets, switches, or fixtures.
What About Vinegar and Dish Soap?
The vinegar-and-dish-soap mixture often recommended for household cleaning can work on some washable surfaces, but that does not mean it is appropriate for every wall.
Vinegar’s acidity is useful for certain types of mineral buildup, but ordinary painted walls generally do not need it.
For routine dust, fingerprints, and light grime, mild detergent and water are usually enough.
This is a useful cleaning principle in general: start with the gentlest method that is likely to work.
If mild soap removes the dirt, there is no benefit in introducing a stronger ingredient.
How Often Should Walls Be Cleaned?
Most households do not need to wash every wall frequently.
A practical routine is to dust walls periodically and spot-clean visible marks as they appear.
A fuller wash may be useful when:
- Spring cleaning
- Preparing for guests
- Moving into or out of a home
- Cleaning after renovation work
- Removing kitchen buildup
- Refreshing a heavily used hallway
- Preparing walls before painting
Keeping up with occasional dry dusting can greatly reduce the amount of wet cleaning needed later.
Mistakes That Make Wall Cleaning Harder
A few common mistakes can turn a quick job into a frustrating one.
Using Too Much Soap
More detergent does not necessarily produce cleaner walls. Excess soap can leave residue and streaks.
Soaking the Paint
Your mop should be damp rather than dripping wet.
Scrubbing Too Hard
Aggressive rubbing may polish matte paint into shiny patches or remove color.
Skipping the Dusting Step
Wet dust quickly becomes muddy residue.
Trying a New Cleaner on the Entire Wall
Always test unfamiliar products somewhere inconspicuous first.
Starting From the Bottom
Cleaning from the top down helps prevent drips from ruining areas you have already finished.
A Faster Way to Refresh an Entire Room
You do not necessarily have to deep-clean every square inch.
For a quick room refresh, concentrate on the areas people notice most:
Dust the walls and corners first. Clean around switches and doors. Wipe obvious fingerprints and scuffs. Wash the exposed sections of the wall with a damp microfiber mop. Finish by wiping the baseboards.
This targeted approach can make a room feel dramatically cleaner without turning wall washing into an exhausting project.
Clean Walls Without Turning It Into an All-Day Job
The idea behind the flat-mop wall-cleaning trick is genuinely useful. A long-handled microfiber mop allows you to cover far more surface area than cleaning entirely with a small cloth, and it can make routine wall maintenance considerably easier.
The part worth changing is the assumption that every wall needs a vinegar-and-dish-soap spray.
For most ordinary painted walls, begin with dry dusting followed by a small amount of mild dish soap diluted in warm water. Keep moisture to a minimum, test the finish first, and save stronger cleaning methods for situations where they are actually necessary.
A clean wall rarely requires complicated products. A soft microfiber mop, a bucket of mild cleaning water, and a careful top-to-bottom method can often do the job quickly while helping your paint continue to look its best.