A dirty oven can go from a few harmless splatters to a sticky, baked-on mess surprisingly quickly. Grease collects around the door, spilled sauces burn onto the bottom, and small crumbs turn into stubborn dark spots after repeated heating.
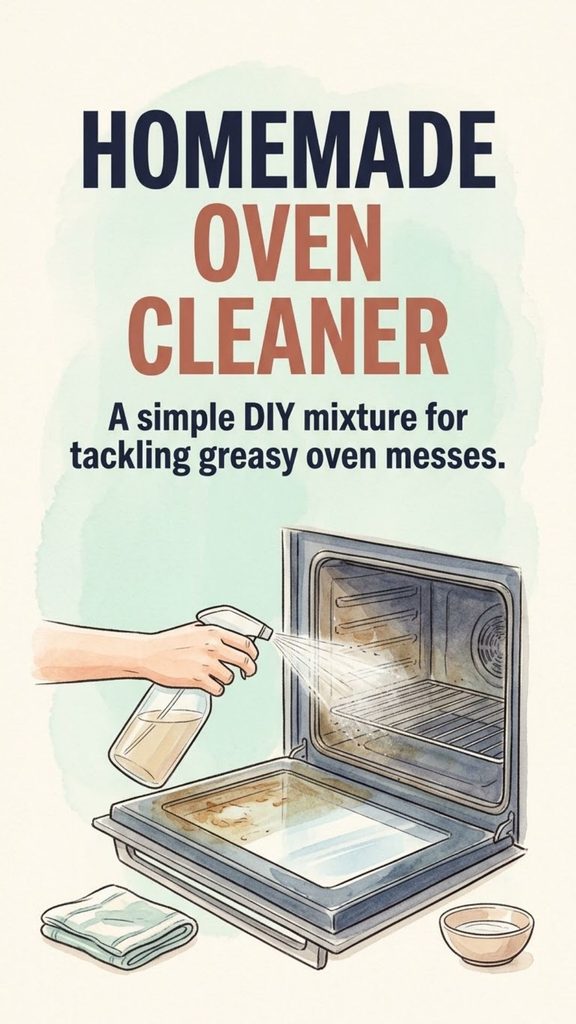
That is why homemade oven-cleaner recipes are so popular. One widely shared version combines dish soap, lemon juice, vinegar, and water, with claims that you can spray it inside the oven, leave it for a while, and wipe away the grime with almost no effort.
The idea is appealing, but stronger is not always better when cleaning an oven. Different ovens have different interior coatings, self-cleaning systems, heating elements, door seals, and manufacturer requirements. In many cases, plain warm water and mild dish detergent are the safest place to begin. Major appliance manufacturers recommend mild detergent and water for routine manual oven cleaning and caution against using products or methods that may damage oven liners or leave residues behind.
You Might Also Like:
- Loading posts...
So before filling a spray bottle with several household ingredients, it is worth understanding what actually helps, what may be unnecessary, and how to clean an oven without creating a bigger problem.
What Was in the Popular Homemade Oven Cleaner?
The commonly shared recipe uses:
- 1/4 cup dish soap
- 1/2 cup lemon juice
- 1 cup vinegar
- 1 1/4 cups water
The ingredients are gently combined and sprayed inside the oven. The cleaner is then allowed to sit before the surface is wiped.
There is some logic behind the mixture. Dish detergent can help loosen greasy residue, while vinegar and lemon juice are acidic and can break down certain mineral deposits and residues.
However, combining both vinegar and lemon juice usually adds more acidity rather than introducing an entirely different cleaning function. And an acidic homemade spray is not automatically appropriate for every oven finish.
That is why a simpler cleaning approach is often a better first step.
Start With the Oven Manual
Before cleaning the interior, find out what kind of oven you own.
This matters especially if the appliance has a self-cleaning, steam-cleaning, catalytic, or specially coated interior. Some manufacturers specifically warn against using commercial oven cleaners on self-cleaning oven liners because repeated exposure can damage or discolor the surface.
Your owner’s manual should take priority over any cleaning hack you see online.
Check for instructions concerning:
- The oven cavity
- Door glass
- Door gasket
- Heating elements
- Oven racks
- Self-cleaning or steam-cleaning functions
- Approved cleaning products
If the manual specifically says not to use a product or ingredient, do not use it simply because it worked on someone else’s oven.
A Simple Homemade Oven-Cleaning Solution
For ordinary grease and recent spills, begin with one of the least aggressive options:
What You Need
- Warm water
- A small amount of mild dishwashing liquid
- A soft cloth or sponge
- A bowl or bucket
- A clean damp cloth for rinsing
Manufacturers including GE and Whirlpool recommend soap or mild detergent with water for routine manual cleaning of many oven interiors.
You generally do not need a bottle full of concentrated detergent. A little dish soap in warm water is enough to create a mild cleaning solution.
How to Clean the Oven Step by Step
1. Turn Everything Off and Let the Oven Cool
Never begin wet cleaning while an oven is hot.
Make sure the oven and cooktop controls are off and allow the entire appliance to cool completely.
This protects you from burns and prevents cleaning liquid from hitting a very hot surface.
2. Remove Loose Debris
Take out any removable racks if your oven’s instructions allow it.
Then brush or wipe away loose crumbs, burnt food particles, and other debris.
Removing dry material first prevents it from turning into muddy residue once water is added.
3. Wipe Up Fresh Grease and Spills
Dip a soft cloth or sponge into your warm soapy water and wring it out.
Wipe the oven walls, floor, and appropriate parts of the door according to your manufacturer’s instructions.
Give greasy areas time to soften instead of immediately scrubbing as hard as possible.
Often, several gentle passes work better than aggressive scouring.
4. Let Dampness Soften Stubborn Residue
For dried food, hold a warm damp cloth against the spot for several minutes if the surface allows it.
The moisture can soften the residue enough to make wiping easier.
Avoid flooding the oven cavity. Water should not be allowed to pour into openings, electrical components, fan vents, or other areas not intended to become wet.
5. Use a Nonabrasive Sponge Where Needed
For stubborn residue, use a nonabrasive sponge or another cleaning pad specifically permitted by your appliance manufacturer.
Whirlpool recommends nonabrasive cleaning tools for difficult oven soils, while GE advises cleaning gently to avoid scratching the oven liner.
Do not assume steel wool, harsh powders, or heavy-duty scrubbers are safe for your particular oven.
6. Remove the Soap Residue
This is an easily overlooked part of oven cleaning.
After the grime has loosened, wipe the surface again with a clean cloth dampened with plain water.
GE specifically warns that soap left behind can cause staining or discoloration during subsequent self-cleaning.
Continue wiping until you no longer see suds or slippery residue.
7. Let the Oven Dry
Leave the oven door open for a while so remaining moisture can evaporate.
Make sure the cavity is dry before returning racks and using the oven again.
What About Baking Soda?
Baking soda is another common homemade oven-cleaning ingredient.
It can provide mild abrasive action, which may help with stubborn residue. GE includes a baking-soda-and-water paste among suggested options for cleaning the inside of certain oven doors.
That does not mean baking soda should automatically be spread over every part of every oven.
Check your appliance instructions first, particularly if the oven has a special liner or cleaning system.
If baking soda is permitted, mix a small amount with enough water to form a paste and apply it only where necessary. Avoid heating elements, openings, fans, and sensitive coatings.
Remove the paste thoroughly afterward.
Is Vinegar Safe in an Oven?
Vinegar has legitimate cleaning uses, but it should not automatically be treated as an all-purpose oven cleaner.
GE, for example, recommends diluted vinegar and water for certain areas of some oven doors and as a rinse in specific cleaning situations.
At the same time, acidic substances can affect some finishes. Whirlpool warns that acidic food spills such as vinegar should be removed from certain porcelain enamel surfaces after the appliance cools because they may affect the finish.
The practical lesson is simple: use vinegar only where your appliance instructions permit it.
More vinegar does not mean a cleaner oven.
Lemon Juice Is Not Essential
Lemon juice is popular in homemade cleaning recipes because of its acidity and fresh smell.
But if the goal is simply removing routine oven grease, it is not necessary to combine lemon juice with vinegar and dish detergent.
Using multiple acidic ingredients adds complexity without guaranteeing better cleaning.
For routine grime, mild dish detergent and water are often enough.
Save stronger approaches for stains that actually require them.
Never Mix Household Cleaners Carelessly
Homemade cleaning becomes risky when people assume that if one ingredient cleans well, combining several must work better.
That is not true.
Most importantly, never mix vinegar or other acids with chlorine bleach. Mixing bleach with acids can release dangerous chlorine gas.
Do not combine oven cleaner, bleach, ammonia, vinegar, alcohol, or other household chemicals unless the product directions explicitly say the combination is safe.
One properly chosen cleaner is generally better than a homemade chemistry experiment.
Be Careful Around the Oven Door Gasket
The flexible gasket around the oven door helps the appliance maintain a proper seal.
It is not an ordinary scrubbing surface.
GE specifically advises against rubbing or cleaning the door gasket on certain ovens because damaging or moving it can interfere with the seal.
Do not saturate the gasket with homemade sprays.
If it needs attention, follow the instructions for your exact oven model.
Do Not Spray Cleaner Everywhere
Spray bottles make cleaning mixtures convenient, but they can also send liquid into places where it should not go.
Avoid spraying directly toward:
- Heating elements
- Fan openings
- Electrical connections
- Gas ignition components
- Control panels
- Vents
- Door seals
A safer method is often to apply your cleaning solution to a cloth or sponge first and then wipe the intended surface.
This gives you much more control over where the moisture goes.
Cleaning the Oven Door Glass
The inside glass of the oven door often becomes greasy faster than the rest of the appliance.
Begin with warm soapy water and a soft sponge.
If residue remains, check the manual before trying anything more abrasive.
For certain GE oven doors, recommended options include soap and water, diluted vinegar and water, baking soda paste, or a nonabrasive cleaner with a plastic scrubber.
Do not allow excessive liquid to run into the gaps between door panels. Cleaning between the panes may require partially disassembling the door, which should only be done according to the manufacturer’s instructions.
How Often Should You Clean an Oven?
There is no universal schedule because ovens are used differently.
A household that roasts fatty foods or bakes several times a week may need cleaning much more frequently than one that rarely uses the oven.
The easiest strategy is to deal with spills soon after they happen.
Once the oven has cooled, wiping a fresh spill takes far less effort than removing the same food after it has been baked onto the surface several more times.
Regular light cleaning also reduces smoke and burnt odors caused by old food residue.
Common Oven-Cleaning Mistakes
One of the biggest mistakes is assuming that a stronger mixture will save time. Excess soap, acid, or abrasive cleaner can leave residue or damage surfaces.
Another mistake is soaking the oven interior. An oven is an electrical or gas appliance, not a sink.
People also frequently overlook rinsing. Even if the cleaning mixture itself is mild, leftover detergent may smell, smoke, or stain when the oven heats again.
Finally, avoid scrubbing every dark mark until the surface looks brand new. Some discoloration may be permanent, and aggressive cleaning can do more harm than leaving a cosmetic stain alone.
A Better Approach Than the Viral Oven-Cleaner Hack
The popular combination of dish soap, lemon juice, vinegar, and water may remove grime from some surfaces, but there is no good reason to assume that the same mixture is appropriate for every oven.
A simpler approach is easier to control:
Start with warm water and mild dishwashing liquid.
Allow stubborn grime to soften.
Use only nonabrasive tools permitted by the oven manufacturer.
Rinse thoroughly.
Escalate to another method only when your appliance instructions say it is safe.
This approach may not sound as exciting as a miracle homemade cleaner, but ovens are expensive appliances. Protecting the finish and components is more valuable than using the strongest mixture possible.
The Simplest Cleaning Method Is Often Enough
A sparkling oven does not require a cabinet full of chemicals or a complicated homemade recipe.
For ordinary grease and food splatters, warm water, mild dish soap, patience, and a soft sponge can accomplish more than many people expect. For stubborn baked-on residue, use the additional cleaning method recommended for your particular model rather than blindly following a viral formula.
Most importantly, clean spills before they have been heated over and over again.
A few minutes of gentle cleaning after the oven cools can save a much harder scrubbing job later—and keep your oven looking better without exposing its surfaces to unnecessary chemicals.