
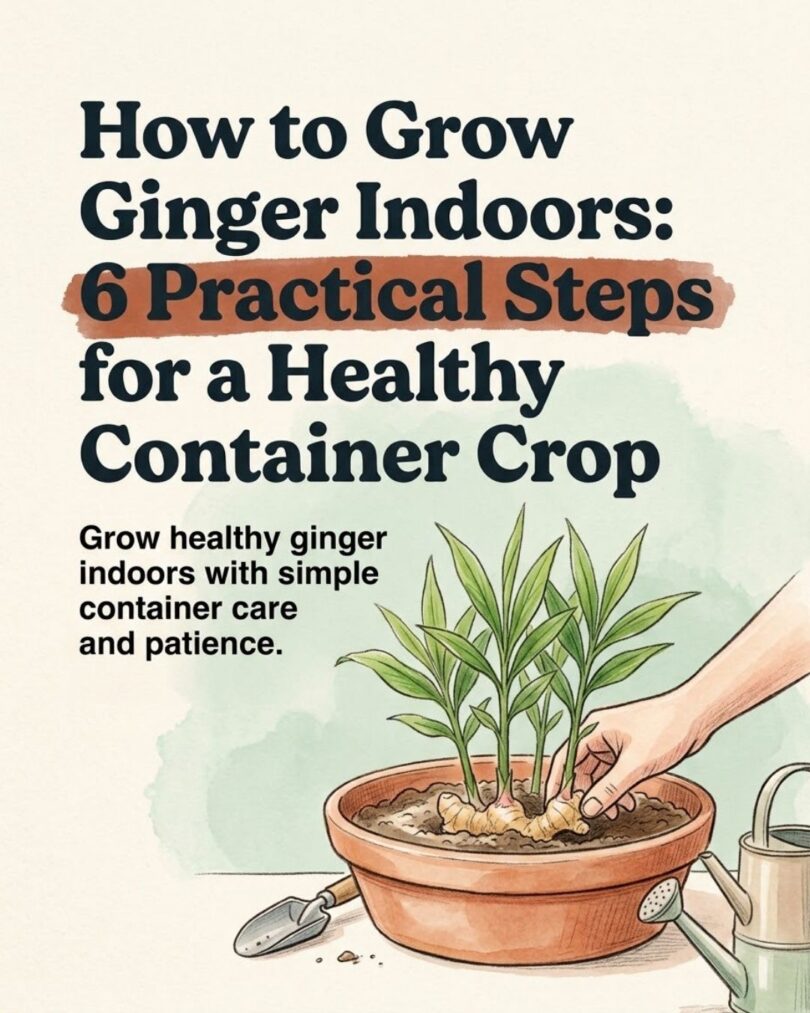
Growing ginger indoors is surprisingly practical if you can give the plant three things it cares about most: warmth, steady moisture without waterlogging, and enough time to develop its underground rhizomes.
The part sold as “ginger root” is actually a rhizome, a modified underground stem. New shoots and roots develop from growing points, often called eyes, along the rhizome. Because ginger naturally grows horizontally rather than sending a deep taproot downward, it adapts well to large containers.
The plant does grow slowly. Mature ginger generally needs around eight months or longer to develop, although tender “baby ginger” can be harvested earlier. That makes indoor growing especially useful in places where the outdoor season is too short or cool for ginger to mature.
You Might Also Like:
- Loading posts...
Here are six practical steps that give container-grown ginger a much better chance of producing a worthwhile harvest.
1. Start With a Healthy Ginger Rhizome
Your results begin with the piece of ginger you plant.
Look for rhizomes that are:
- firm rather than shriveled
- free of mold, soft spots, or obvious damage
- plump and healthy-looking
- carrying at least one or two visible growing points
Although grocery-store ginger can sometimes sprout, it is not necessarily the best planting material. University of Illinois Extension recommends obtaining certified disease-free ginger seed pieces from a nursery, garden center, or seed supplier because grocery-store rhizomes are intended for eating rather than propagation and may have been treated to discourage sprouting. They also cannot be guaranteed disease-free.
If you are simply experimenting with a piece from the supermarket, choose the freshest rhizome you can find and understand that it may be slower or less reliable.
Should You Cut the Ginger Before Planting?
A large rhizome can be divided into smaller pieces. Each section should have at least one healthy growing point.
After cutting, allow the pieces to sit in a dry, well-ventilated place before planting. Illinois Extension’s current ginger research allows cut seed pieces to cure for about 48 hours before pre-sprouting, while University of Georgia Extension similarly recommends letting cut surfaces callus for several days.
This drying period helps the cut surface seal before it enters damp growing medium.
If the rhizome is already a convenient size, there is no need to cut it at all.
2. Choose a Wide Container With Excellent Drainage
Ginger needs more room than a small herb pot can provide.
Since new rhizomes spread outward, width is particularly useful. Illinois Extension recommends a container at least 15 inches in diameter, while University of Georgia notes that ginger may reach around 3 feet tall, so the pot also needs enough size and weight to support the mature plant.
A container should have drainage holes in the bottom. Do not plant ginger in a decorative pot that traps excess water unless there is a properly drained inner container.
Fill it with a loose, fertile growing medium that drains well while still holding some moisture. A quality potting mix is generally a better choice indoors than ordinary garden soil, which may compact inside a container.
Adding finished compost can contribute organic matter and nutrients, but avoid creating a heavy, soggy mixture. Ginger enjoys moisture; it does not enjoy sitting in saturated soil.
Another useful trick is to leave some room between the soil surface and the rim of the pot. Ginger rhizomes can gradually push upward as they enlarge, and having extra space allows you to add more growing medium later if needed. Illinois Extension specifically recommends leaving room for this when starting ginger in containers.
3. Plant the Rhizome Shallowly With the Growing Points Up
Place the ginger horizontally with the visible buds or eyes facing upward.
Planting-depth recommendations can vary somewhat depending on the growing system. University of Georgia Extension describes planting ginger pieces several inches deep, while more recent Illinois Extension container guidance recommends starting rhizomes with the top only lightly covered to reduce the risk of rot.
For an indoor container where excess moisture is a common problem, shallow planting is a sensible approach.
Set the rhizome on the potting mix, cover it lightly, and water gently.
Do not press the soil down firmly. The growing medium should remain loose enough for water and air to move through it.
If you are planting several pieces in one large container, give them enough room to expand instead of crowding every available inch. Ginger forms increasingly large clusters of rhizomes as it develops.
Pre-Sprouting Can Give Ginger a Head Start
You do not have to pre-sprout ginger, but it can be useful, especially if your house is cool.
Current Illinois ginger trials pre-sprout rhizomes in moist growing medium with additional warmth. Green shoots and roots may begin developing after several weeks under suitable conditions.
For a home gardener, the simpler version is to keep the newly planted container in a consistently warm location and resist the urge to dig up the rhizome repeatedly to check it.
Ginger may look inactive above the soil while growth is beginning below it.
4. Keep the Soil Moist, but Never Soggy
Watering is probably the easiest part of indoor ginger care to get wrong.
The plant prefers consistent moisture, yet waterlogged conditions increase the risk of rhizome problems. Illinois Extension specifically notes that ginger does not tolerate overly wet soil, but it should not be allowed to dry out completely either.
After planting, water enough to moisten the potting mix. Then check the soil before watering again.
Rather than following a rigid schedule such as “water every three days,” use the condition of the soil as your guide. Indoor containers dry at very different rates depending on:
- room temperature
- container size
- humidity
- potting mix
- plant size
- amount of light
- season
A large plant growing actively during warm weather may need water much more frequently than a newly planted rhizome.
The goal is soil that stays lightly and consistently moist without remaining saturated.
What About Humidity?
Ginger is a tropical plant and grows naturally in warm, humid conditions. University of Georgia Extension describes it as favoring high humidity and warmth.
Ordinary household humidity may still be sufficient to grow a plant, but very dry indoor air can contribute to stressed foliage.
Misting leaves occasionally is not a substitute for proper watering or meaningful humidity control. If your indoor air is exceptionally dry, grouping plants together or using a humidifier can provide more consistent humidity than spraying the leaves periodically.
Good airflow is also useful. Humidity should not mean keeping the plant permanently wet.
5. Give Ginger Warmth and Plenty of Useful Light
Ginger is tropical, so warmth strongly influences how quickly it grows.
Illinois Extension recommends starting ginger indoors to extend its growing season and notes that plants can be moved outside once conditions are reliably warm. Research-based ginger production also frequently uses heat mats during pre-sprouting to recreate warmer soil conditions.
Inside the home, avoid placing the container against a cold window during winter or near strong air-conditioning drafts.
Light needs a little more nuance.
Ginger does not necessarily require the harshest, sunniest window in the house. Illinois Extension describes it as capable of growing from part shade to full sun but notes that excessive light can contribute to browned leaf tips and that young plants may experience sunburn under intense conditions.
A bright location with filtered or indirect light is often a practical choice indoors.
An east-facing window can work well. A bright south- or west-facing window may also work if the plant is protected from intense midday sun when necessary.
If the stems become unusually weak or the plant stretches strongly toward the window, it may need more light. During dark winters, a suitable grow light can help supplement natural daylight.
6. Let It Grow Long Enough Before Harvesting
Ginger rewards patience more than frequent attention.
It can take several weeks for visible shoots to appear, particularly if the rhizome starts slowly or temperatures are cool. Once established, the plant produces upright leafy stems while the edible rhizome expands beneath the soil.
Do not assume something has gone wrong simply because nothing appears during the first week or two.
Under favorable conditions, young ginger can be harvested earlier than a fully mature crop. Illinois Extension notes that small sections of baby ginger may be harvested after roughly four months of growth. This younger ginger has not yet developed the tough outer skin associated with mature rhizomes.
For a larger, more mature crop, expect a much longer wait. Extension guidance commonly places mature ginger harvest at around eight to ten months.
As the plant approaches dormancy or maturity, the foliage may yellow and eventually dry back. Water requirements also decline as active growth slows.
How to Harvest Indoor Ginger
You have two basic options.
For a partial harvest, carefully uncover the edge of the rhizome cluster and remove a small section, leaving the remainder of the plant as undisturbed as possible.
For a full harvest:
- Allow the plant to reach the stage you want.
- Reduce watering as growth naturally slows.
- Remove the root ball from the container.
- Gently separate the ginger rhizomes from the potting mix.
- Rinse away remaining soil.
- Save one or more healthy pieces with good growing points if you want to start another crop.
Young ginger will look different from the thick, tan-skinned mature rhizomes commonly found in supermarkets. Baby ginger may be paler, more tender, and less fibrous because the outer skin has not fully developed.
Common Indoor Ginger Problems
Even a generally healthy plant may give you clues that something in its environment needs adjusting.
The Rhizome Rots Before Sprouting
Too much moisture is a likely suspect.
Make sure the pot drains freely, avoid leaving water standing underneath it, and do not bury container-grown rhizomes unnecessarily deep. Allowing freshly cut planting pieces to cure before planting can also reduce problems at the cut surface.
The Leaf Tips Turn Brown
Brown tips can have several possible causes, but Illinois Extension specifically identifies insufficient water or excessive sunlight as possibilities in ginger.
Check the soil first. If moisture seems appropriate, consider whether the plant receives intense direct sunlight for long periods.
The Leaves Turn Yellow While the Plant Is Actively Growing
Yellowing late in the plant’s life can be part of its normal growth cycle. Yellowing during active growth can indicate a cultural problem, however. Illinois Extension notes that yellow foliage may indicate a need for supplemental nutrients.
Before adding fertilizer, also check the soil. Chronically saturated roots can produce unhealthy foliage, and adding more fertilizer will not correct poor drainage.
Nothing Is Sprouting
First, give it time.
Then consider temperature and planting material. A cool rhizome may develop very slowly, while grocery-store ginger may have been treated to inhibit sprouting. Starting with healthy planting stock and keeping it warm can significantly improve your chances.
A Simple Indoor Ginger Routine
Ginger does not require complicated daily care. Most of the work comes from setting up the container properly in the beginning.
Start with healthy planting material, give the rhizomes plenty of horizontal room, and keep the pot somewhere warm and bright. Water often enough that the potting mix does not completely dry out, but never keep it constantly saturated.
Then leave the plant enough time to do what ginger naturally does slowly: build a larger rhizome underground.
If you want tender baby ginger, you can begin exploring the possibility of a small harvest after several months. If your goal is larger, mature rhizomes, plan on keeping the plant growing for roughly eight months or longer.
Growing ginger indoors is less about finding a clever shortcut and more about reproducing the warm, moist-but-well-drained conditions the plant prefers. Get those basics right, and a simple piece of rhizome can become an attractive leafy houseplant with an edible harvest waiting beneath the soil.






Leave a Comment