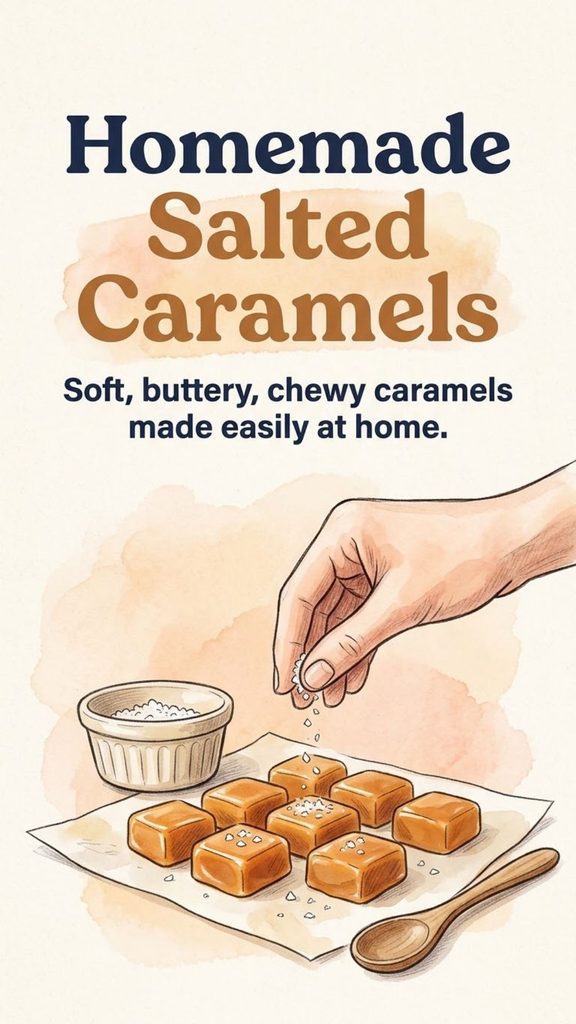
Homemade caramel candy has a reputation for being difficult, but the process becomes much more manageable once you understand what the temperature changes are doing. You are essentially cooking sugar until it develops a deep caramel flavor, carefully adding butter and cream, then cooking the mixture again until it contains just the right amount of moisture for a soft, chewy texture.
The thermometer matters more than fancy technique. A few degrees can be the difference between caramel that is too soft to cut and candy that becomes firmer than you intended.
This small-batch salted caramel recipe makes about 40 pieces and is a good size for learning the process. The finished caramels are buttery, rich, pleasantly chewy, and finished with a small amount of flaky sea salt.
You Might Also Like:
- Loading posts...
Ingredients
You will need:
- 8 tablespoons salted butter (113 g)
- ½ cup heavy cream or heavy whipping cream, at least 35% fat (120 ml)
- 3 tablespoons water (44 ml)
- ¼ cup light corn syrup (60 ml)
- 1 cup granulated sugar (200 g)
- About ½ teaspoon flaky sea salt
If using unsalted butter, add approximately ¼ teaspoon fine salt to the butter-and-cream mixture.
Equipment That Makes Caramel Easier
Candy making does not require much equipment, but a few items make a noticeable difference.
A candy thermometer
Temperature controls the final texture of caramel, so a thermometer is strongly recommended.
An inexpensive clip-on candy thermometer works well as long as it is accurate. A reliable instant-read thermometer can also work, although you will need to check the mixture repeatedly.
If you are uncertain about your thermometer, test it in boiling water before starting. At sea level, boiling water is approximately 212°F (100°C), although the boiling temperature decreases as elevation increases.
A heavy-bottomed saucepan
Use a sturdy saucepan that distributes heat evenly.
A thin pan can develop hot spots that scorch the sugar before the rest of the syrup caramelizes properly.
For this quantity, a saucepan of roughly 1½ to 2 quarts works well. Make sure it has enough extra space because the caramel bubbles dramatically when cream is added.
A 9 × 5-inch loaf pan
A loaf pan produces a slab of caramel thick enough to cut into small candies.
Lining it with parchment makes the finished caramel much easier to remove.
Why These Ingredients Work
Caramel candy contains relatively few ingredients, but each has a specific purpose.
Granulated sugar
Ordinary white granulated sugar provides the structure and most of the caramel flavor.
During the first stage of cooking, the sugar syrup reaches a high enough temperature for the sugar to caramelize, producing the characteristic amber color and deeper flavor.
Light corn syrup
Corn syrup helps reduce the chance of unwanted crystallization.
A pan of concentrated sugar syrup can sometimes form large crystals, producing grainy rather than smooth caramel. Corn syrup contains sugars that interfere with the orderly formation of sucrose crystals, making the process more forgiving.
Golden syrup can sometimes be used instead, although it will contribute its own flavor and color. Honey may also work in some caramel recipes but changes the flavor more noticeably and may produce somewhat different results.
For the most predictable first batch, light corn syrup is the safest choice.
Butter
Butter contributes richness, flavor, and tenderness.
Salted butter works particularly well because a little salt balances the sweetness. Unsalted butter is also perfectly suitable when a small amount of fine salt is added separately.
Heavy cream
Heavy cream provides both fat and water.
The fat creates a rich, smooth mouthfeel, while the water temporarily lowers the temperature of the caramel when the cream is added.
Choose heavy cream or heavy whipping cream containing at least about 35% milk fat. Depending on where you live, a similar product may be labeled double cream or thickened cream.
Flaky sea salt
Large flakes of sea salt provide small bursts of saltiness rather than making the entire caramel taste salty.
Add the salt while the caramel is cooling but still slightly warm so that the flakes adhere to the surface.
How to Make Salted Caramels
1. Prepare the pan before cooking
Lightly grease a 9 × 5-inch loaf pan.
Cut parchment paper so that it covers the bottom and sides while leaving enough excess paper on two sides to act as handles later.
Lightly grease the parchment as well.
Do this before heating the sugar. Caramel changes quickly near the end of cooking, so you do not want to be searching for parchment or preparing a pan while molten sugar is waiting on the stove.
2. Warm the cream and butter
Cut the butter into several pieces and combine it with the heavy cream.
Heat gently in a small saucepan or microwave-safe bowl until the butter has melted and the mixture is hot.
Do not boil it aggressively. You simply want the cream mixture warm enough that adding it to the hot sugar does not cause an unnecessarily large temperature shock.
Set it aside while you cook the sugar.
This is also the stage where flavorings can be infused into the cream. Vanilla, espresso, or certain spices can complement caramel, but keep additions modest so they do not overwhelm the candy or alter its texture significantly.
3. Make the sugar syrup
Place the water and corn syrup in a heavy-bottomed saucepan.
Add the granulated sugar carefully, trying not to scatter dry sugar crystals high up the sides of the pan.
Place the saucepan over medium heat.
Once the mixture begins boiling, cover the saucepan for about one minute.
Steam trapped beneath the lid condenses on the sides and washes stray sugar crystals back into the syrup. This simple step helps reduce the chance of grainy caramel.
Remove the lid afterward.
Avoid unnecessary stirring while the sugar syrup is cooking. Agitation can encourage crystallization, particularly if crystals remain around the sides of the pan.
4. Caramelize the sugar to 320°F
Attach your candy thermometer and continue cooking the syrup.
Allow it to reach approximately 320°F (160°C).
As it approaches this temperature, the syrup should begin developing an amber color.
Watch the pan closely. Sugar can move from properly caramelized to scorched surprisingly quickly once it becomes hot enough to brown.
If one portion is coloring noticeably faster than another, gently swirling the pan can help distribute the heat.
5. Add the cream and butter very carefully
This is the point where extra caution is essential.
Caramelized sugar is far hotter than boiling water and can cause serious burns. When the cream mixture is added, steam is released and the caramel bubbles upward rapidly.
Remove the pan from intense heat if necessary and slowly add a small portion of the warm butter-and-cream mixture.
Stir carefully with a long-handled heatproof utensil.
Once the bubbling settles slightly, add another small portion.
Continue until all the butter and cream have been incorporated.
Do not pour all the cream in at once. Gradual additions give you much better control and reduce the chance of the mixture foaming over the pan.
Keep children and pets away from the stove during this stage, and never touch spilled caramel until it has cooled.
6. Cook the caramel to 240°F
Adding cream lowers the temperature considerably.
Return the mixture to steady heat and continue cooking until it reaches about 240°F (115°C).
This second temperature determines much of the finished candy’s texture.
Around 240°F produces a soft, chewy caramel once cooled. Cooking somewhat higher removes more moisture and creates a firmer candy.
For slightly firmer pieces, the final temperature can be increased toward 245°F (118°C).
Temperature is much more reliable than judging the mixture only by its appearance.
7. Pour and cool
As soon as the caramel reaches the desired final temperature, carefully pour it into the prepared loaf pan.
Do not scrape heavily at any dark material stuck to the bottom or edges of the saucepan. If part of the sugar has scorched, scraping it into the pan can introduce bitter flavors.
Allow the caramel to cool undisturbed.
After about 20 minutes, sprinkle the top lightly with flaky sea salt.
Then leave it until completely cool, which can take several hours.
How to Cut Caramel Cleanly
Once the caramel is fully set, use the parchment overhang to lift the entire slab from the loaf pan.
If it is extremely soft and difficult to handle, refrigerate it for about 30 to 45 minutes.
Avoid leaving it in the refrigerator much longer than necessary before cutting because very cold caramel becomes harder to slice.
Use a large, sharp knife.
A practical candy size is roughly 1 inch long by ½ inch wide, although there is no reason the pieces must be identical.
If the knife becomes sticky, wiping the blade between cuts can make the job easier.
How to Wrap and Store Homemade Caramels
Caramel candies tend to stick to one another, so individual wrapping is worthwhile.
Waxed paper, parchment candy wrappers, or food-safe plastic wrap all work.
Twist the ends of the wrapper to keep each piece separate.
For the best texture, store the wrapped candies in an airtight container. They can be refrigerated for about two weeks or frozen for longer storage, around one month.
Cold caramel becomes noticeably firmer, so allow refrigerated pieces to warm slightly before eating if you prefer a softer chew.
Common Caramel Problems
The caramel is grainy
Graininess usually indicates sugar crystallization.
Possible causes include sugar crystals remaining on the sides of the saucepan or too much agitation during the early cooking stage.
Covering the boiling syrup briefly with a lid helps wash those crystals away.
The caramel is too soft
If the candy remains extremely soft after several hours, it may not have reached a high enough final temperature.
A thermometer that reads incorrectly can also be responsible.
Humidity and elevation can affect candy making, so local conditions sometimes require minor adjustments.
The caramel is too hard
Caramel becomes firmer as more water cooks away.
If the final temperature climbed significantly above the target, the candy may become much harder after cooling.
The difference between 240°F and 250°F is far more meaningful in candy making than it would be in many ordinary recipes.
The caramel tastes bitter
The sugar was probably caramelized too far.
A deep amber color gives caramel complexity, but very dark brown or smoking sugar has likely crossed into burnt territory.
If the syrup smells sharply burnt, starting again usually gives a better result than trying to rescue it.
The butter seems to separate
Keep stirring gently as the cream and butter are incorporated.
Very rapid additions or large temperature differences can temporarily make the mixture look separated. Gradually adding warm cream usually produces a smoother emulsion.
Easy Cleanup for Caramel-Coated Pans
Do not waste time trying to scrub hardened caramel from the saucepan.
Fill the pan with water and bring it to a gentle boil.
The hardened sugar will dissolve back into the hot water, often with very little effort.
Candy thermometers and other heat-safe utensils coated in caramel can be placed carefully in the hot water as well.
Once the sugar has dissolved, wash everything normally.
Can You Double the Recipe?
It is possible, but making two separate batches is usually easier.
A larger quantity of boiling caramel takes longer to respond to temperature changes and requires a substantially larger saucepan because of the vigorous bubbling that occurs when cream is added.
For someone new to candy making, keeping the original batch size provides better control.
Once you understand how the mixture behaves, scaling the recipe becomes more manageable.
A Few Final Tips for Better Caramel
Measure everything before turning on the stove. Candy making gives you very little time to stop and search for an ingredient.
Use a thermometer rather than relying entirely on color.
Warm the cream before adding it.
Add the cream gradually.
Do not walk away while the sugar is caramelizing.
And most importantly, treat hot caramel with respect. The sugar mixture reaches temperatures well above boiling water and sticks to skin, making burns particularly dangerous.
With those basics under control, homemade salted caramels are surprisingly straightforward. The reward is a batch of soft, buttery candies with deep caramel flavor, a gentle chew, and just enough flaky salt to keep the sweetness balanced.