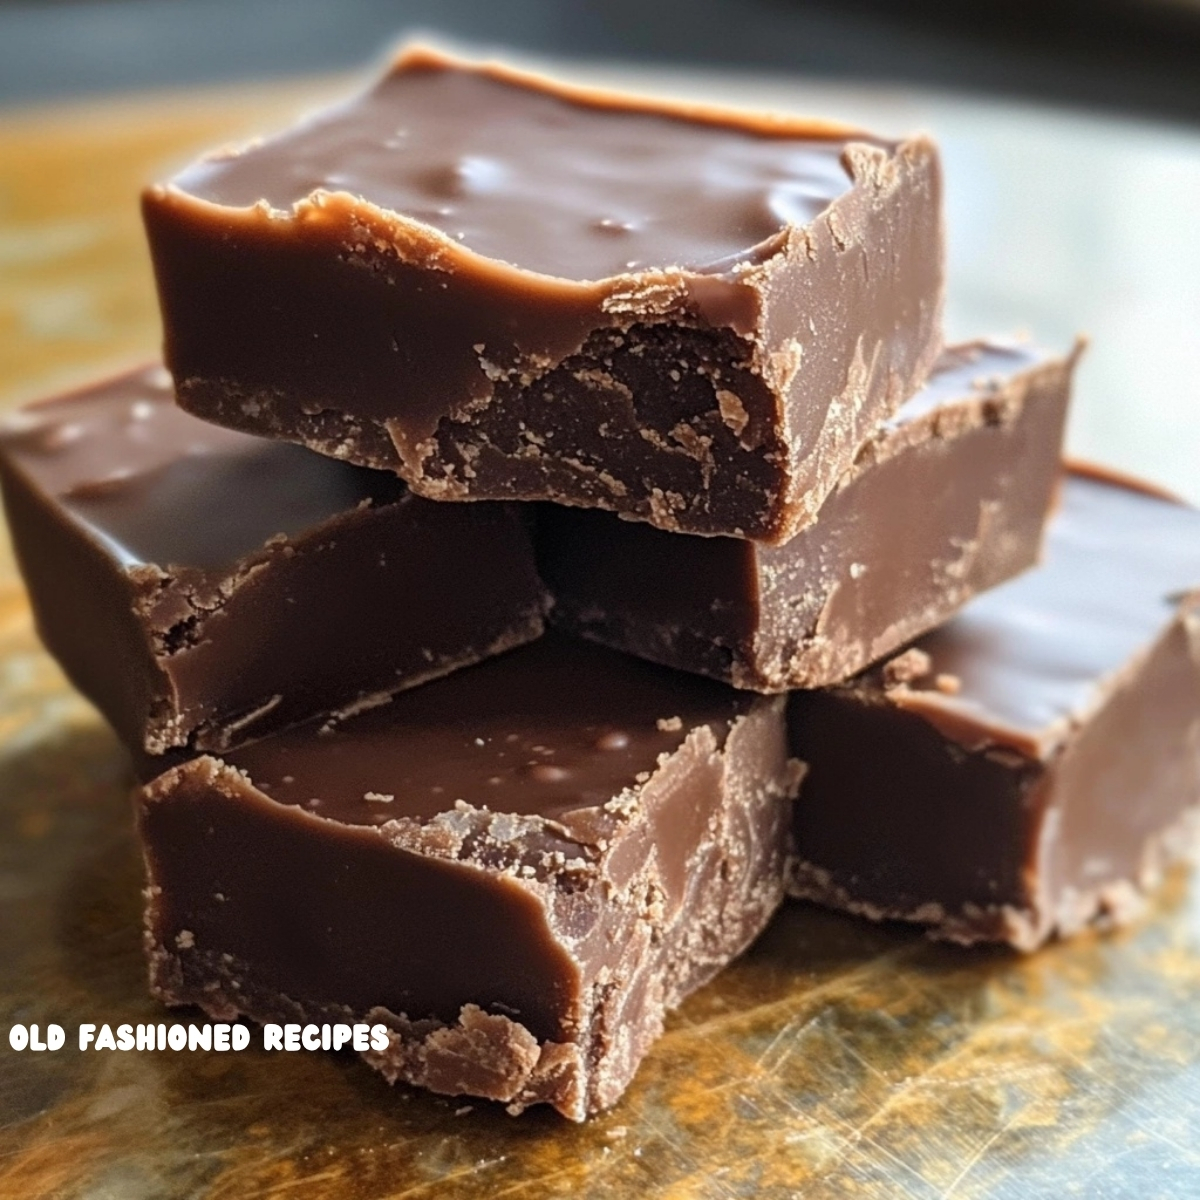
When you think of cherished holiday treats, church bake sales, or grandmother’s kitchen on a cold winter day, what comes to mind? For many of us, it’s that dense, rich, melt-in-your-mouth square of Old Fashioned Fudge—simple, sweet, and lovingly stirred by hand over a warm stove.
Before the days of microwaves and shortcuts, there was real fudge: a nostalgic, no-fuss confection that came together with just a few pantry staples, some patience, and a whole lot of stirring. And this version? It delivers that old-school charm in less than 20 minutes, with no candy thermometer required.
Whether you’re passing down family traditions or discovering the joy of homemade candy for the first time, this classic cocoa fudge is guaranteed to satisfy.
🧾 Ingredients – Simple, Honest, and Delicious
This fudge doesn’t rely on anything fancy. No marshmallow fluff, no corn syrup—just real ingredients that transform into something magical when combined with a little heat and elbow grease.
OLD FASHIONED FUDGE – DON’T LOSE THIS 😍
- 2 cups sugar
- 4 Tablespoons Hershey’s cocoa
- 1 stick of salted butter
- 1 (5 ounce) can Carnation Evaporated Milk
- 1 teaspoon vanilla extract
- Chopped nuts (optional)
📝 Note: While Hershey’s cocoa is traditional and preferred for its bold chocolate flavor, you can substitute with another high-quality unsweetened cocoa powder in a pinch.
👩🍳 Directions – Classic Candy, Made Easy
Making fudge the old-fashioned way means stirring with care, watching for consistency, and trusting your hands—not a thermometer—to guide you. Here’s exactly how it’s done:
Step 1: Mix the Base
In a medium saucepan, whisk together:
- 2 cups sugar
- 4 tablespoons cocoa powder
Once evenly blended, add:
- 1 stick of salted butter
- 1 (5 oz) can of Carnation Evaporated Milk
Step 2: Heat to a Boil
Place the saucepan over medium heat. Stir the mixture constantly to prevent sticking or burning.
As the butter melts and the sugar dissolves, you’ll see the mixture transform into a smooth, dark chocolate base. Continue stirring until it reaches a full boil.
Step 3: Boil and Stir – The Heart of the Recipe
Once boiling, keep stirring for exactly 7 minutes. Use a timer if needed. This is the step where the mixture thickens, the sugar caramelizes slightly, and that deep fudge flavor develops.
⚠️ Important: Don’t stop stirring during this stage! It ensures the fudge doesn’t scorch or separate.
Step 4: Final Stir and Flavor
After 7 minutes, remove the saucepan from heat.
Immediately stir in:
- 1 teaspoon vanilla extract
Continue stirring for another 3 minutes. This step allows the fudge to cool slightly and begin to thicken—ensuring it sets up properly.
If using nuts, stir them in during the last minute.
Step 5: Pour and Set
Pour the hot fudge into a buttered baking dish. Use a spatula to spread it evenly.
Let it cool at room temperature until fully set—this usually takes about 1–2 hours. Once firm, cut into squares and serve!
🕒 Recipe Summary
- Prep Time: 5 minutes
- Cook Time: 10 minutes
- Stirring Time: 10 minutes (7 while boiling, 3 off heat)
- Total Time: ~20 minutes
- Yields: About 20–25 squares
🍬 Tips for Fudge Success
Even a simple fudge recipe requires a little care. These tips will ensure sweet, smooth success every time:
🔹 Use a heavy-bottomed saucepan
This prevents hot spots and burning during boiling.
🔹 Stir with a wooden spoon or heatproof spatula
Metal whisks can overbeat or add air. A sturdy spatula keeps things smooth.
🔹 Don’t rush the boiling
Those 7 minutes of stirring help the sugar dissolve fully and create the perfect texture—skip it and your fudge might be grainy.
🔹 Butter your dish generously
This keeps the fudge from sticking and makes clean-up a breeze.
🍫 Variations to Try
Once you’ve mastered the base, there are endless ways to customize:
- Nutty Fudge: Add 1 cup of chopped pecans, walnuts, or almonds
- Mocha Twist: Stir in 1 tsp espresso powder with the cocoa
- Coconut Delight: Mix in shredded coconut or top with toasted coconut flakes
- Peppermint Fudge: Add 1/2 tsp peppermint extract and sprinkle with crushed candy canes
- Sea Salt Fudge: Top with flaky sea salt right before it sets
🎁 Gift-Worthy Goodness
Old Fashioned Fudge makes a perfect edible gift during the holidays, birthdays, or for a just-because sweet gesture. Wrap squares in parchment and stack them in cellophane bags, festive tins, or mason jars tied with ribbon.
Label with a handwritten note:
“Homemade Fudge – Made With Love (and Lots of Stirring!)”
🧊 Storage Tips
- Store cooled fudge in an airtight container at room temperature for up to 1 week.
- For longer storage, refrigerate up to 2 weeks or freeze for up to 3 months. Wrap pieces individually before freezing.
❤️ Why This Fudge is a Family Treasure
There’s something deeply comforting about a recipe that doesn’t rely on gadgets or shortcuts—just hands, heart, and a spoon.
This fudge tastes like the holidays, childhood memories, and cozy moments rolled into one. It’s rich and chocolaty without being overly sweet, and has that slightly grainy, old-fashioned texture that candy shop confections just can’t match.
💬 What People Are Saying
“Tastes exactly like my grandma’s fudge from the 1950s. This recipe is a keeper.”
— Alice M.
“So easy and so good! I added walnuts and my family devoured it in a day.”
— Gina W.
“I’ve tried fancier fudge recipes, but nothing beats this one. It’s pure nostalgia.”
— Travis L.
📌 Final Thoughts – Sweet, Simple, and Truly Irresistible
Old Fashioned Fudge proves that sometimes, the best recipes are the ones that have been around the longest. No frills, no microwave shortcuts, no marshmallows—just cocoa, sugar, butter, and time.
Make it for the holidays. Make it on a rainy afternoon. Make it when you need a sweet treat that brings a smile to your face. This recipe is the fudge recipe you’ll come back to, again and again.
So go ahead—grab a saucepan, set the timer, and stir up a little magic. You’ll be amazed what 20 minutes and a few humble ingredients can do.
Print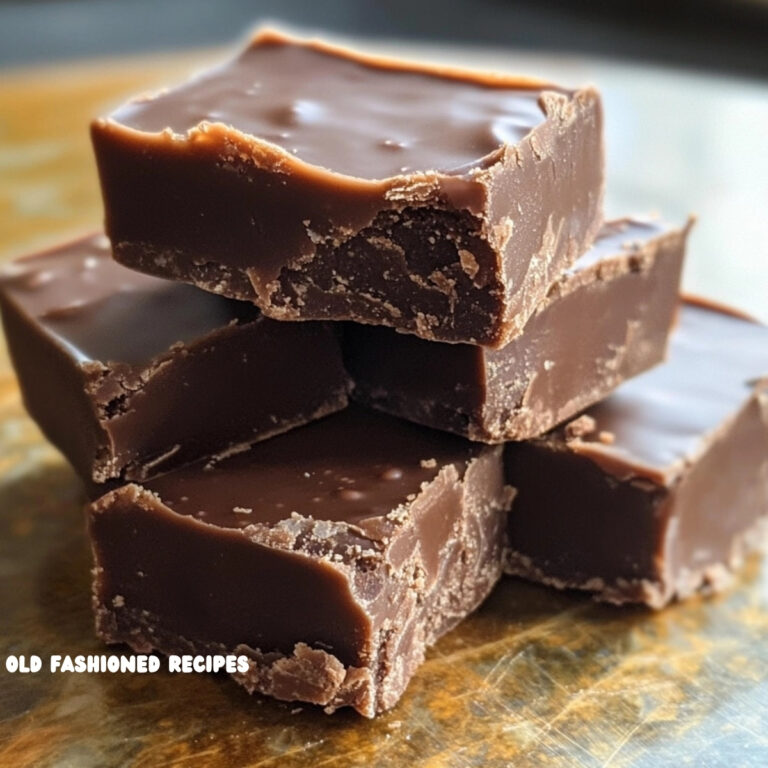
🍫 Old Fashioned Fudge – A Timeless, Sweet Tradition
This fudge doesn’t rely on anything fancy. No marshmallow fluff, no corn syrup—just real ingredients that transform into something magical when combined with a little heat and elbow grease.
Ingredients
OLD FASHIONED FUDGE – DON’T LOSE THIS 😍
-
2 cups sugar
-
4 Tablespoons Hershey’s cocoa
-
1 stick of salted butter
-
1 (5 ounce) can Carnation Evaporated Milk
-
1 teaspoon vanilla extract
-
Chopped nuts (optional)
📝 Note: While Hershey’s cocoa is traditional and preferred for its bold chocolate flavor, you can substitute with another high-quality unsweetened cocoa powder in a pinch.
Instructions
👩🍳 Directions – Classic Candy, Made Easy
Making fudge the old-fashioned way means stirring with care, watching for consistency, and trusting your hands—not a thermometer—to guide you. Here’s exactly how it’s done:
Step 1: Mix the Base
In a medium saucepan, whisk together:
-
2 cups sugar
-
4 tablespoons cocoa powder
Once evenly blended, add:
-
1 stick of salted butter
-
1 (5 oz) can of Carnation Evaporated Milk
Step 2: Heat to a Boil
Place the saucepan over medium heat. Stir the mixture constantly to prevent sticking or burning.
As the butter melts and the sugar dissolves, you’ll see the mixture transform into a smooth, dark chocolate base. Continue stirring until it reaches a full boil.
Step 3: Boil and Stir – The Heart of the Recipe
Once boiling, keep stirring for exactly 7 minutes. Use a timer if needed. This is the step where the mixture thickens, the sugar caramelizes slightly, and that deep fudge flavor develops.
⚠️ Important: Don’t stop stirring during this stage! It ensures the fudge doesn’t scorch or separate.
Step 4: Final Stir and Flavor
After 7 minutes, remove the saucepan from heat.
Immediately stir in:
-
1 teaspoon vanilla extract
Continue stirring for another 3 minutes. This step allows the fudge to cool slightly and begin to thicken—ensuring it sets up properly.
If using nuts, stir them in during the last minute.
Step 5: Pour and Set
Pour the hot fudge into a buttered baking dish. Use a spatula to spread it evenly.
Let it cool at room temperature until fully set—this usually takes about 1–2 hours. Once firm, cut into squares and serve!
Notes
🕒 Recipe Summary
-
Prep Time: 5 minutes
-
Cook Time: 10 minutes
-
Stirring Time: 10 minutes (7 while boiling, 3 off heat)
-
Total Time: ~20 minutes
-
Yields: About 20–25 squares