
When the snow starts falling and the world turns into a sparkling white wonderland, there’s one sweet activity that captures the heart of winter like no other—Snow Ice Cream. This whimsical, old-fashioned treat is quick to make, incredibly fun for kids and adults alike, and only needs a handful of ingredients. Best of all? It’s made with something right outside your door: fresh, clean snow!
Whether it’s your first snowfall or a snow day tradition, this recipe is the perfect way to turn nature into dessert. In just five minutes, you can go from scooping snow off the deck to enjoying a bowl of fluffy, sweet, vanilla-flavored “ice cream” with sprinkles on top.
❄️ What is Snow Ice Cream?
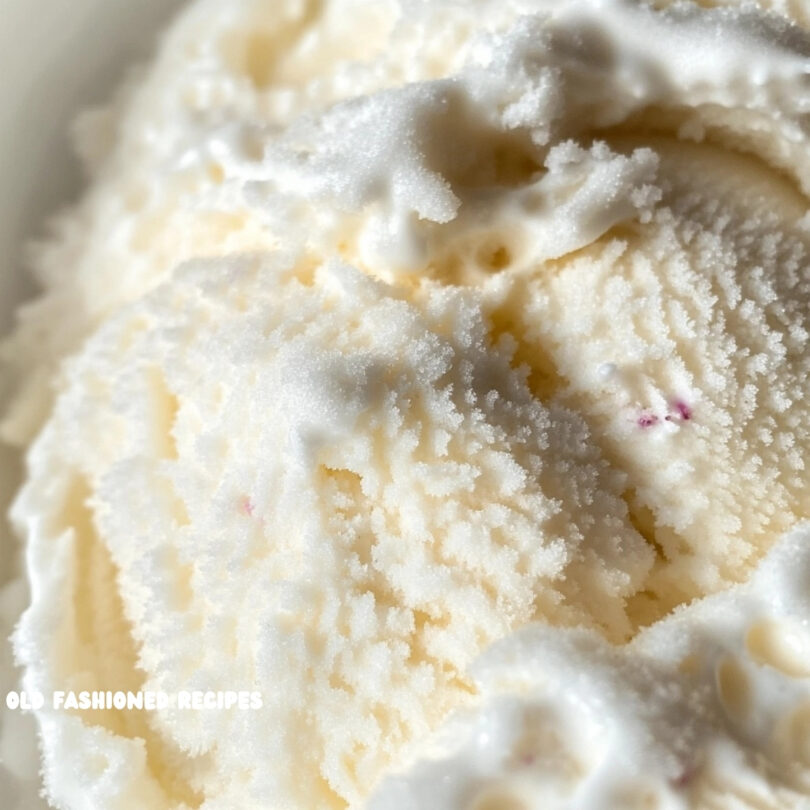
Snow Ice Cream is exactly what it sounds like—ice cream made from freshly fallen snow, milk, sugar, and a touch of vanilla. It has a texture that’s somewhere between a snow cone and soft serve, and it melts quickly (just like snow!), so it’s meant to be eaten right away.
You Might Also Like:
- Loading posts...
While it might sound like a novelty, this dessert has a long history in rural communities and pioneer-era kitchens where snow was used to chill or freeze simple ingredients into something delightful. Generations of families have passed down their version of this playful dessert—and now it’s your turn to carry on the tradition!
🧾 Original Snow Ice Cream Recipe (Unchanged)
PREP: 5 minutes
TOTAL: 5 minutes
SERVINGS: 4
Ingredients:
- 1 cup milk
- ½ cup granulated sugar
- 1 teaspoon vanilla extract
- pinch of salt
- 8–10 cups fresh clean snow
- sprinkles (optional)
Instructions:
- In a medium-size bowl, whisk to combine milk, sugar, vanilla, and salt.
- Pour mixture over 8 cups of snow and stir to combine. If needed, stir in up to 2 cups more snow to reach the desired consistency.
- Scoop into bowls, add sprinkles (optional), and enjoy!
🧊 Tips for Making the Perfect Snow Ice Cream
1. Use Fresh, Clean Snow
Always collect snow from a fresh snowfall, preferably in an area away from roads, rooftops, or heavy foot traffic. Use a large bowl or pot and scoop the top layer only.
Tip: Place a large, clean bowl outside during snowfall to collect snow directly from the sky.
2. Chill Your Mixing Bowl
If your kitchen is warm, place your mixing bowl in the freezer for 10 minutes before combining the ingredients. This helps keep the snow from melting too quickly.
3. Adjust Snow to Taste
You’ll need around 8–10 cups of snow, depending on how wet or fluffy it is. Start with 8 cups, then add more if needed to get that perfect soft-serve texture.
4. Eat Immediately
Snow ice cream melts quickly! Serve and enjoy it right away after mixing—don’t try to store leftovers in the fridge or freezer, as it will become icy or watery.
🥄 Flavor Variations to Try
One of the joys of Snow Ice Cream is that it’s completely customizable! Try adding one of these twists:
- Chocolate Snow Ice Cream: Stir in 2 tablespoons of cocoa powder with the sugar and milk.
- Strawberry Bliss: Add ¼ cup strawberry syrup to the base mixture.
- Minty Chill: Add a drop of peppermint extract and a handful of crushed candy canes.
- Maple Snow Ice Cream: Swap the sugar for ½ cup real maple syrup and skip the vanilla.
- Coconut Cream: Use canned coconut milk instead of dairy milk for a tropical version.
🍨 Topping Ideas
Have fun dressing up your snowy scoops with these toppings:
- Rainbow sprinkles
- Mini chocolate chips
- Crushed cookies (Oreos or graham crackers)
- Chopped nuts
- Caramel or chocolate drizzle
- A dusting of cinnamon or cocoa powder
🧼 Is It Safe to Eat Snow?
Yes—if you follow a few simple guidelines. Stick to snow that’s:
- Freshly fallen (within the first few hours)
- White, powdery, and untouched
- Collected from a clean surface (not the ground or road)
Avoid yellow, dirty, or compacted snow. If you have any doubts, don’t use it. This recipe is all about fun—but safety first!
📆 Make it a Tradition
Snow Ice Cream isn’t just a treat—it’s a memory in the making. Invite the kids to help mix and scoop. Snap a picture of everyone enjoying their bowls with pink cheeks and snowy boots. Make it your go-to activity every time the snow falls.
You can even make Snow Ice Cream Kits for holiday gifts! Package the dry ingredients (sugar and sprinkles) in a jar, add a tag with instructions, and let recipients add their own snow.
🧊 Can You Store Leftovers?
Unfortunately, no. Snow Ice Cream is best enjoyed immediately. If you try to freeze it, it will turn icy and lose its texture. Think of it like a snow day itself—fleeting, magical, and meant to be savored in the moment.
💬 Final Thoughts
There’s something truly special about transforming a natural snowfall into a delicious dessert. Snow Ice Cream is more than just a recipe—it’s a celebration of winter, simplicity, and creativity. Whether you’re making it for the first time or the fiftieth, this frosty treat is a perfect way to enjoy the beauty of snow from the comfort of your kitchen.
So the next time snowflakes start falling, don’t just admire them—eat them!
Print
Snow Ice Cream – A Magical 5-Minute Winter Treat ❄️🍦
❄️ Snow Ice Cream
Ingredients
- 1 cup milk
- ½ cup granulated sugar
- 1 teaspoon vanilla extract
- pinch of salt
- 8–10 cups fresh clean snow
- sprinkles (optional)
Instructions
- In a medium-size bowl, whisk to combine milk, sugar, vanilla, and salt.
- Pour the mixture over 8 cups of snow. Stir gently to combine.
- If needed, add up to 2 more cups of snow for a fluffier texture.
- Scoop into bowls and top with sprinkles or your favorite toppings.
- Serve immediately and enjoy this magical winter treat!
Notes
Prep Time: 5 minutes | Total Time: 5 minutes | Servings: 4


Leave a Comment