Ingredients
For the Red Velvet Base:
- 1 box of red velvet cake mix (or use a homemade recipe)
- 2 eggs
- 1/2 cup vegetable oil
For the Cheesecake Layer:
- 2 (8 oz) packages cream cheese, softened
- 1/2 cup granulated sugar
- 2 eggs
- 1 tsp vanilla extract
Optional Toppings:
- Red velvet crumbs (from extra cake)
- Whipped cream
- Chocolate drizzle
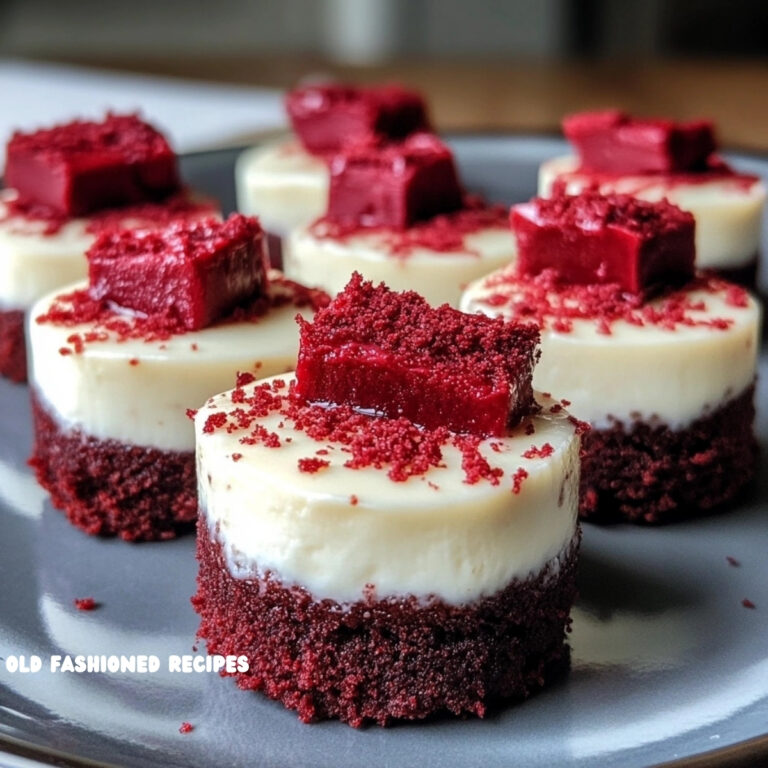
- A square of red velvet fudge or brownie for garnish (as shown in the image)
Instructions
Start by preheating your oven to 350°F (175°C). In a mixing bowl, combine the red velvet cake mix with eggs and oil. Mix until a thick batter forms. Press this mixture into the bottom of a greased mini muffin tin or silicone mold. Bake for about 10 minutes, then let it cool slightly while you prepare the cheesecake layer.
In a separate bowl, beat the softened cream cheese until smooth. Add the sugar, eggs, and vanilla extract. Beat until well-combined and silky. Spoon the cheesecake mixture over the red velvet base in each cavity, filling just to the top.
Bake for another 15–18 minutes, or until the centers are set but slightly jiggly. Let them cool in the tin, then transfer to the fridge to chill for at least 2 hours. This step is key for achieving that classic cheesecake texture.
Once chilled, carefully remove the bites from the mold. Top with crumbled red velvet cake, a dollop of whipped cream, or a square of red velvet brownie. Arrange on a serving platter and get ready for compliments!
Notes
Tips from the Pros
- Use Silicone Molds: For easy removal and a perfectly round shape, silicone muffin molds work wonders.
- Customize Your Topping: Go simple or extravagant—add ganache, fresh berries, or even a swirl of cream cheese frosting.
- Make Ahead: These bites store beautifully in the fridge and can even be frozen for future enjoyment.
- Mini Cheesecake Pans: If you want a slightly larger bite, mini cheesecake pans with removable bottoms provide an elegant shape and easy release.