Creamy, Cheesy, Irresistible—Just Like Your Favorite Cantina!
If you’ve ever dipped a tortilla chip into that molten, creamy cheese dip at a Mexican restaurant and thought, “Why can’t I make this at home?”—you’re not alone. That warm, velvety queso blanco served with endless baskets of chips is an iconic starter that turns every dinner into a fiesta.
The good news? You can now recreate that exact flavor and texture in your own kitchen using just a handful of ingredients. This Mexican Restaurant Cheese Dip recipe is quick, simple, and oh-so-satisfying. It captures the authentic taste you love with White American Cheese, green chiles, a bit of garlic, and the perfect amount of milk for silky smooth results.
Why This Recipe Works
🧀 Authentic Texture & Flavor
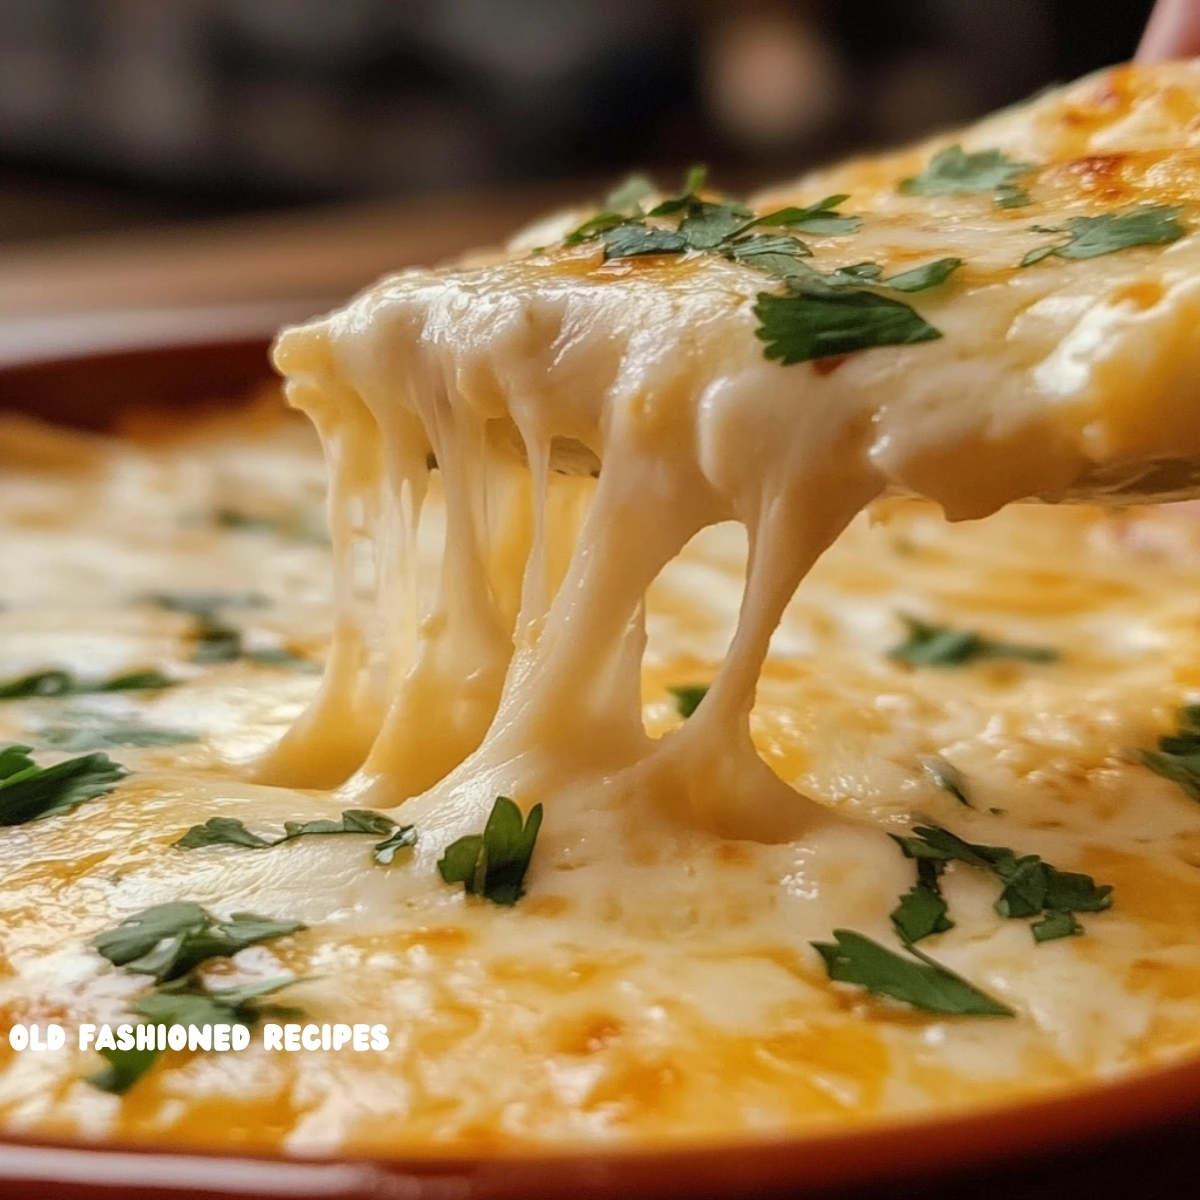
White American cheese is the secret to achieving that unmistakable smooth and creamy consistency. It melts beautifully and gives you that stretchy, dip-worthy quality found in restaurant-style queso.
⏱️ Quick and Easy
In under 15 minutes, you can have a bubbling pot of cheese dip ready for your chips. With only a few steps, it’s practically foolproof—even for beginners.
🌶️ Customizable Heat
The diced green chiles give the dip a gentle, warm kick without overwhelming heat. Prefer it spicier? We’ll discuss how to turn up the heat later in this post.
The Original Recipe (Kept Exactly the Same)
Ingredients
- 1/2 pound White American Cheese
- 2 tablespoons of diced green chiles, chopped super fine
- 1/4 tsp garlic powder (optional)
- 3/4 cup to 1 cup milk
- Salt and pepper to taste
Instructions
- Cube the cheese and place in a saucepan with green chiles, garlic powder and milk.
- Heat on medium heat for 10-12 minutes until the cheese has melted.
- Once it is all melted together, if the cheese is still too thick, you can add more milk to thin it out to your desired consistency.
- Season with salt and pepper to taste and enjoy.
Ingredient Breakdown
🧀 White American Cheese
This is the essential base for authentic restaurant-style queso. It melts to perfection without becoming greasy or separating, and its mild flavor allows the chiles and seasonings to shine through. You can usually find this cheese at your deli counter—ask them to slice it thick or cube it.
Tip: Avoid using shredded cheeses like mozzarella or cheddar, which tend to become stringy or oily when melted.
🌶️ Diced Green Chiles
Canned green chiles are mild but packed with flavor. They offer that quintessential Southwestern touch without making the dip too spicy. Be sure to chop them super fine to ensure even distribution throughout the dip.
Want it hotter? Add a pinch of crushed red pepper, a few dashes of hot sauce, or a finely chopped jalapeño.
🧄 Garlic Powder (Optional)
This adds a gentle depth of flavor and rounds out the savory notes of the dip. You can skip it if you prefer a more classic cheese-forward flavor, but even a small amount makes a big difference.
🥛 Milk
The milk is crucial for thinning the cheese and creating that perfect dipping consistency. Start with 3/4 cup and add more as needed once the cheese has melted.
Whole milk yields the richest results, but 2% works fine too. Avoid skim milk, as it can lead to a watery texture.
How to Make It Perfect Every Time
- Use low to medium heat to avoid scorching the cheese or causing it to clump. Cheese dips do best with slow, gentle heating.
- Stir frequently with a silicone spatula or wooden spoon to help the cheese melt evenly.
- Adjust the thickness after melting. Once everything is blended, you can stir in more milk a splash at a time until you reach the consistency you like.
- Serve immediately while it’s hot and creamy. Cheese dips will thicken as they cool, so consider using a small slow cooker or warming tray for parties.
What to Serve with Mexican Cheese Dip
The Classics:
- Tortilla Chips – Naturally! The salty crunch is the perfect vehicle for this dip.
- Soft Pretzels – Great for game days.
- Toasted Baguette Slices – A fancier option for parties.
Creative Pairings:
- Drizzle over nachos or loaded fries
- Spoon onto tacos, burritos, or enchiladas
- Serve as a sauce with grilled chicken or steak fajitas
- Use as a filling for quesadillas
You can even use it as a cheese sauce over broccoli or cauliflower to make veggies more appealing to kids (and adults too!).
Storage and Reheating Tips
This cheese dip keeps surprisingly well—here’s how to store and reheat it:
- Refrigerate: Transfer leftovers to an airtight container and refrigerate for up to 4 days.
- Reheat: Warm gently on the stovetop or in the microwave, adding a splash of milk to restore its original creaminess.
- Freeze: Technically, you can freeze it, but the texture might change. It’s best enjoyed fresh or within a few days.
Fun Variations
🔥 Spicy Kick
Add jalapeños, chipotle peppers in adobo sauce, or even a few dashes of hot sauce for heat-lovers.
🍅 Tomato Twist
Stir in a spoonful of Rotel (diced tomatoes with green chiles) for a Tex-Mex version.
🧀 More Cheese, Please
Mix in shredded pepper jack, Monterey Jack, or a little queso fresco for variety.
🌽 Southwest Style
Add corn kernels, black beans, or cooked chorizo to turn it into a heartier party dip.
Make It a Meal: Queso Bar Party Idea 🎉
Want to turn this dip into the centerpiece of your next gathering? Set up a queso bar! Here’s what you’ll need:
- A slow cooker or fondue pot to keep the cheese dip warm
- Bowls of dippers: tortilla chips, pita wedges, mini soft pretzels
- Add-ins: cooked ground beef, sautéed mushrooms, caramelized onions, jalapeños
- Toppings: diced tomatoes, chopped cilantro, sour cream, green onions
Let guests customize their own loaded queso bowls. It’s a guaranteed hit for game day, birthdays, or Cinco de Mayo celebrations.
Frequently Asked Questions
Q: Can I use yellow American cheese?
A: Yes, but it will taste more like a nacho cheese sauce than traditional queso blanco. Still delicious!
Q: Can I make it in the microwave?
A: You can melt the cheese and milk in a microwave-safe bowl in 30-second bursts, stirring in between. However, the stovetop gives you better control over texture and prevents scorching.
Q: Is this dip gluten-free?
A: Yes—just make sure your cheese and canned chiles are certified gluten-free (most are).
Final Thoughts
This Mexican Restaurant Cheese Dip is one of those back-pocket recipes you’ll turn to again and again. It’s perfect for hosting, snacking, or spicing up your regular dinner rotation. With just a few ingredients and a short cook time, it brings the rich, melty magic of your favorite cantina right into your home.
Whether you’re planning a taco night, hosting a party, or simply want to make snack time feel extra special, this dip delivers every time.
Try it once—and you’ll never go back to store-bought queso again!
Let us know in the comments how it turned out for you. Did you spice it up? Add any extras? We’d love to hear how you made it your own!
Print
Mexican Restaurant Cheese Dip 🧀
White American cheese is the secret to achieving that unmistakable smooth and creamy consistency. It melts beautifully and gives you that stretchy, dip-worthy quality found in restaurant-style queso.
Ingredients
-
1/2 pound White American Cheese
-
2 tablespoons of diced green chiles, chopped super fine
-
1/4 tsp garlic powder (optional)
-
3/4 cup to 1 cup milk
-
Salt and pepper to taste
Instructions
-
Cube the cheese and place in a saucepan with green chiles, garlic powder and milk.
-
Heat on medium heat for 10-12 minutes until the cheese has melted.
-
Once it is all melted together, if the cheese is still too thick, you can add more milk to thin it out to your desired consistency.
-
Season with salt and pepper to taste and enjoy.
Notes
Storage and Reheating Tips
This cheese dip keeps surprisingly well—here’s how to store and reheat it:
-
Refrigerate: Transfer leftovers to an airtight container and refrigerate for up to 4 days.
-
Reheat: Warm gently on the stovetop or in the microwave, adding a splash of milk to restore its original creaminess.
-
Freeze: Technically, you can freeze it, but the texture might change. It’s best enjoyed fresh or within a few days.