Ingredients
-
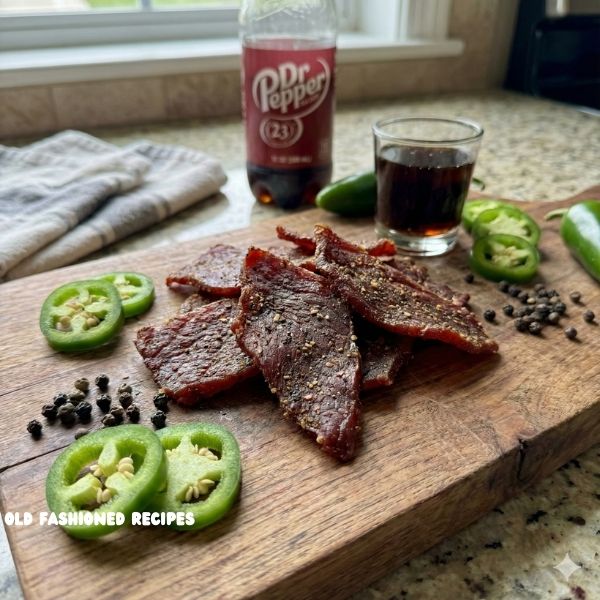
- 1 2-3 pound beef eye of round roast, thinly sliced against the grain
Dr. Pepper Jalapeno Marinade:
-
- 2 cups Dr. Pepper
-
- 2 jalapenos, sliced
-
- 2 Tablespoons kosher salt
-
- 1 Tablespoon Worcestershire sauce
-
- 2 teaspoons black pepper
-
- 1 teaspoon garlic powder
-
- 1 teaspoon onion powder
Instructions
-
- Make the marinade: In a medium saucepan, combine all marinade ingredients. Bring to a boil, then simmer for 10-15 minutes or until reduced by half. Chill completely.
-
- Marinate the beef: Place beef slices in a gallon zip-top bag. Pour in the marinade, ensuring meat is well-coated. Refrigerate for 8-12 hours or overnight.
-
- Preheat the smoker: Set your smoker or oven to about 170°F. Use maple or cherry wood for smoking.
-
- Smoke the meat: Dry the meat slices and place them on the grill grate or rack. Smoke for 2-3 hours, checking for even drying. Jerky should be firm yet slightly pliable.
-
- Steam to finish: Transfer warm jerky to a gallon zip-top bag, leaving it slightly open. This step adds moisture. Store at room temperature for 3-4 days or refrigerate for 2 weeks.
Prep Time: 20 minutes | Cooking Time: 2 hours | Total Time: 2 hours 20 minutes
Kcal: 242 kcal | Servings: 8 servings
Notes
Feel free to customize the recipe to match your flavor preferences, and don’t forget to share your jerky-making experience in the comments below or on social media. Enjoy crafting this delicious snack!