
Crispy Chicken Katsu: The Japanese Comfort Food Everyone Loves 🍗✨
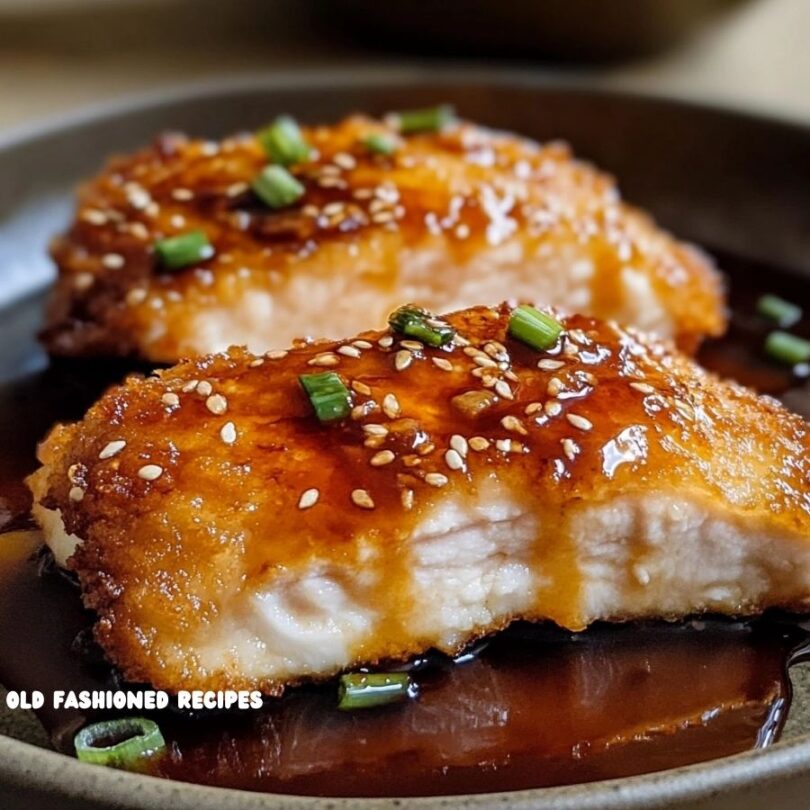
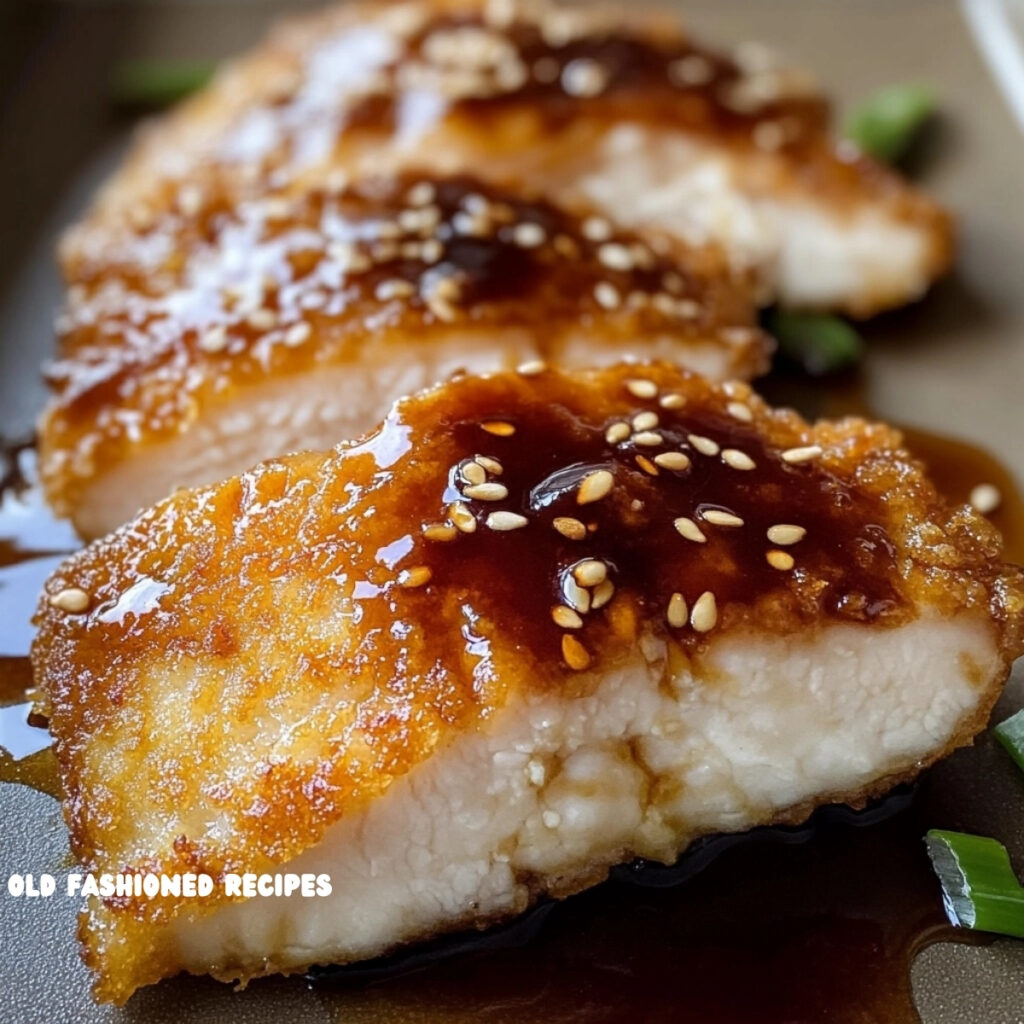
There’s something undeniably comforting about biting into a perfectly crispy piece of Chicken Katsu. It’s golden and crunchy on the outside, tender and juicy on the inside, and drizzled with a sweet-savory sauce that ties the whole experience together. Chicken Katsu has long been a beloved dish in Japanese households, restaurants, and lunchboxes—and today, it’s winning hearts all over the world.
Whether served with a mound of steaming rice, shredded cabbage, or tucked into a sandwich, Chicken Katsu is one of those meals that never fails to satisfy. Let’s explore what makes this dish so special, and how you can bring this delicious favorite into your own kitchen.
You Might Also Like:
- Loading posts...
A Brief History of Katsu
Katsu (short for katsuretsu) is the Japanese version of a breaded and fried cutlet, inspired by Western-style cooking in the late 19th century during the Meiji era. Originally made with pork (tonkatsu), it quickly evolved to include chicken (chicken katsu) and other proteins.
Chicken Katsu became popular for its lighter flavor and wider appeal, especially for those who preferred poultry over pork. It’s now a staple in homes, bento boxes, fast-food chains, and upscale restaurants across Japan—and it’s just as beloved in the West.
What Makes Chicken Katsu So Irresistible?
- The Crunch – The panko breadcrumbs used in Chicken Katsu are the secret to that signature crunch. Light and flaky, panko fries up golden and crisp without getting greasy.
- Juicy Chicken – Boneless chicken breast or thigh is pounded thin to ensure even cooking and juicy texture inside.
- Simple Ingredients – With just a few pantry staples—flour, eggs, panko, and chicken—you’ve got a meal that looks and tastes like it came from a restaurant.
- Tonkatsu Sauce – Sweet, tangy, and umami-rich, this sauce is often compared to Japanese-style BBQ sauce. It adds the perfect contrast to the savory chicken.
The Classic Chicken Katsu Recipe
Ingredients:
- 2 boneless, skinless chicken breasts
- Salt and pepper, to taste
- 1/2 cup all-purpose flour
- 2 large eggs, beaten
- 1 1/2 cups panko breadcrumbs
- Vegetable oil, for frying
For the Katsu Sauce:
- 1/4 cup ketchup
- 2 tablespoons Worcestershire sauce
- 1 tablespoon soy sauce
- 1 tablespoon mirin or sugar
- 1 teaspoon Dijon mustard (optional)
Instructions:
1. Prepare the Chicken:
- Slice each chicken breast in half horizontally to create thin cutlets.
- Place the cutlets between two pieces of plastic wrap and pound them to an even 1/2-inch thickness using a meat mallet or rolling pin.
- Season both sides with salt and pepper.
2. Set Up a Breading Station:
- Place flour in one shallow dish, beaten eggs in a second, and panko breadcrumbs in a third.
3. Bread the Chicken:
- Dredge each cutlet in flour, shaking off excess.
- Dip into the beaten egg.
- Press into the panko breadcrumbs, coating both sides evenly. Press firmly to ensure the crumbs stick well.
4. Fry the Chicken:
- Heat 1/2 inch of vegetable oil in a skillet over medium heat.
- Once hot (around 350°F), fry the chicken for 3–4 minutes per side, or until golden brown and cooked through.
- Transfer to a paper towel-lined plate to drain excess oil.
5. Make the Sauce:
- In a small saucepan, combine all sauce ingredients.
- Bring to a gentle simmer and stir until slightly thickened, about 2–3 minutes.
- Remove from heat and let cool slightly.
6. Serve:
- Slice the chicken into strips.
- Drizzle with sauce and garnish with toasted sesame seeds or chopped scallions.
- Serve alongside steamed white rice, shredded cabbage, or miso soup for a complete meal.
Why Everyone Keeps Making It
Chicken Katsu is one of those dishes that people fall in love with after the first bite. It’s not just for Japanese food fans—kids love it, picky eaters devour it, and home cooks appreciate its versatility and ease.
You can also turn leftovers into:
- Chicken Katsu Curry: Add Japanese curry sauce and serve over rice.
- Katsu Sandwich (Katsu Sando): Tuck it into thick slices of white bread with shredded cabbage and extra sauce.
- Katsu Bowl: Slice and serve over a bed of rice with a soft-boiled egg, pickled vegetables, and drizzle of mayo.
Tips for Perfect Katsu Every Time
- Use fresh panko for the crispiest texture.
- Don’t overcrowd the pan when frying; it lowers the oil temperature and makes the crust soggy.
- Let it rest on a wire rack instead of paper towels to maintain crispiness.
- Double fry for extra crunch, especially if making thicker pieces.
A Family Favorite Around the World
From Japanese izakayas to Hawaiian plate lunches to American home kitchens, Chicken Katsu has made a permanent home in hearts (and stomachs) everywhere. It brings comfort, flavor, and that satisfying crunch that no one can resist.
It’s easy to see why this dish has stood the test of time—simple to prepare, packed with flavor, and adaptable to many occasions. Whether you’re a lifelong fan or new to the world of Japanese comfort food, Chicken Katsu is the kind of recipe you’ll return to again and again.
Print
Crispy Chicken Katsu
There’s something undeniably comforting about biting into a perfectly crispy piece of Chicken Katsu. It’s golden and crunchy on the outside, tender and juicy on the inside, and drizzled with a sweet-savory sauce that ties the whole experience together. Chicken Katsu has long been a beloved dish in Japanese households, restaurants, and lunchboxes—and today, it’s winning hearts all over the world.
Ingredients
-
2 boneless, skinless chicken breasts
-
Salt and pepper, to taste
-
1/2 cup all-purpose flour
-
2 large eggs, beaten
-
1 1/2 cups panko breadcrumbs
-
Vegetable oil, for frying
For the Katsu Sauce:
-
1/4 cup ketchup
-
2 tablespoons Worcestershire sauce
-
1 tablespoon soy sauce
-
1 tablespoon mirin or sugar
-
1 teaspoon Dijon mustard (optional)
Instructions
Instructions:
1. Prepare the Chicken:
-
Slice each chicken breast in half horizontally to create thin cutlets.
-
Place the cutlets between two pieces of plastic wrap and pound them to an even 1/2-inch thickness using a meat mallet or rolling pin.
-
Season both sides with salt and pepper.
2. Set Up a Breading Station:
-
Place flour in one shallow dish, beaten eggs in a second, and panko breadcrumbs in a third.
3. Bread the Chicken:
-
Dredge each cutlet in flour, shaking off excess.
-
Dip into the beaten egg.
-
Press into the panko breadcrumbs, coating both sides evenly. Press firmly to ensure the crumbs stick well.
4. Fry the Chicken:
-
Heat 1/2 inch of vegetable oil in a skillet over medium heat.
-
Once hot (around 350°F), fry the chicken for 3–4 minutes per side, or until golden brown and cooked through.
-
Transfer to a paper towel-lined plate to drain excess oil.
5. Make the Sauce:
-
In a small saucepan, combine all sauce ingredients.
-
Bring to a gentle simmer and stir until slightly thickened, about 2–3 minutes.
-
Remove from heat and let cool slightly.
6. Serve:
-
Slice the chicken into strips.
-
Drizzle with sauce and garnish with toasted sesame seeds or chopped scallions.
-
Serve alongside steamed white rice, shredded cabbage, or miso soup for a complete meal.
Notes
Why Everyone Keeps Making It
Chicken Katsu is one of those dishes that people fall in love with after the first bite. It’s not just for Japanese food fans—kids love it, picky eaters devour it, and home cooks appreciate its versatility and ease.
You can also turn leftovers into:
-
Chicken Katsu Curry: Add Japanese curry sauce and serve over rice.
-
Katsu Sandwich (Katsu Sando): Tuck it into thick slices of white bread with shredded cabbage and extra sauce.
-
Katsu Bowl: Slice and serve over a bed of rice with a soft-boiled egg, pickled vegetables, and drizzle of mayo.


Leave a Comment